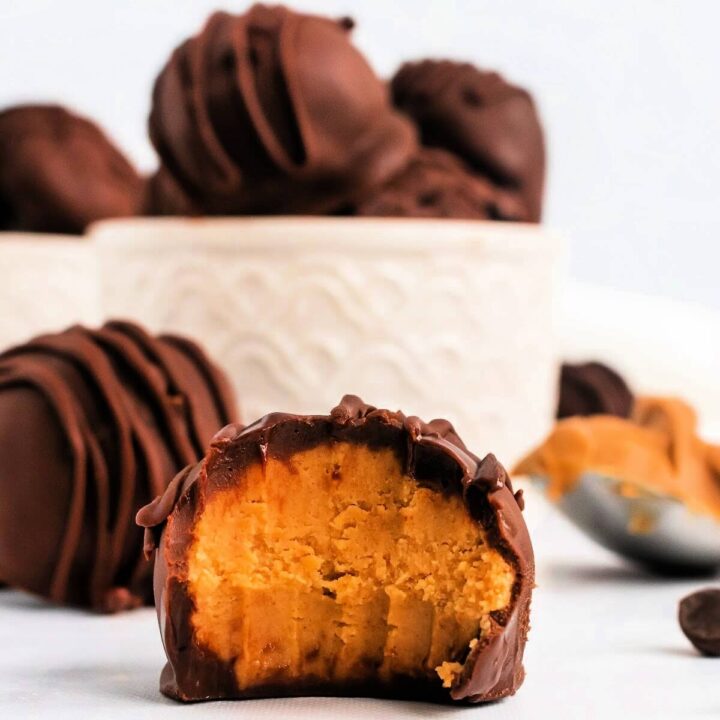
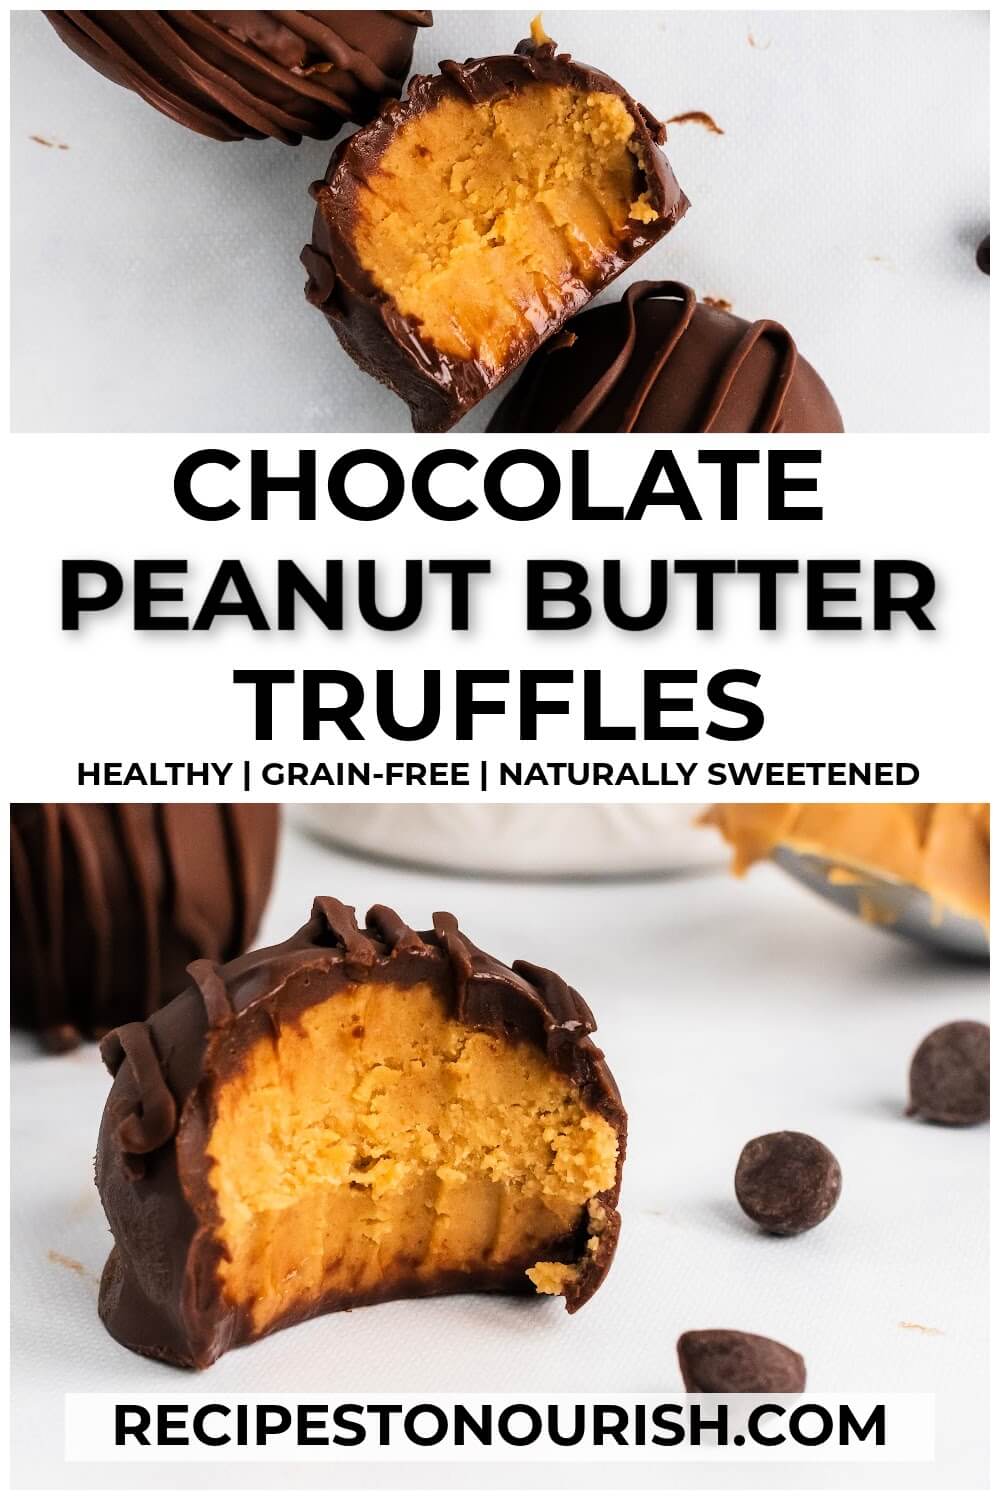
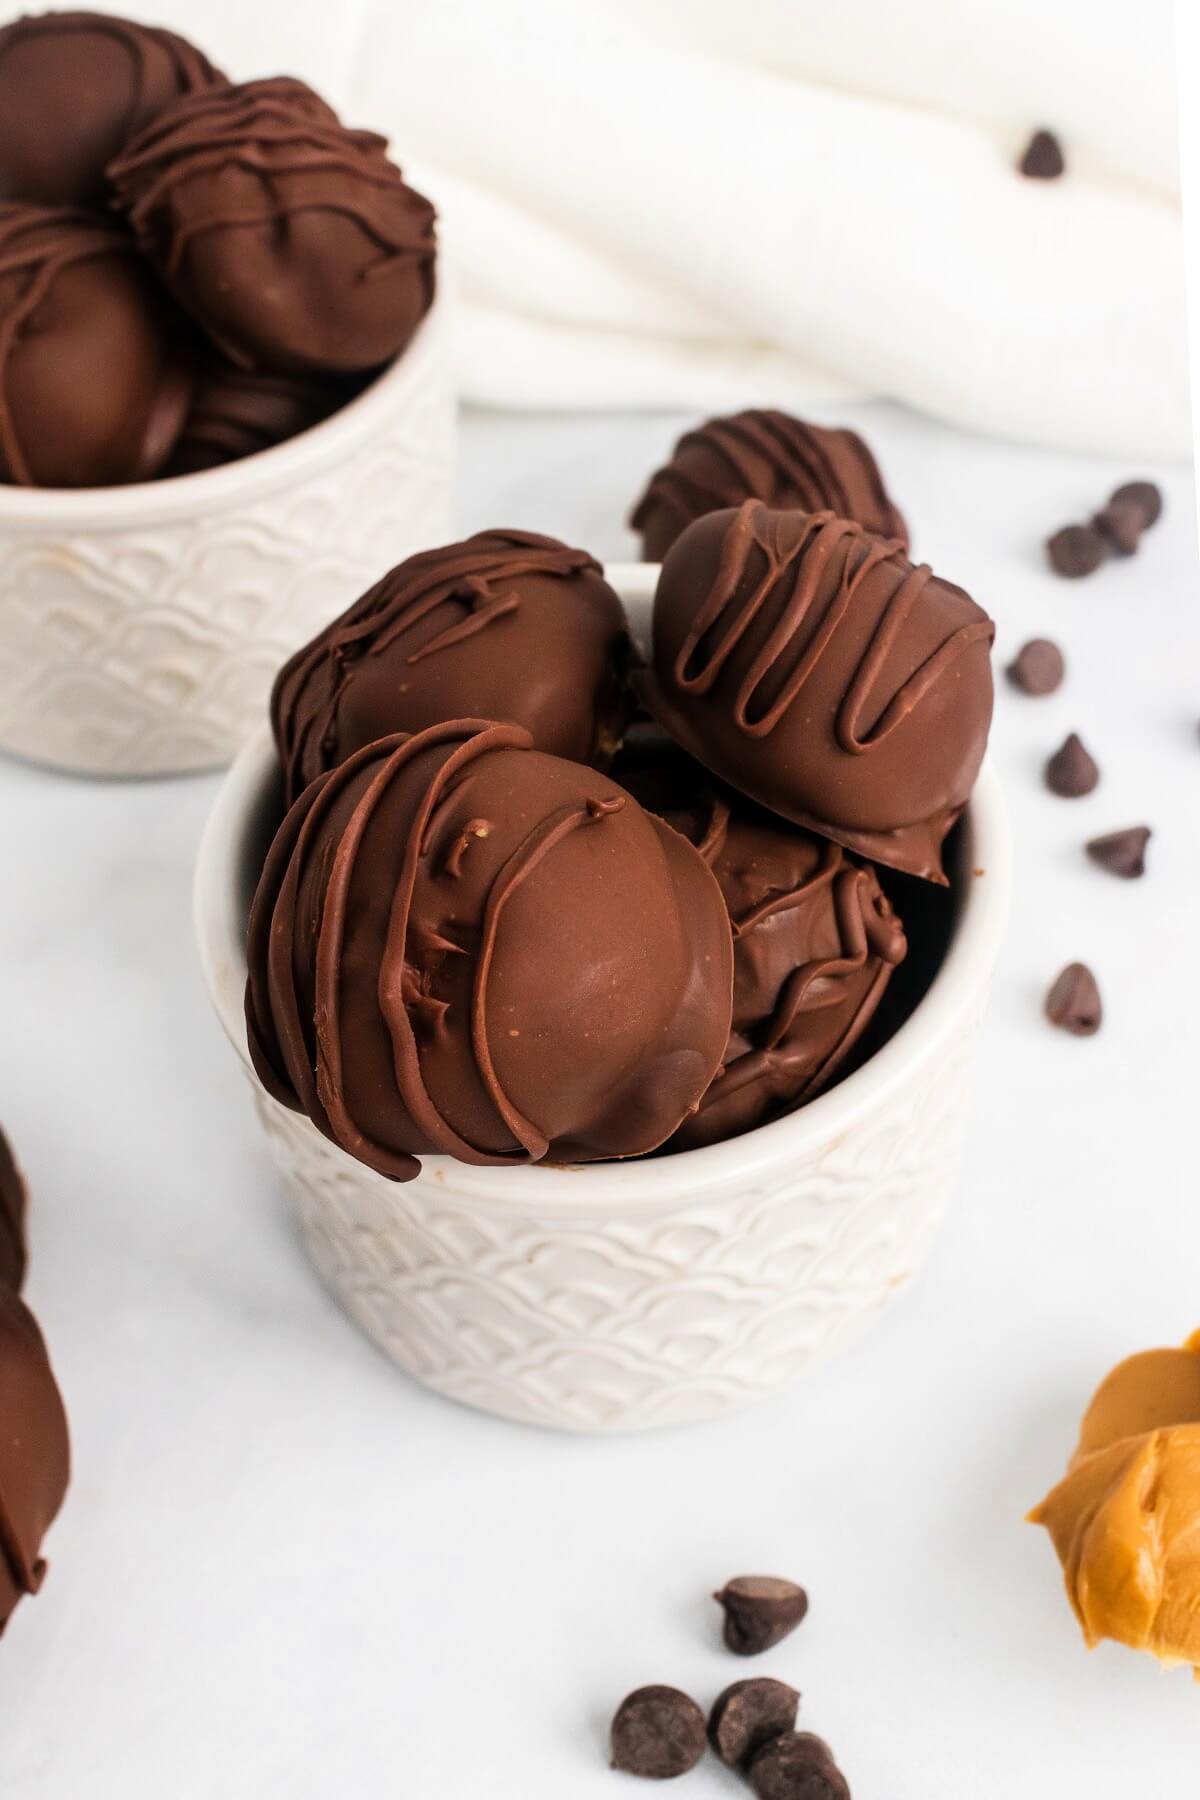
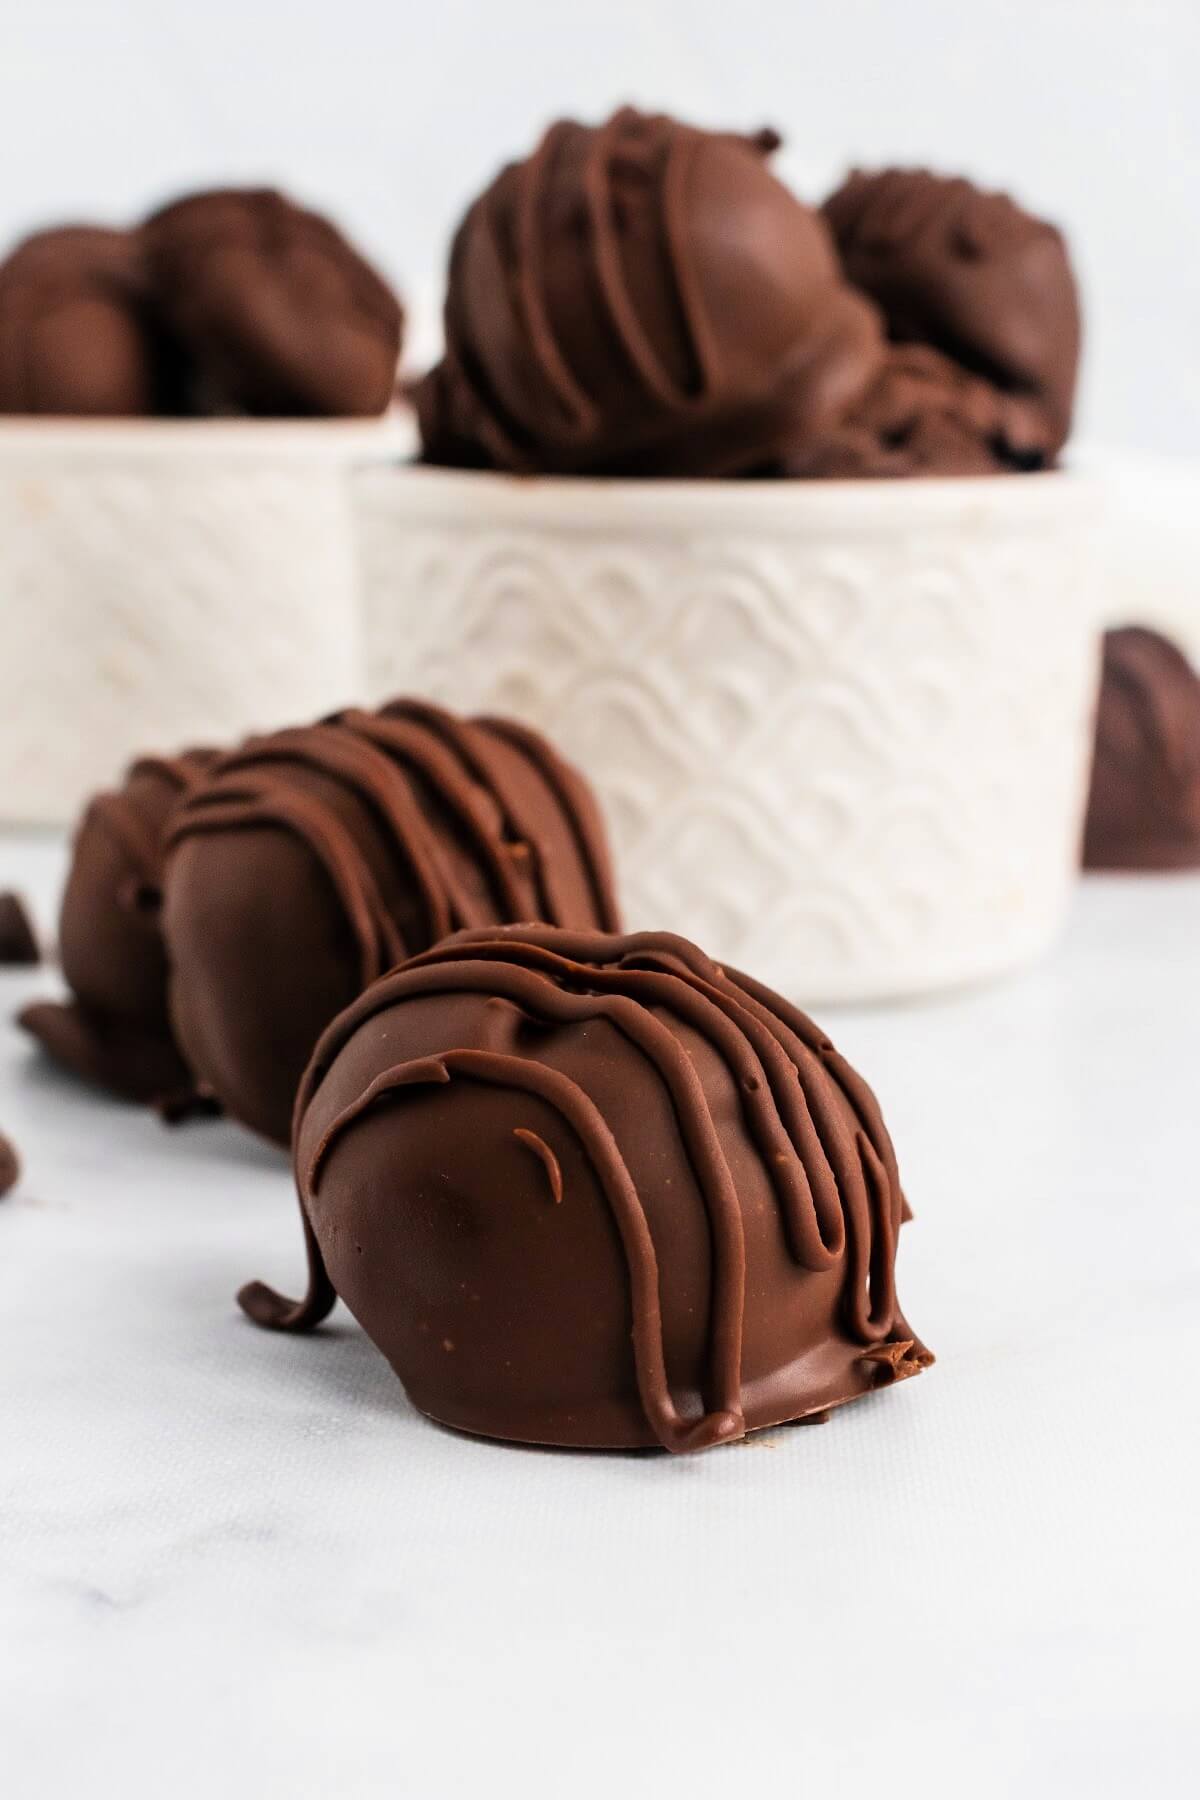
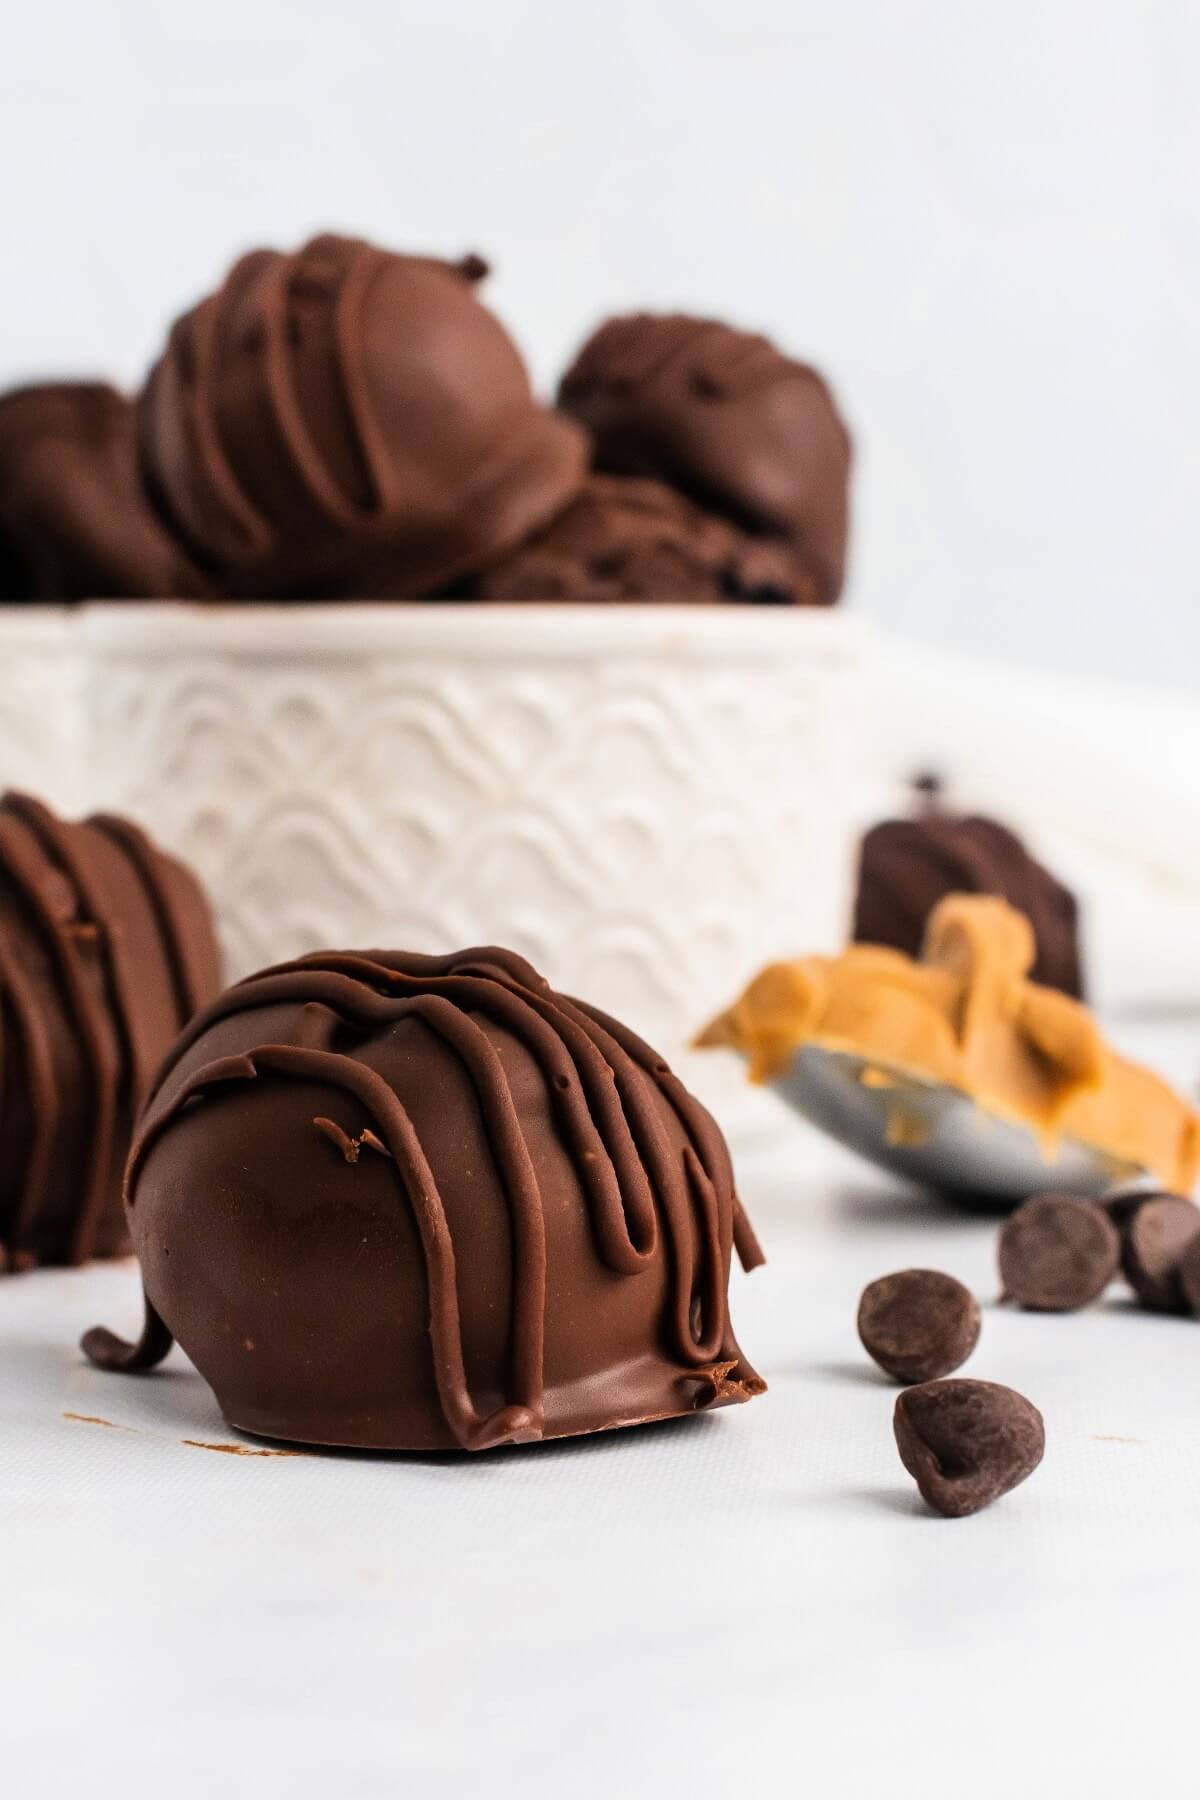
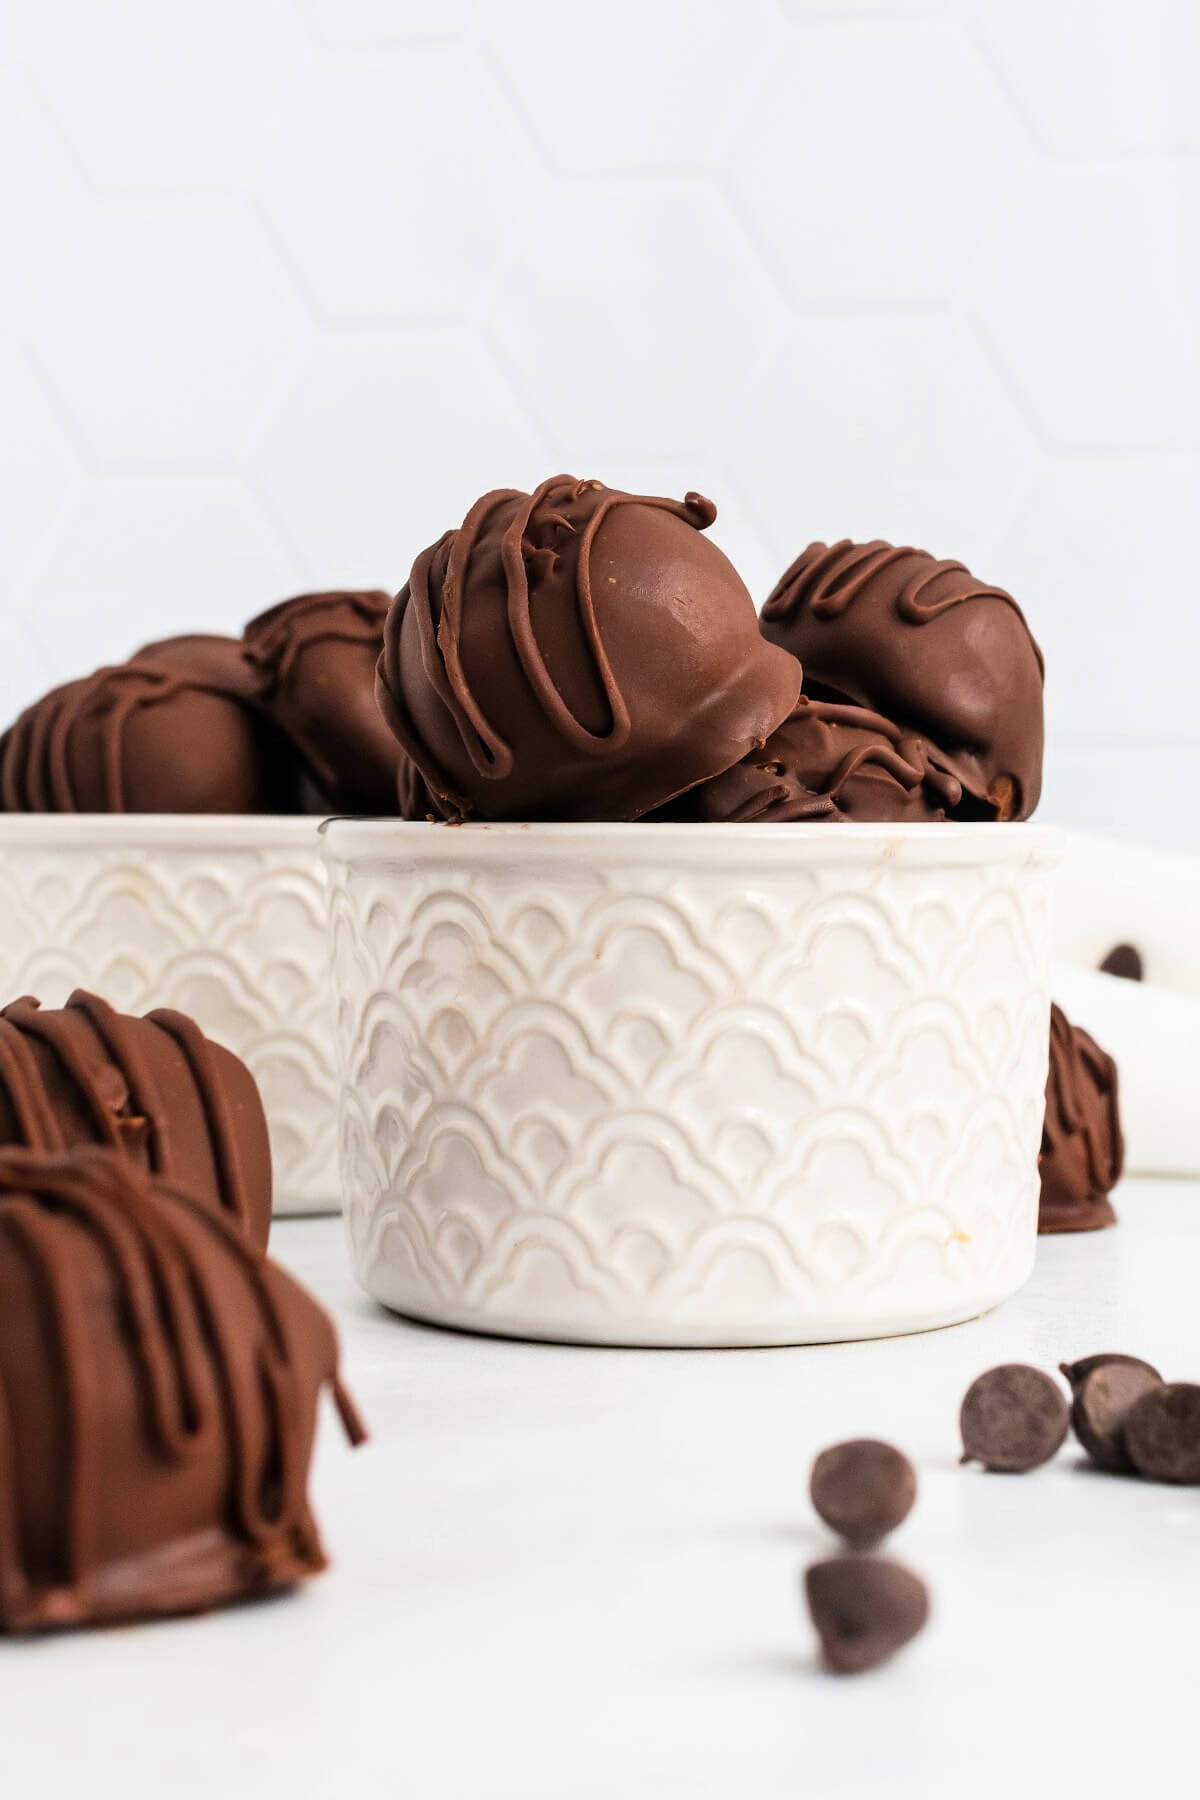
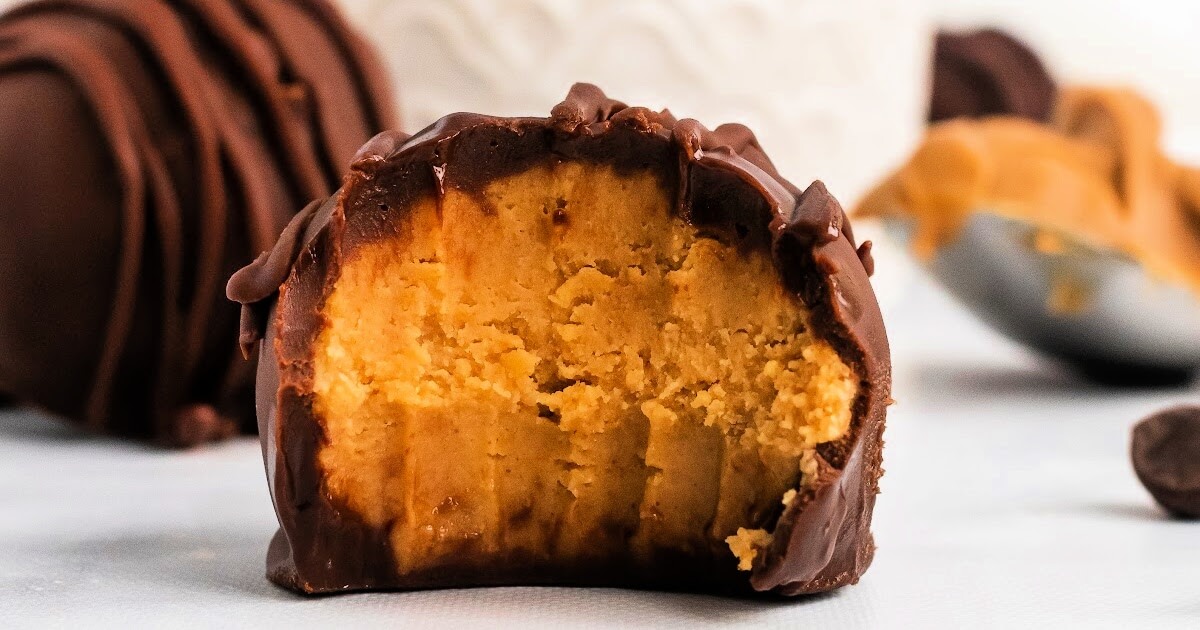
Healthy Chocolate Peanut Butter Truffles are a fun, protein-packed, festive treat for the holidays! This delicious, no-bake version is so easy to make, has the best texture and much healthier ingredients than traditional Buckeyes or peanut butter balls.
HEALTHY CHOCOLATE PEANUT BUTTER TRUFFLES
Looking for a healthier version of chocolate peanut butter truffles or chocolate peanut butter balls? Some people may call them Buckeyes or Buckeye peanut butter balls. Regardless of what you call them, they’re all basically the same.
All versions contain at least 3 of the same main ingredients - peanut butter, a sweetener and chocolate.
The traditional version of this homemade candy is full of refined cane sugar. Since the holiday times tend to be filled with sugary treats, I prefer to swap out the cane sugar and use natural sweeteners like maple sugar, maple syrup or honey instead.
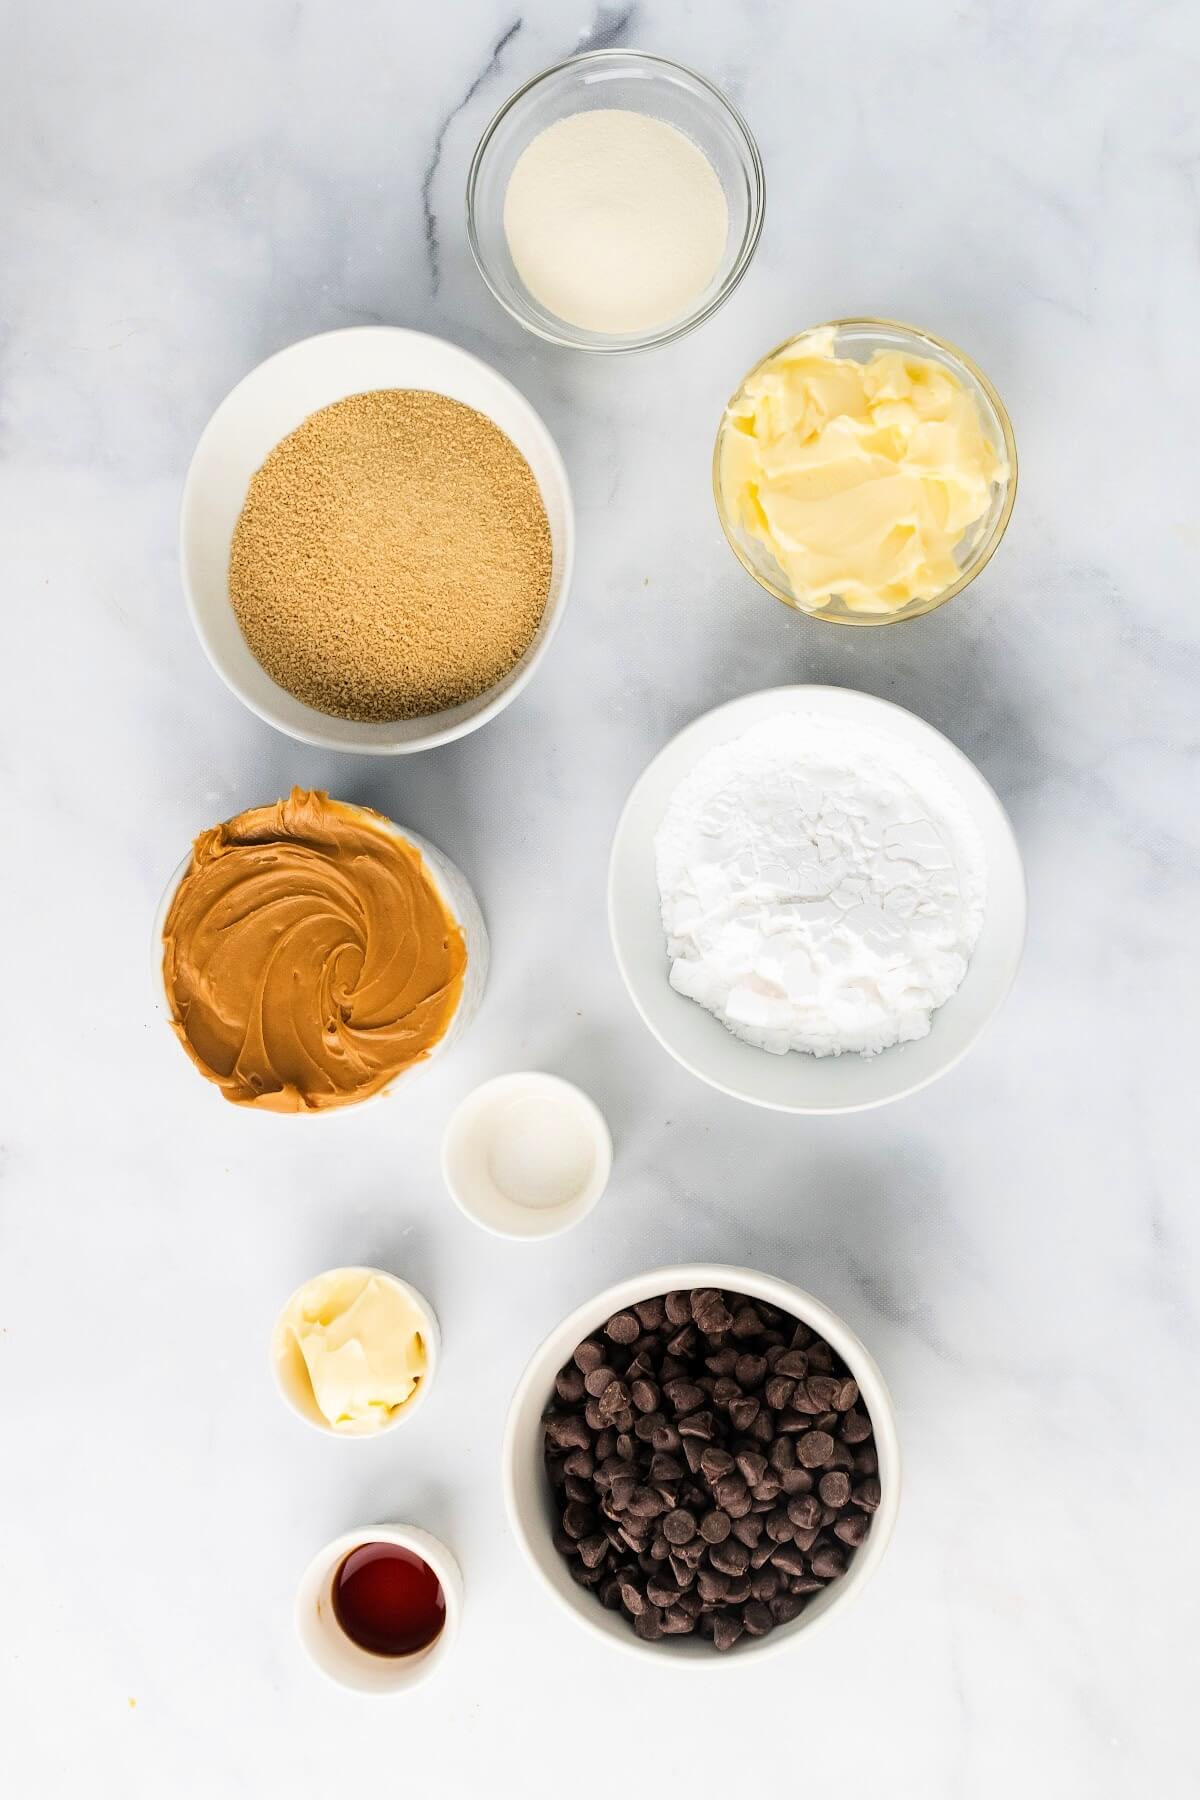
This chocolate peanut butter truffles recipe is naturally sweetened, made with 7 real food ingredients and packed with an extra nourishing protein boost.
HOW DOES THIS RECIPE MAKE CHOCOLATE PEANUT BUTTER TRUFFLES HEALTHIER?
Maple Sugar - I swap out the traditional powdered sugar for unrefined maple sugar. I love the way maple sugar tastes plus it adds a delicious flavor to the peanut butter truffles!
Organic Peanut Butter - The recipe calls for organic peanut butter. Peanuts are one of the most heavily, routinely sprayed crops saturated with pesticides. Most of the peanuts consumed in the U.S. are now considered one of the most pesticide-contaminated foods. Not good! Because of this, I do prefer to choose organic peanut butter for my family, but a natural peanut butter would work too!
Healthier Chocolate Coating - There are two versions of the outer chocolate coating included in the recipe. One is a homemade chocolate made from scratch and the other is the traditional melted chocolate version made from chocolate chips or chopped up chocolate bars.
Grass-fed Collagen - I also add collagen to this recipe! Chocolate peanut butter truffles with collagen? Yes! I add it for a few reasons. Grass-fed collagen adds a nourishing boost to the healthy truffles as well as extra protein to the recipe. The brand I use and recommend contains over 10 grams of protein per scoop. This recipe calls for 2 scoops, so you get a good dose of protein in these no bake chocolate peanut butter truffles.
BENEFITS OF COLLAGEN
Adding grass-fed collagen to chocolate peanut butter truffles is a great way to use collagen. I love adding it to foods when I want to add an extra nourishing boost - plus it has some protein too (over 10 grams per serving)! Don't worry, it does not alter the flavor, this collagen is virtually flavorless and odorless.
Many people get confused about the difference between collagen and gelatin. Collagen is the most abundant protein in the human body and plays an important role in numerous bodily functions.
Hydrolyzed collagen mixes and dissolves in liquids, gelatin does the opposite. Gelatin is simply cooked collagen and gelatin will do exactly what its name says - gel and thicken when cooled.
Collagen is known to support the following:
- Support gut function and digestion
- Support healthy skin, hair and nails
- Support joint health
- Help build and restore muscle
- Support a healthy metabolism
- Support brain function
- Promote deeper sleep
- Anti-inflammatory properties
- Source of protein
Perfect Hydrolyzed Collagen uses an all natural enzyme process to break down the very long chain collagen into shorter chain collagen peptides. This is important because shorter chain collagen peptides with a lower molecular weight than gelatin or standard collagen is much easier for the body to absorb.
NOT ALL GRASS-FED COLLAGEN IS CREATED EQUAL
I only recommend one collagen - and for good reason! This grass-fed collagen is free of pesticides, hormones, chemicals, contaminants and it’s non-GMO too. The collagen is made only from Brazilian pastured cows that spend their life in Brazil, grazing on grass.
Their Perfect Hydrolyzed Collagen is the world’s only and first collagen (and gelatin) to earn the glyphosate residue-free certification from the Detox Project. Want to see the proof for yourself, you can view their Perfectly Pure glyphosate-free certification and their purity certification on their site.
You will not find that from other competitor brands on the market, especially the ones sold in grocery stores. Check for yourself - that popular blue container that’s sold in many grocery stores and natural food stores was bought out by Nestlé Health Science and they do not have any glyphosate-free certifications listed publicly. Other brands like Great Lakes don’t fit the bill either.
Another bonus is one serving of Perfect Hydrolyzed Collagen has over 10 grams of protein and it tests out at 97% protein - the highest in the industry! It also has such a low molecular weight that is over 90% bioavailable.
I have a 10% off discount for my readers - use NOURISH10 at checkout. They offer a 90 Day Money Back Guarantee too!
WHAT MAKES THIS RECIPE GREAT
- Simple: It’s so easy to make your own homemade chocolate peanut butter truffles - and it’s fun too! There’s a little bit of prep time, but a big chunk of that time is letting the peanut butter balls chill in the freezer. It’s an easy recipe to get kids involved in making. Or make them alone and enjoy the process - dipping them in the melted chocolate is so satisfying!
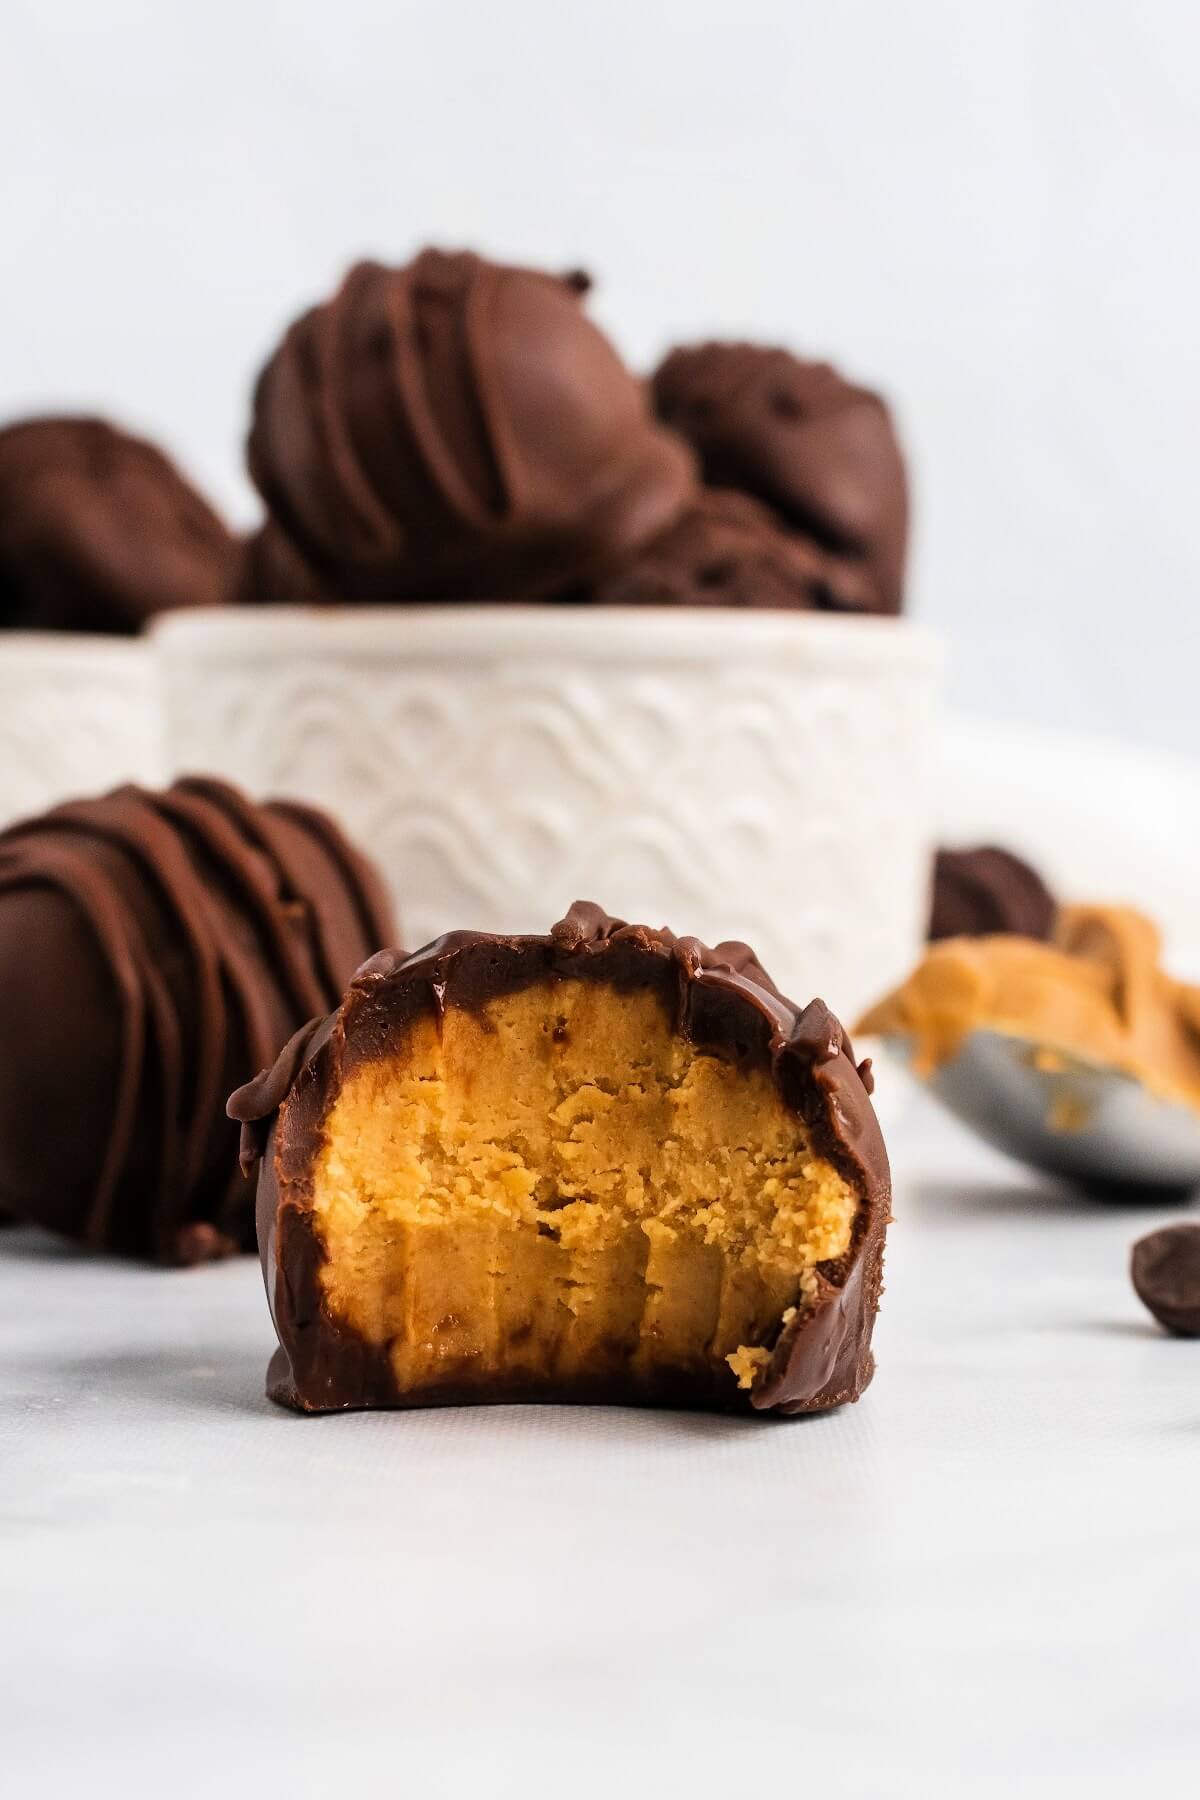
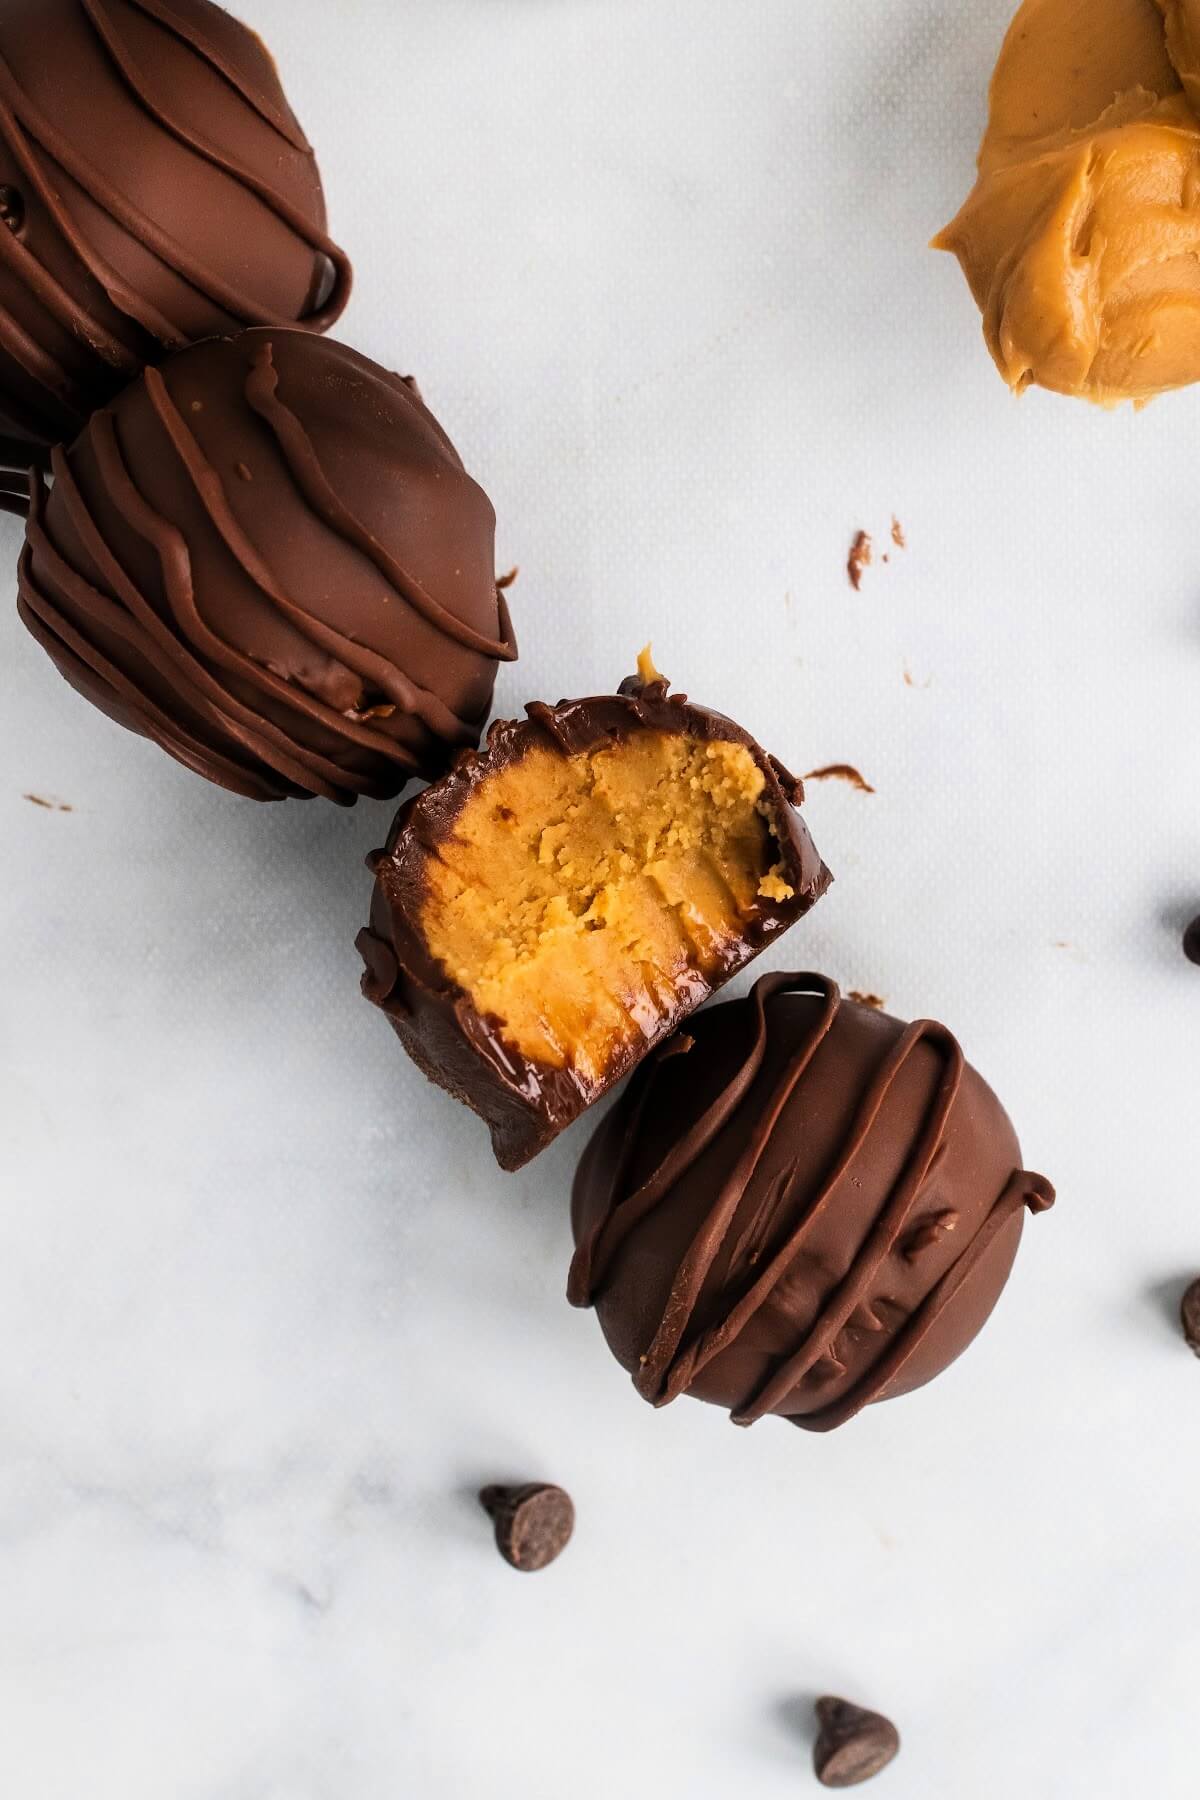
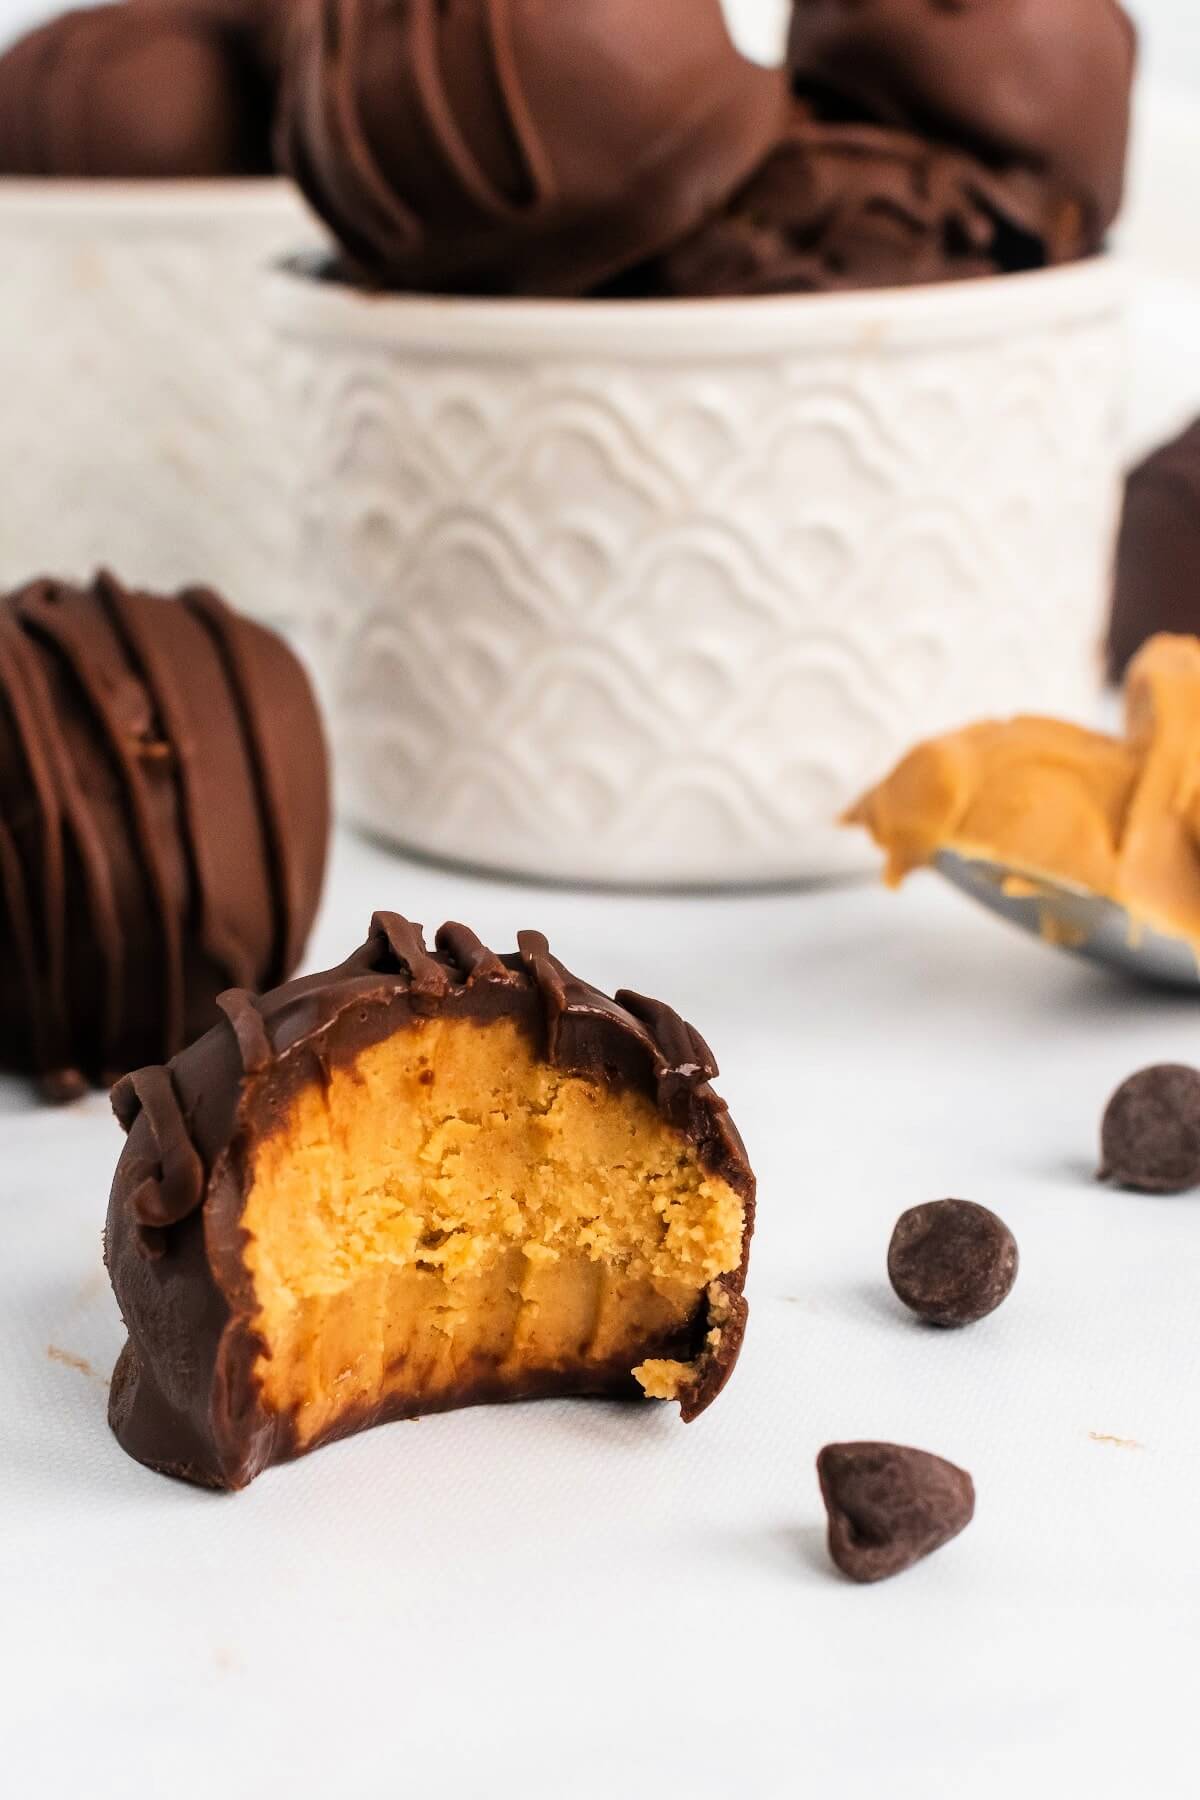
- Flavor: These chocolate peanut butter truffles taste amazing! The flavor is decadent, rich, perfectly sweet and has that classic chocolate plus peanut butter flavor. And their texture is amazing right out of the freezer - very similar to the texture of fudge.
- Kids & Adults Love Them: This is such a fun treat for everyone! These healthy chocolate peanut butter balls are always loved by all. They’re so perfect for any occasion including holidays - from Halloween, to Christmas, to Easter! They’re also super easy to make - kids can easily help make this recipe.
HOMEMADE CHOCOLATE PEANUT BUTTER TRUFFLES EQUIPMENT
- Baking Sheet: A baking sheet is a must for making these peanut butter truffles. You will be rolling the peanut butter truffles into balls and placing them on the lined baking sheet to chill. Make sure that your baking sheet is freezer safe since you’ll be setting it in the freezer. I like to use stainless steel baking sheets.
- Unbleached Parchment Paper: It’s very important to line a baking sheet with parchment paper. This helps prevent too much sticking from both the peanut butter balls when they chill as well as when you slather the peanut butter balls in chocolate.
- Large Mixing Bowl: A large mixing bowl is needed to whip up the peanut butter truffle mixture. I love glass Anchor Hocking bowls and Pyrex mixing bowls.
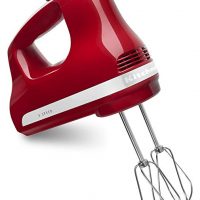
- Handheld Mixer: You’ll need a mixer to quickly mix the peanut butter truffles mixture until it’s perfectly smooth and creamy. If you have a stand mixer, you could use that instead.
- Cookie Scooper: I like using a medium cookie scoop for scooping the peanut butter balls mixture. It helps the process be a little more efficient and keeps the truffles about the same size. If you don’t have a cookie scoop, that’s okay too! You’ll just need to use a spoon to scoop the peanut butter truffles mixture.
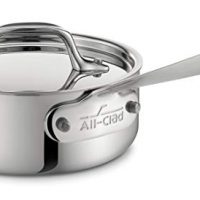
- Small Saucepan: You’ll need a small saucepan for making the chocolate truffles coating.
- Heat-Safe Glass Mixing Bowl: I like to use a heat-safe glass mixing bowl to make a homemade double boiler - it sits on top of a small saucepan while you melt the chocolate mixture.
- Spoon or Mixing Spoon: You’ll need a spoon to stir the chocolate mixture as it’s melting and coming together to form a smooth, melted chocolate.
- Toothpicks: You’ll need toothpicks to help you dip the peanut butter balls into the melted chocolate coating. If you don’t have toothpicks on hand, you can use the tines of a salad fork instead.
CHOCOLATE PEANUT BUTTER TRUFFLES INGREDIENT NOTES
- Organic Creamy Peanut Butter: I prefer to use organic creamy peanut butter for these chocolate peanut butter truffles. Natural peanut butter would work fine in this recipe too. Because peanuts are one of the most heavily, routinely sprayed crops saturated with pesticides, I prefer to stick with organic peanut butter. Most of the peanuts consumed in the U.S. are now considered one of the most pesticide-contaminated foods. You want to look for a peanut butter that has peanuts or roasted peanuts as the main ingredient and maybe sea salt. If some palm oil is listed as an ingredient, that’s okay as it’s pretty common in most natural and some no stir organic peanut butters. Try to avoid peanut butters filled with sugar or other oils that may not be so healthy.
- Grass-fed Butter: Nourishing healthy fats - grass-fed butter is one of the best! The butter helps add that creamy, fudge-like texture to the peanut butter truffles. I highly recommend using a quality grass-fed brand like Vital Farms - my preference is their sea salted butter. Kerrygold is another good brand, I prefer their gold wrapper salted butter - this butter is easy to find at most grocery stores and you can even find it in bulk at Costco.
- Maple Sugar: I swap out the traditional powdered sugar for unrefined maple sugar. Maple sugar tastes amazing and adds a delicious flavor to the peanut butter truffles. Coombs Family Farms is my favorite maple sugar, but there are several brands on the market now that produce a great quality maple sugar (some brands are more of a fine powdered consistency which works great in this recipe).
- Arrowroot Powder: Arrowroot powder or arrowroot starch (they're the same thing) is important in this recipe because it helps act as a binder for the peanut butter balls mixture. Basically, it helps everything hold well and be able to roll into balls. Any brand will work here - I’ve used Starwest Botanicals, Bob’s Red Mill and Thrive Market brand for testing and they all work great.
- Hydrolyzed Grass-fed Collagen: Collagen adds a nourishing boost to these peanut butter truffles as well as some extra protein. I only recommend this non-GMO grass-fed collagen that is certified free of pesticides, hormones, chemicals and contaminants. This collagen is the world’s only and first collagen (and gelatin) to earn the glyphosate residue-free certification from the Detox Project (see the above notes on grass-fed collagen in my post for more information). I have a 10% off discount for my readers - use NOURISH10 at checkout. (see above for the benefits of collagen)
- Vanilla Extract: Like with many recipes, vanilla adds a lovely flavor to these chocolate peanut butter truffles.
- Mineral-rich Salt: Salt not only helps enhance the flavor, but it also adds minerals. I only recommend using a mineral-rich salt or sea salt, otherwise, just omit the salt.
- Chocolate Chips: The traditional way to make the outer chocolate coating for these chocolate peanut butter balls is with melted chocolate chips. If you prefer a naturally sweetened chocolate, Hu brand makes coconut sugar sweetened chocolate chips as well as delicious milk chocolate bars and dark chocolate bars. If you would prefer to cut down on the amount of sugar, I love these fair trade 100% sugar free chocolate chips. If you don’t mind stevia and erythritol, Lily’s brand makes quality chocolate chips and chocolate bars. If sugar isn’t an issue, Enjoy Life brand makes great chocolate chips.
HOW TO MAKE HEALTHY CHOCOLATE PEANUT BUTTER TRUFFLES
It’s so easy to make these chocolate peanut butter truffles. It does take a little bit of prep time and some patience while the peanut butter balls chill in the freezer - but it’s so worth it!
Just enjoy the process because it’s fun! It’s a nice recipe to make together with loved ones or with kids. If you prefer to cook on your own, that’s great too! I find that the rolling of the peanut butter balls is very soothing and dipping them in the melted chocolate is so satisfying. It’s like enjoyable, relaxing therapy!
Prep the Peanut Butter Balls
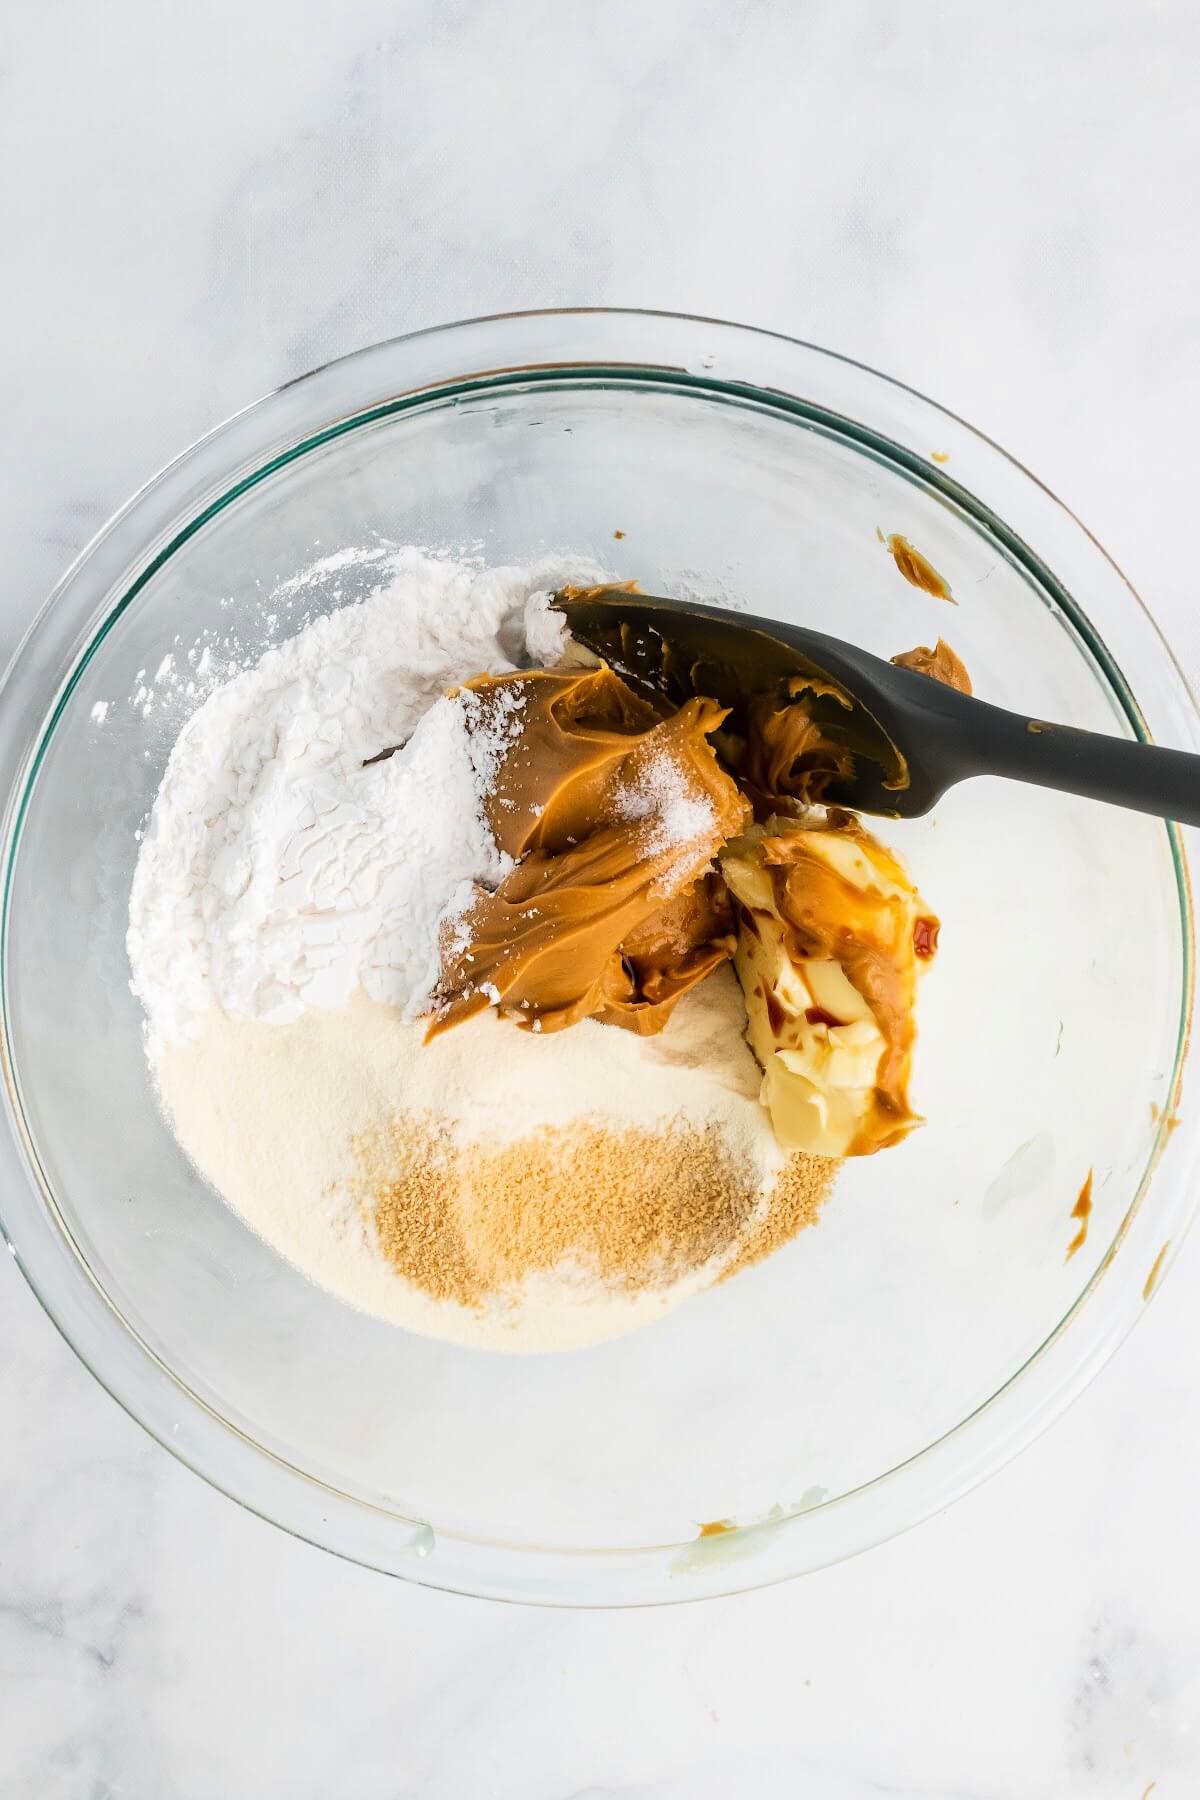
In a large freezer-safe mixing bowl, add the peanut butter, softened butter, maple sugar, arrowroot powder, collagen, vanilla extract and the mineral-rich sea salt.
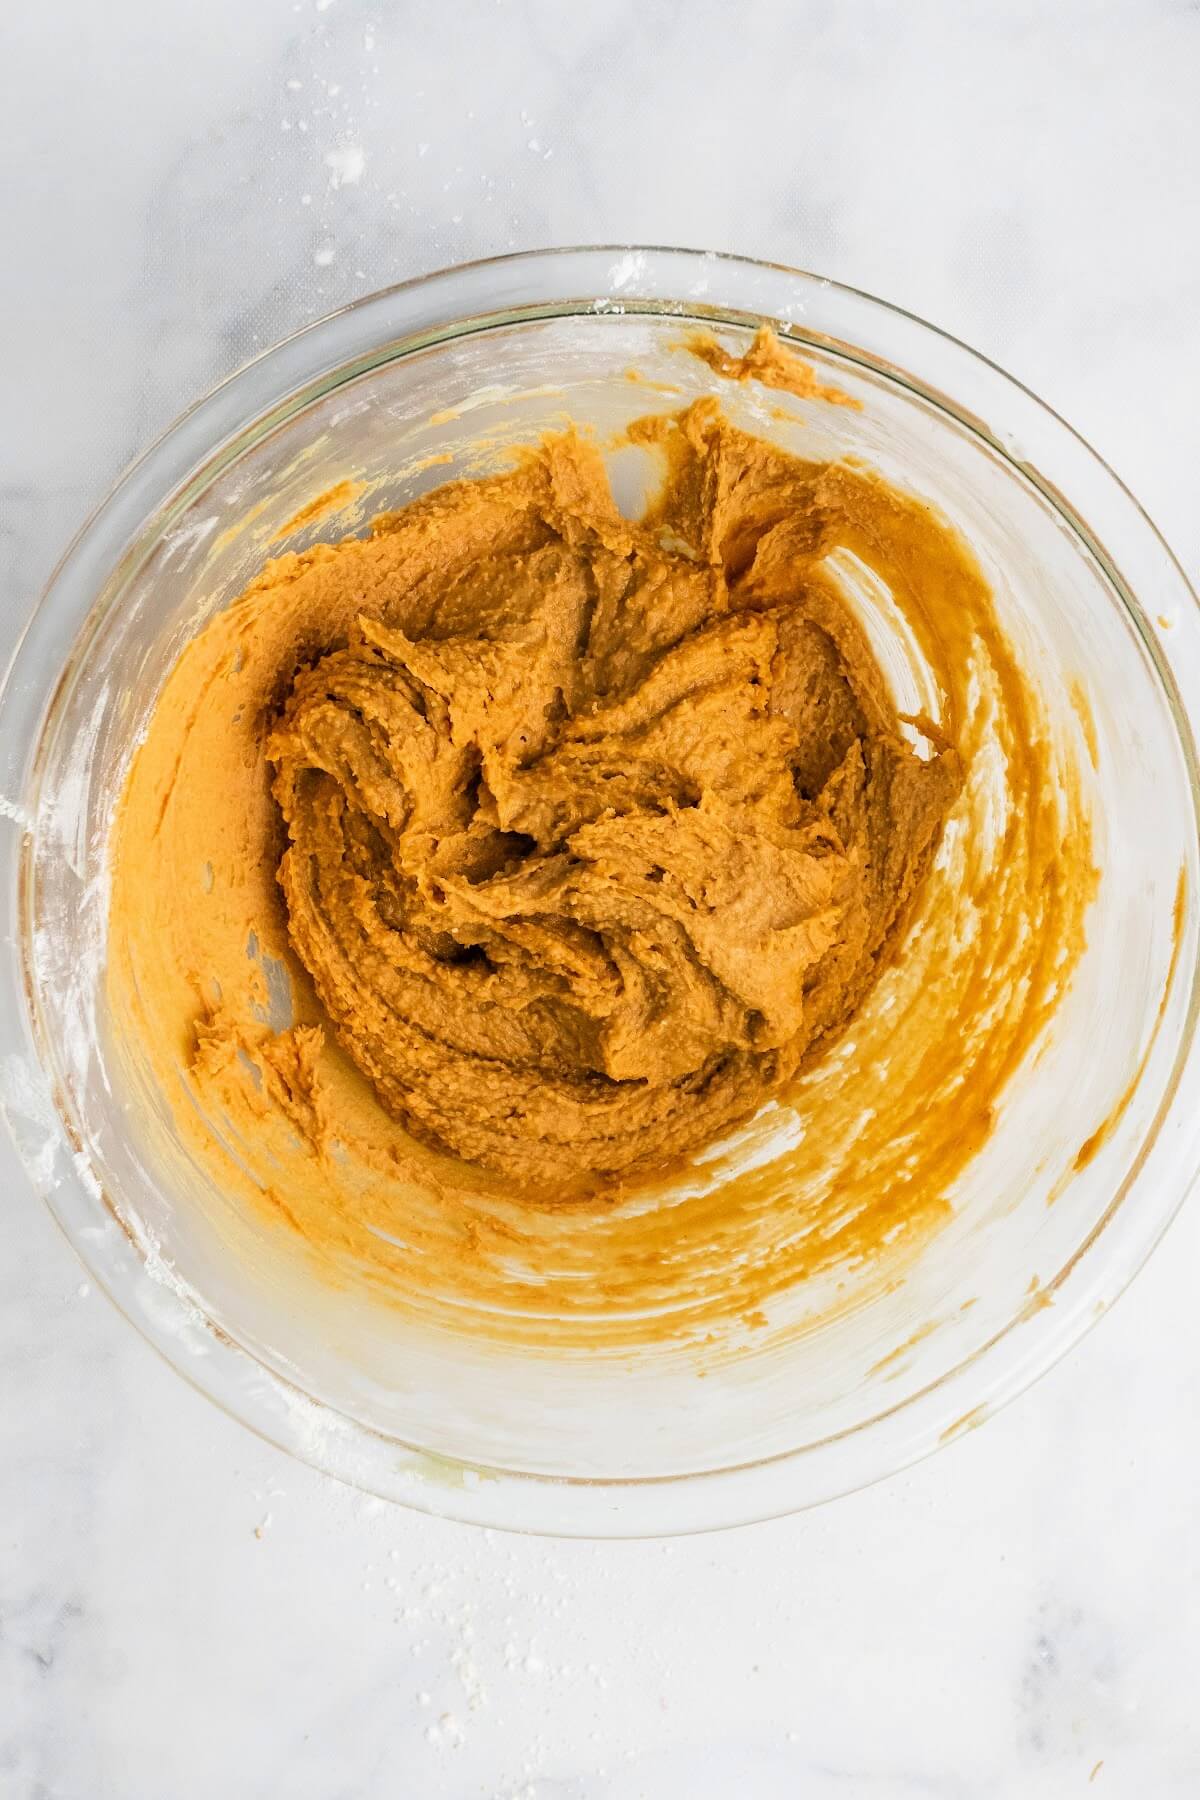
Use a handheld mixer to combine the ingredients until it’s creamy and fully incorporated.
Place the mixing bowl with the peanut butter truffles mixture in the freezer and allow to chill for at least 30 minutes. Do not skip this step because the peanut butter mixture needs to firm up.
Next, prep a freezer-safe large baking sheet by lining it with unbleached parchment paper, then set aside.
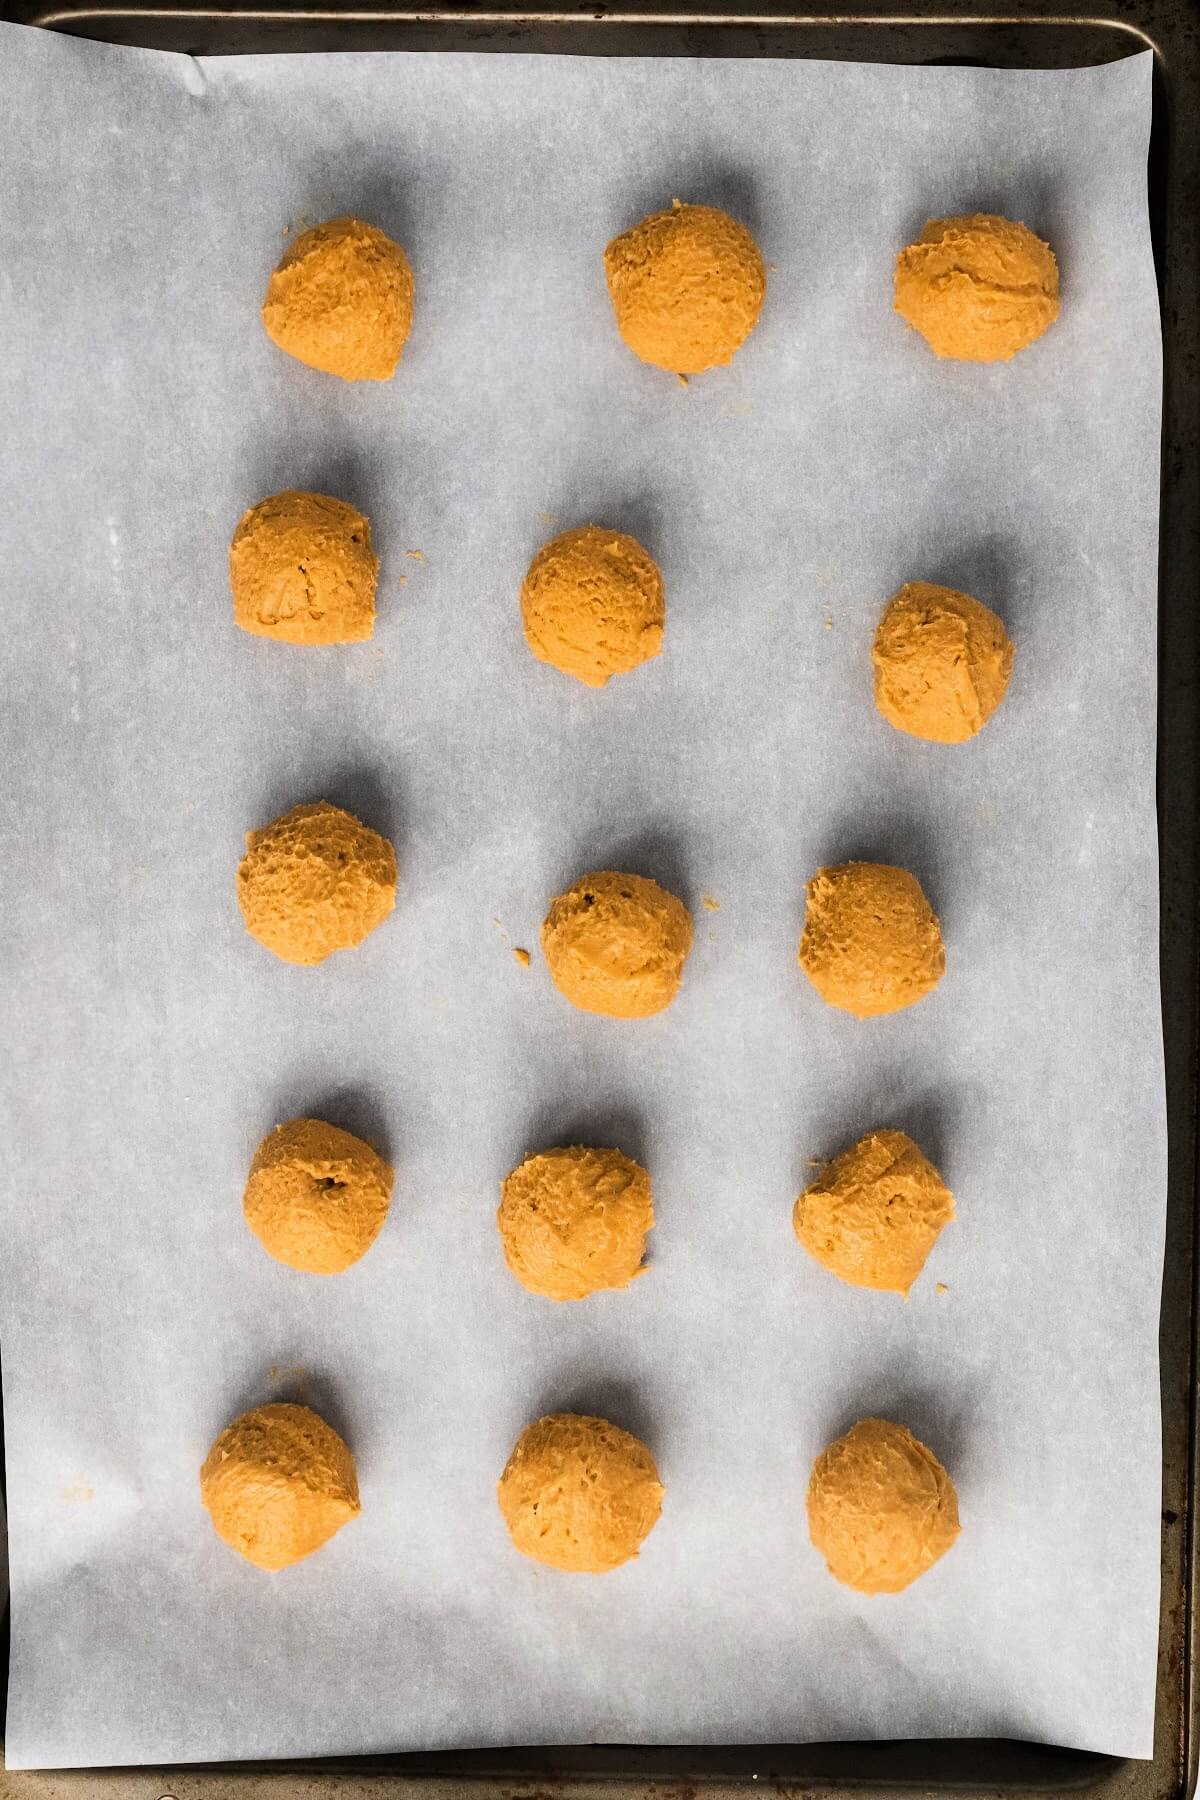
After the peanut butter truffles mixture has fully chilled, use a medium cookie scoop or a spoon to scoop out tablespoonfuls - then using clean hands, roll into balls and place individual peanut butter balls on a lined baking sheet. Your hands are going to get messy - just take care not to roll the mixture in the palms of your hands too much or the heat from your hands will cause the peanut butter truffles mixture to melt too much.
When you’re done rolling all of them out, place the peanut butter balls lined baking sheet in the freezer for about 30 minutes for them to get firm again.
While the peanut butter truffles set up and chill in the freezer, get ready to make the chocolate coating. There are two options for making the chocolate coating. See the recipe card for instructions on how to make the homemade chocolate coating from scratch.
Make a DIY Double Boiler
For the chocolate chips coating version, make a DIY version of a double boiler.
Get a small saucepan and add water (tap water is fine) to the pan, making sure to fill the pan up a little less than halfway up with water - using at least ½ cup of water. You want to have enough water in the pan so all of it doesn’t evaporate.
Then place a heat-safe glass mixing bowl over the top of the saucepan (the mixing bowl should be slightly larger than the circumference of the saucepan and should sit above the water, never touching the water).
Prep the Chocolate Chips Coating
Place the DIY double boiler saucepan on the stovetop and heat over medium heat, until the water starts to come to a boil - about 1-3 minutes, then turn off the heat.
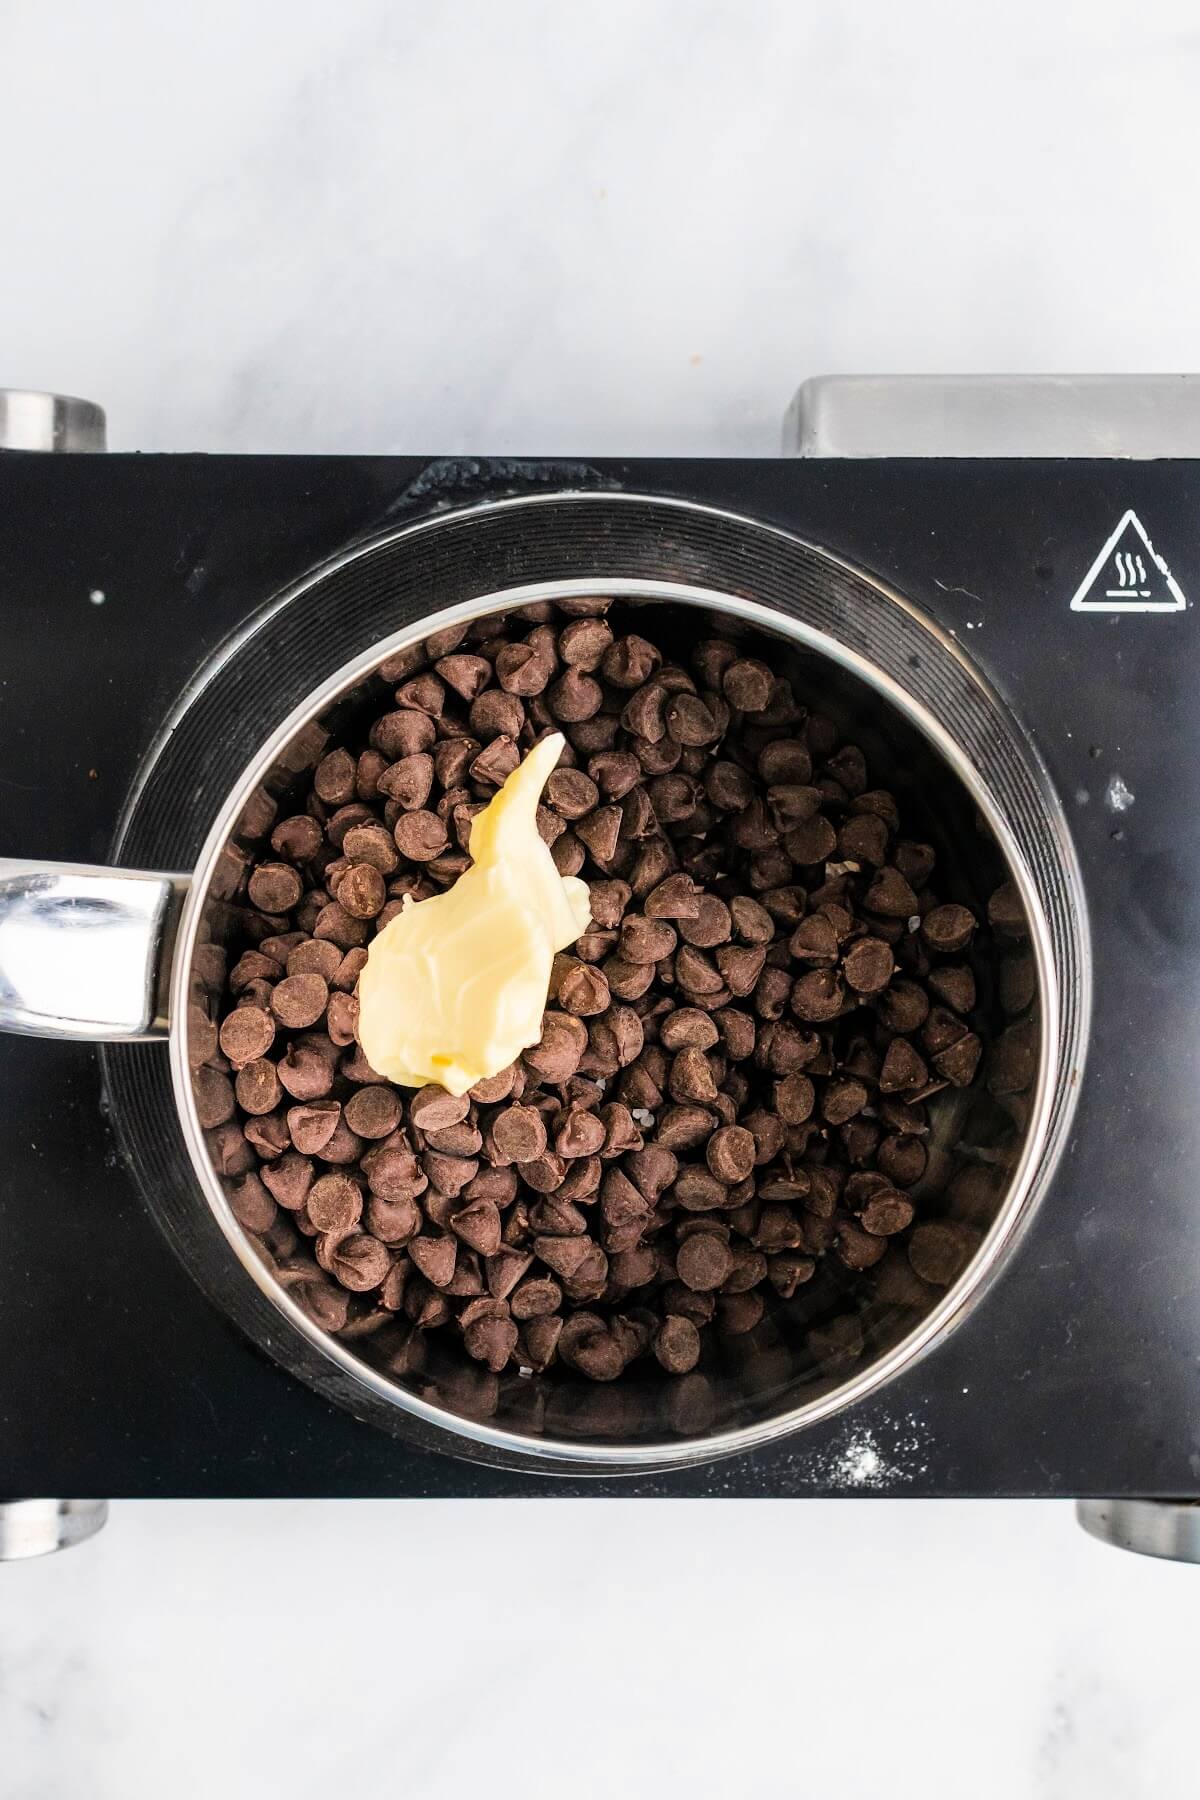
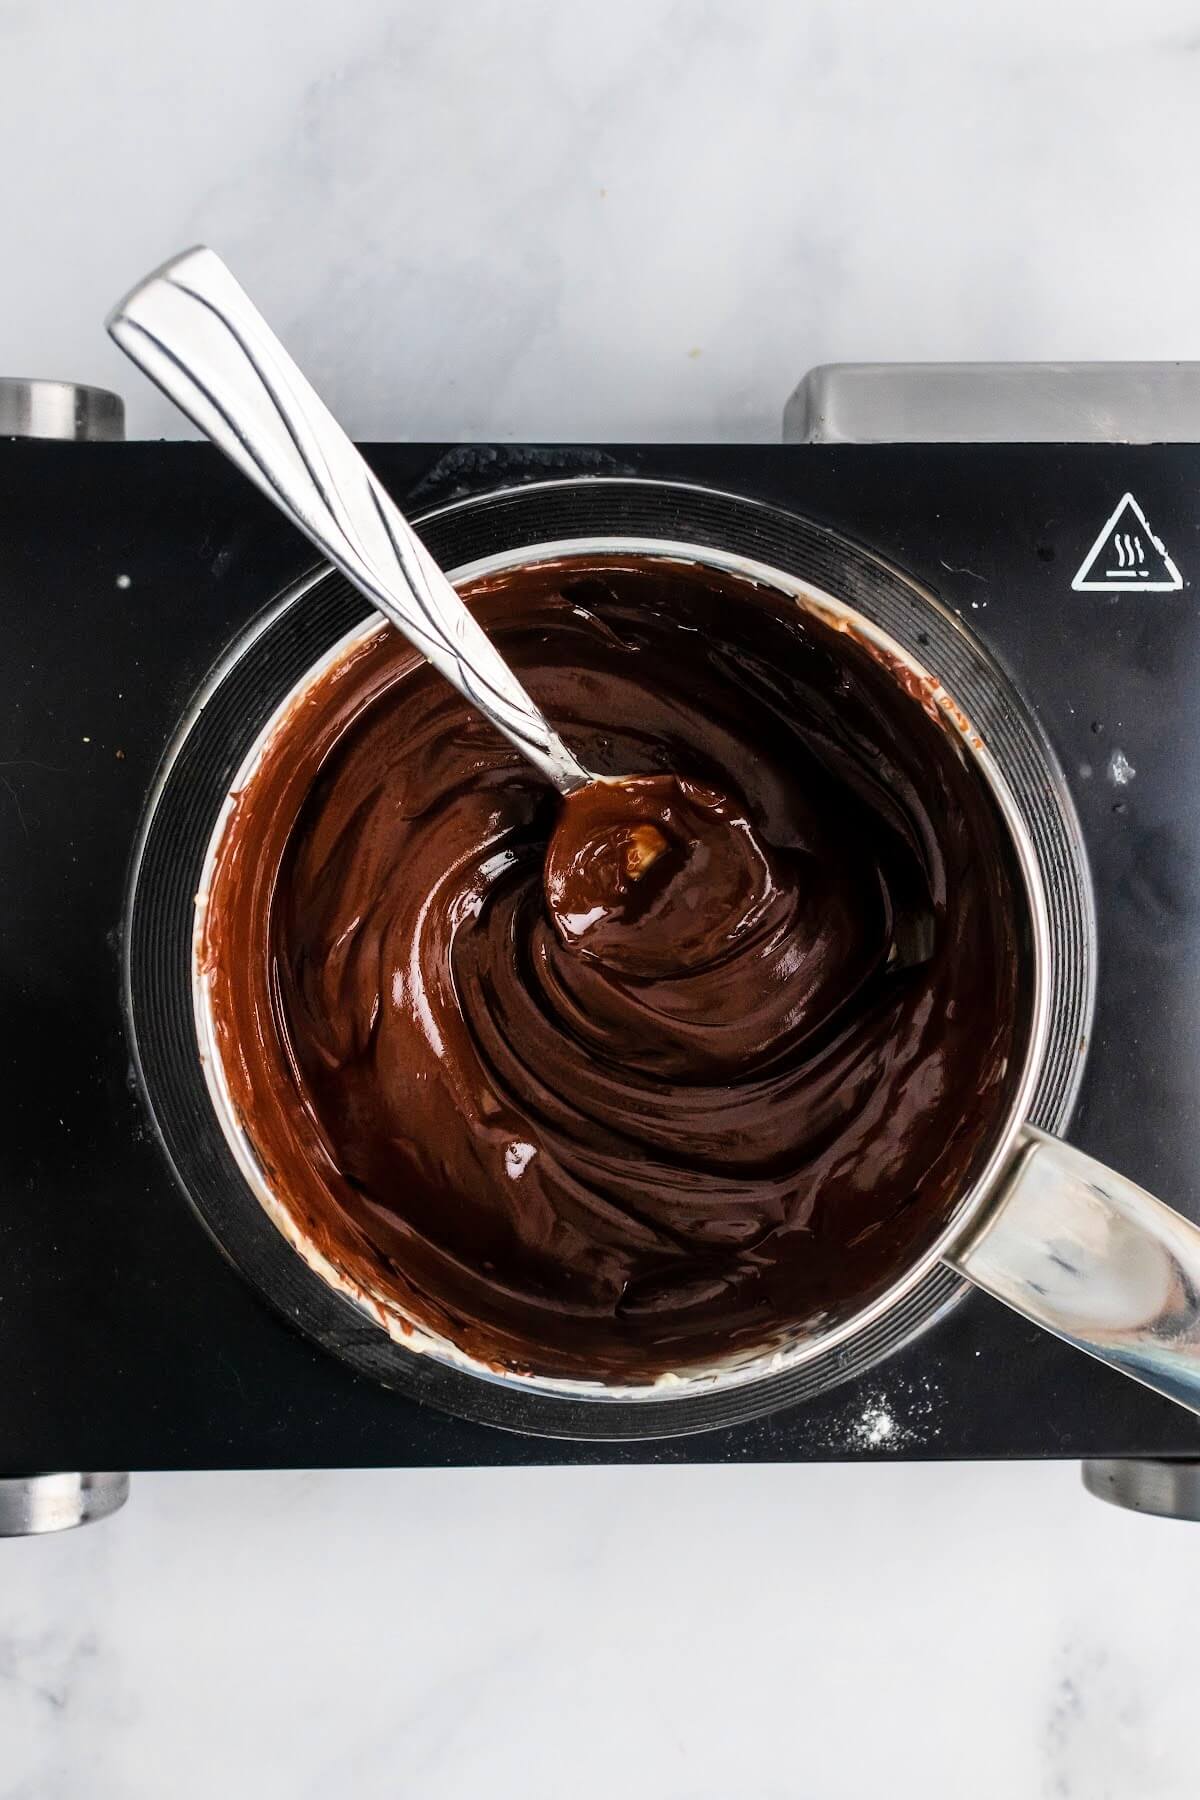
Add the chocolate chips, butter and sea salt to the DIY double boiler glass mixing bowl. Using a dry spoon or mixing spoon, stir continuously until the chocolate is almost melted, then remove from the heat - the residual heat will smooth the mixture out.
Don’t step away from this process because you want to remove the almost melted chocolate from the heat - if you don’t do this, you risk overcooking the chocolate. Chocolate that is heated too long can start to harden or turn grainy and then you can’t use it for dipping.
Another very important tip is do not get any water into the chocolate. This is so important! If any moisture gets into the melted chocolate, even a droplet, it will cause the chocolate to seize, which means it will be unworkable and you won’t be able to use it for dipping.
If you have a candy thermometer, the chocolate should remain below 110 degrees fahrenheit and stay above 70 degrees fahrenheit. To keep the chocolate properly melted for dipping, you want the chocolate to remain at 88 to 90 degrees fahrenheit. If needed, you can keep the bowl of melted chocolate sitting on top of a bowl of warm water - this will help keep it warm enough.
Coat the Chilled Peanut Butter Truffles
If you have a friend, spouse or kids helping you out, this is a good time to get them involved. This process is totally doable on your own, however, it makes the prep time quicker when you have several hands helping.
Remove the chilled peanut butter balls from the freezer. Working quickly, insert a toothpick into a peanut butter ball and dip it into the melted chocolate, gently moving it around until fully coated. If you don’t have a toothpick, use the tines of a fork instead, then use a spoon to help coat the truffles.
If you think the peanut butter balls have any moisture on them - do not dip them into the chocolate, instead hold them above the melted chocolate and use a spoon to help coat them.
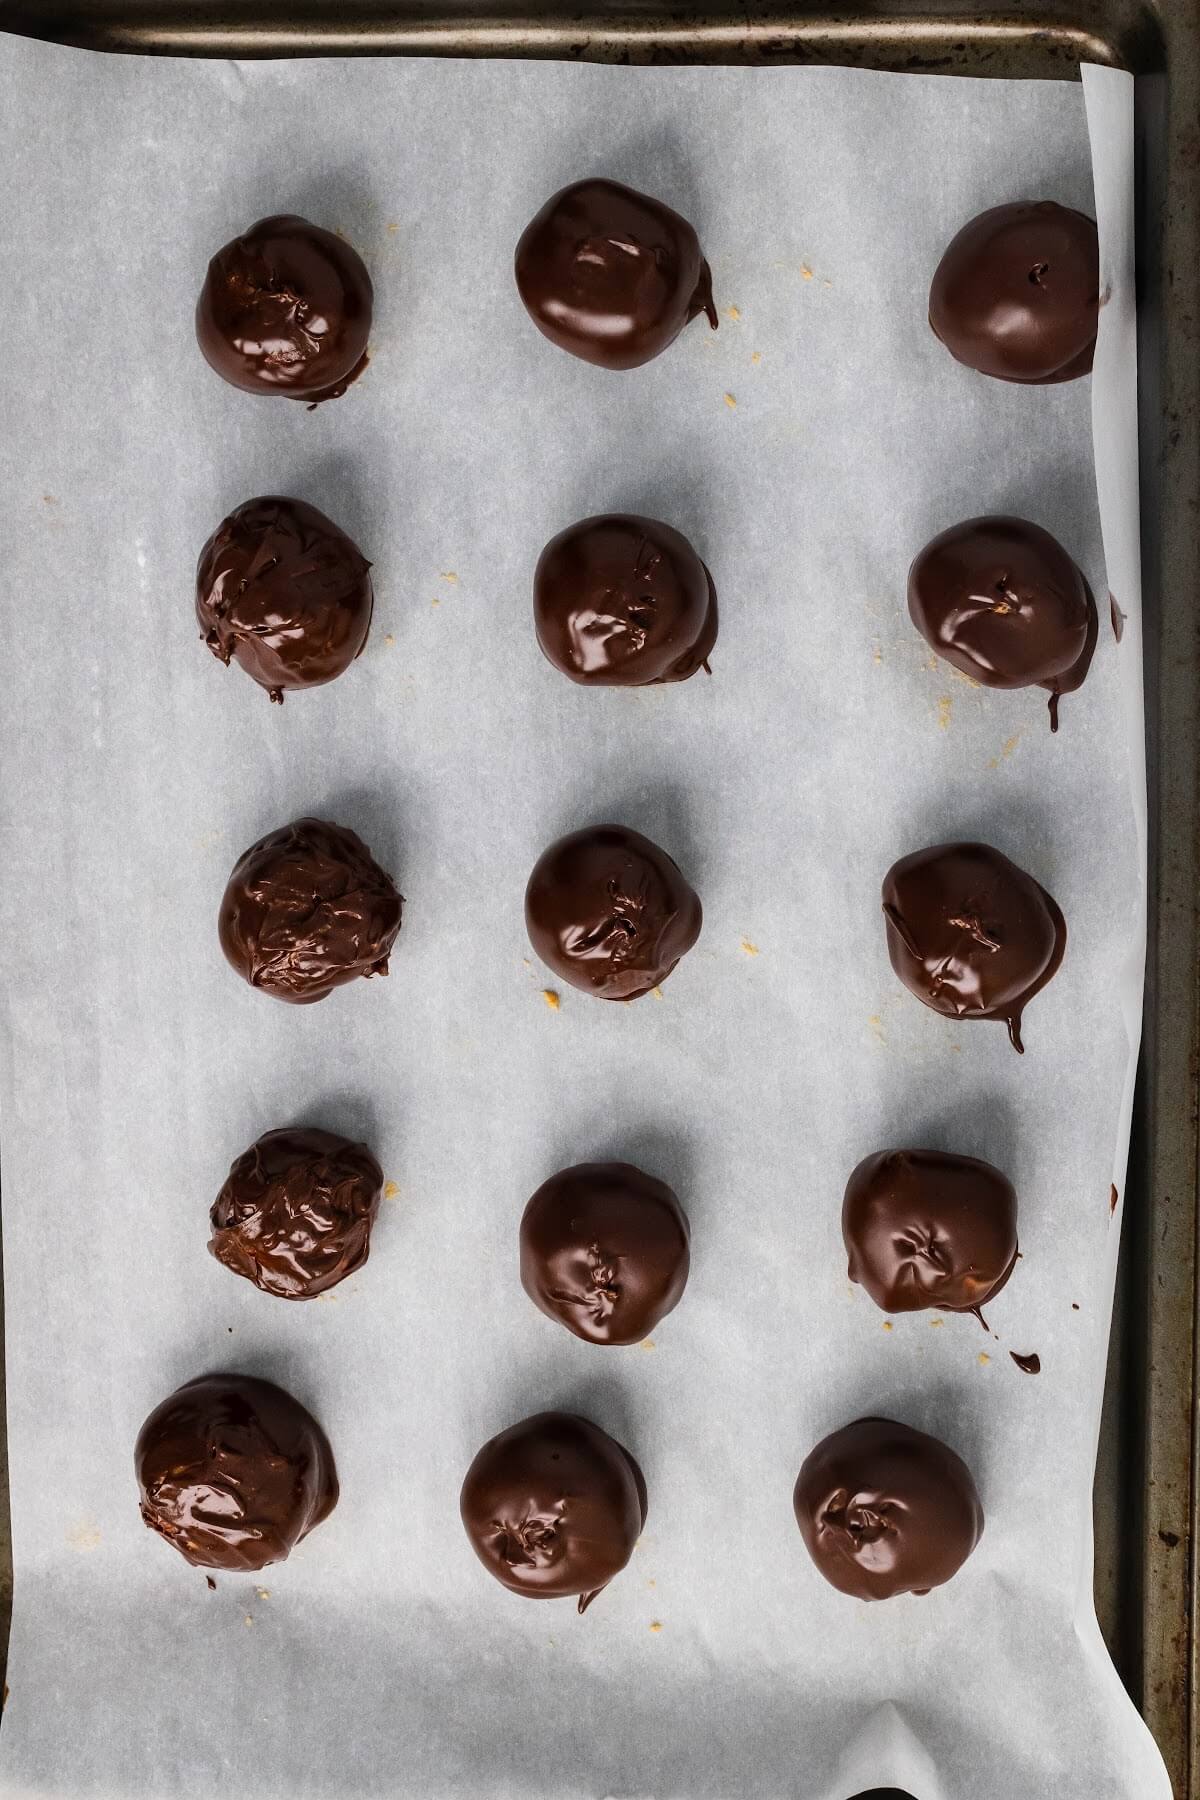
Allow the chocolate coated peanut butter balls to slightly drip off the excess melted chocolate, then use another toothpick or the tines of a fork to gently remove the chocolate truffles onto the same chilled lined baking sheet.
Repeat this process until all of the peanut butter truffles are coated with chocolate.
Chill the Chocolate Peanut Butter Truffles
Place the chocolate coated truffles back into the freezer for at least 5-10 minutes or until the chocolate coating has fully set.
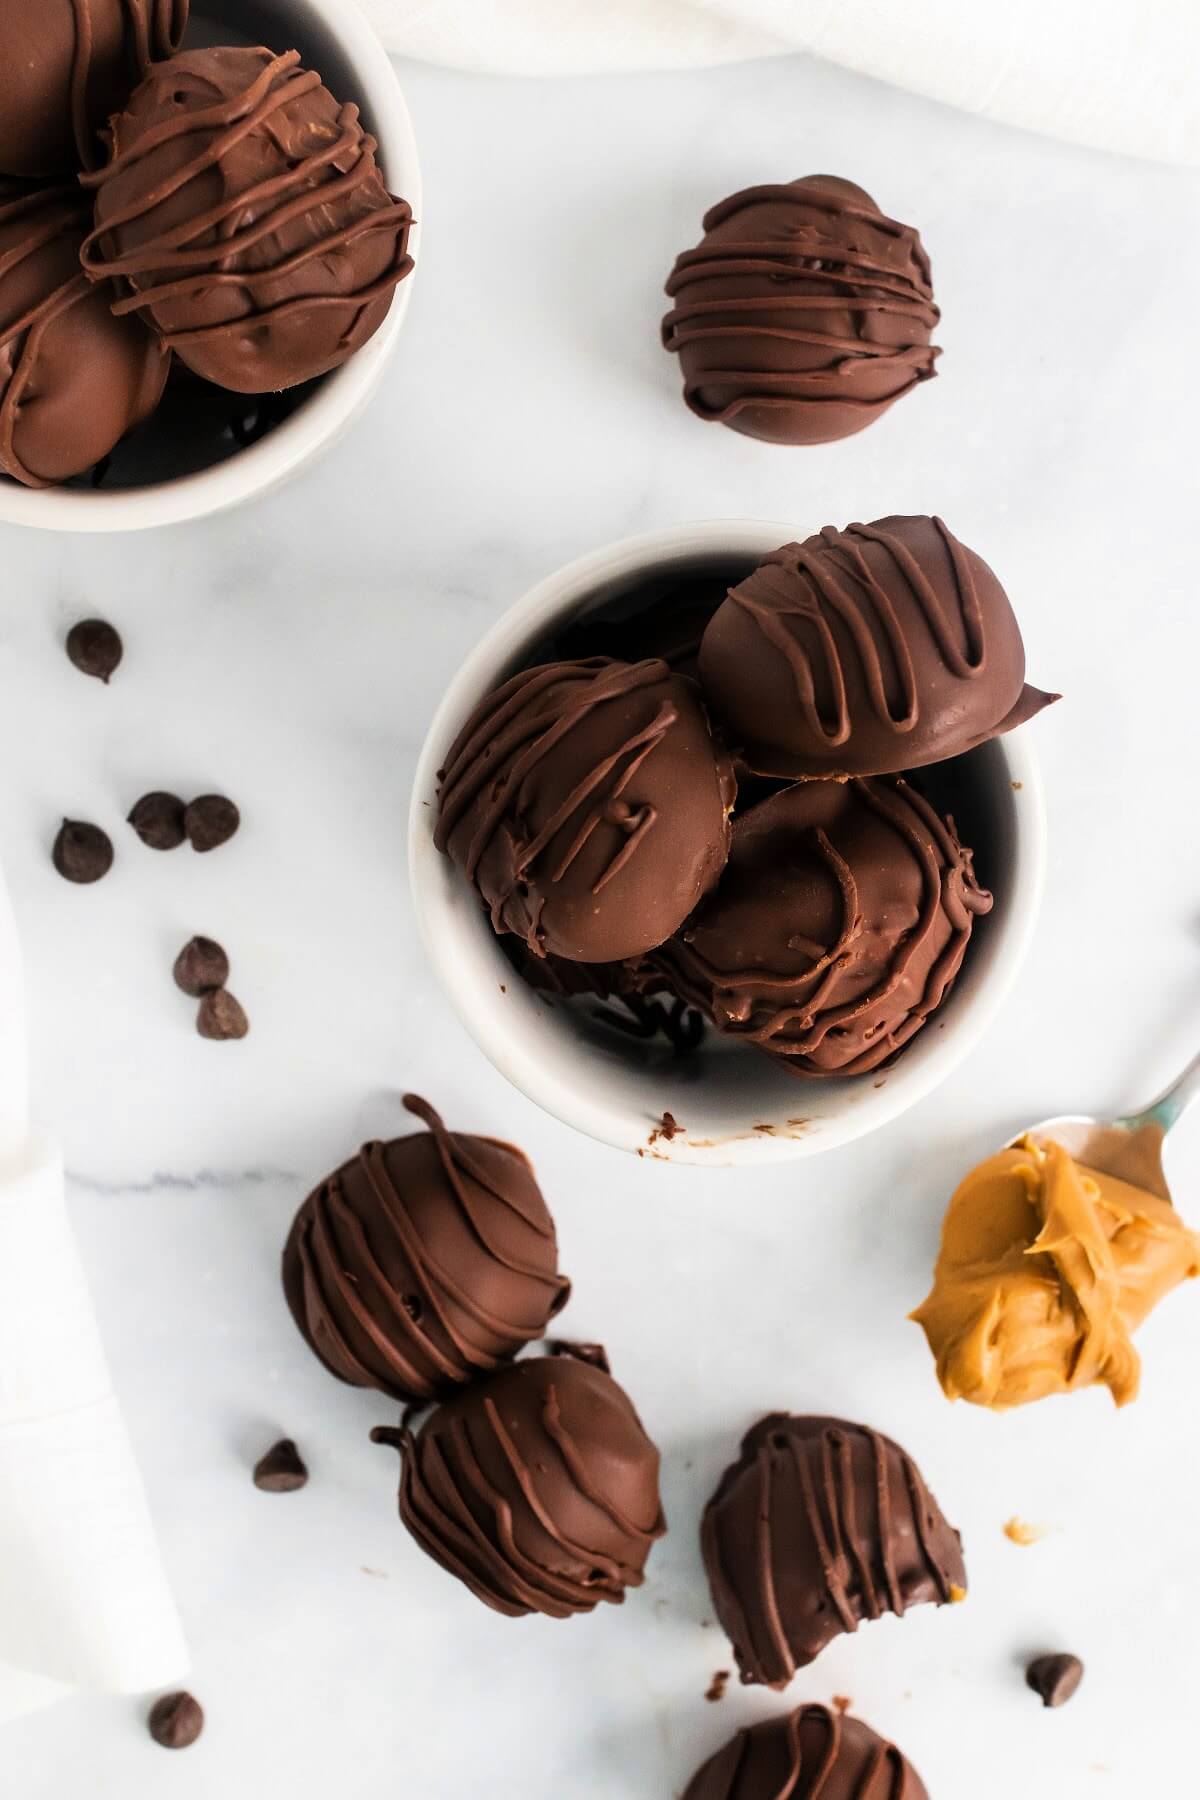
Once the chocolate has set, these truffles are ready to serve - or you can add an extra chocolate drizzle!
Optional Chocolate Drizzle
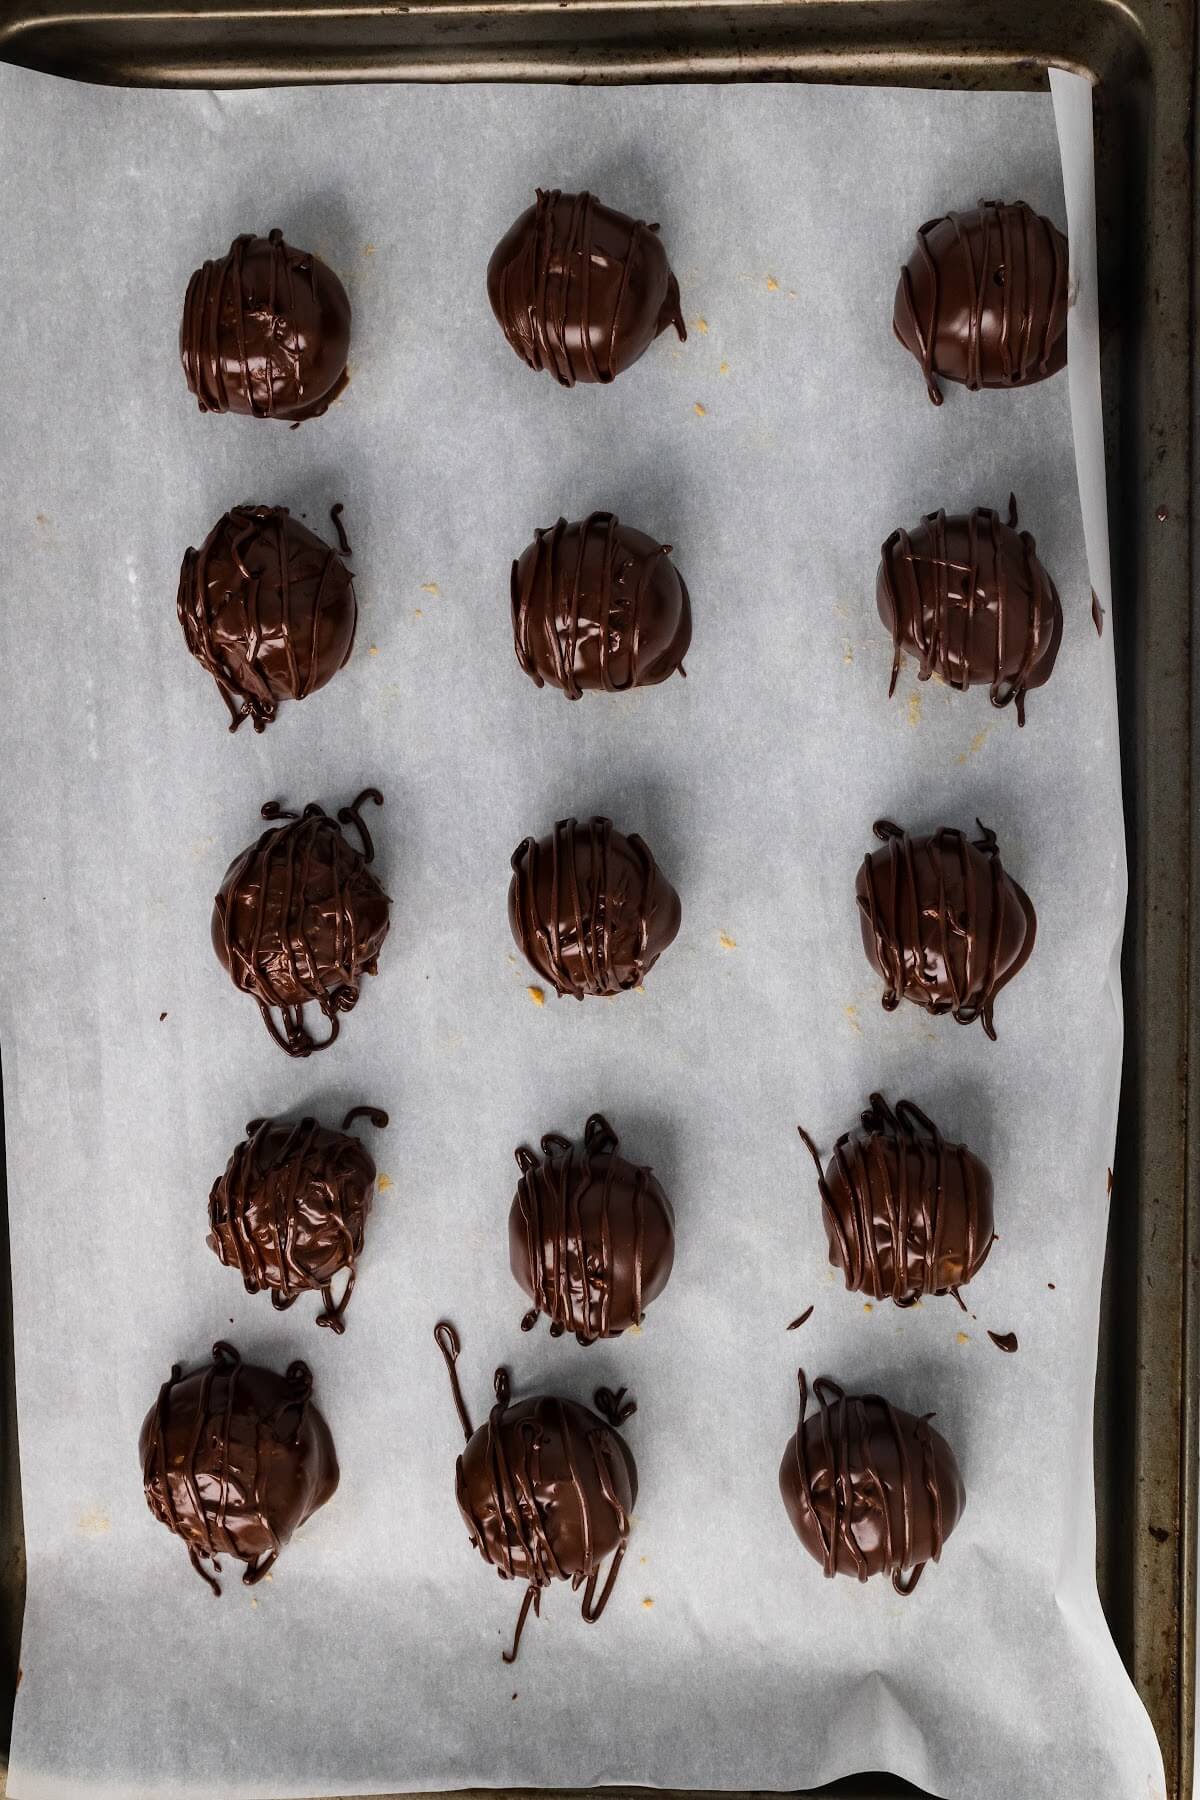
Once the chocolate coating has set, after 5-10 minutes of chilling in the freezer, remove the baking sheet from the freezer. Using the tines of a fork, dip the fork into the remaining melted chocolate and quickly move the fork back and forth in the air above the truffles to make chocolate drizzles over the tops.
Serving the Truffles
For the best fudge texture, make sure to serve the truffles when they are fully chilled or frozen. They are absolutely delicious served frozen out of the freezer! Enjoy!
RECIPE FAQS: TIPS FOR CHOCOLATE PEANUT BUTTER TRUFFLES SUCCESS
- How many healthy truffles will this chocolate peanut butter truffles recipe make? The finished truffles yield will vary only slightly depending on the size of the balls that you make. It should make about 22 medium-size chocolate peanut butter balls.
- Can the chocolate peanut butter truffles recipe be doubled? I have never tested this recipe out by doubling it, but my best guess is that it could be doubled or tripled!
- How sweet are the chocolate peanut butter truffles? These chocolate covered peanut butter truffles are not overly sweet, they have just the right amount of sweetness without being too much.
- Can you substitute the maple sugar for another sweetener? Yes, you can use the traditional powdered sugar - in that case, I would recommend using organic powdered sugar. If you like using monk fruit erythritol sweeteners, you can use a powdered sugar free sweetener instead. You can also use coconut sugar or sucanat, but you would need to blitz them in a food processor to grind them into a fine powder (prior to adding to the peanut butter balls mixture). This recipe calls for a dry sweetener, but if necessary, you can try using a sweetener like maple syrup or honey - however, I have not tested this. If you try this, I would recommend reducing the sweetener amount to ⅓ cup since it’s a liquid sweetener. If using honey, I only recommend using a mild, light-colored, quality honey for this recipe. Honey flavors like orange blossom honey, clover honey, thistle honey or alfalfa honey are known to be the most mild in flavor and will not take away from the natural flavor of the grapes. This is my favorite raw honey - I love their orange blossom and “original” honey. I also love using this raw honey, it’s easy to find online as well as at grocery stores like Sprouts Farmers Market.
- How long will these healthy truffles last? When stored in the proper air tight container, the chocolate peanut butter truffles will last one week in the refrigerator and up to 3 months in the freezer. Although, if you have kids, they’re going to gobble these truffles up faster than this!
- What type of collagen should be used for homemade peanut butter truffles? I only recommend this non-GMO grass-fed collagen that is certified free of pesticides, hormones, chemicals and contaminants. This collagen is the world’s only and first collagen (and gelatin) to earn the glyphosate residue-free certification from the Detox Project (see the above notes on grass-fed collagen in my post for more information). I have a 10% off discount for my readers - use NOURISH10 at checkout.
- How should these healthy chocolate peanut butter balls be stored? Once the homemade truffles have set, store them in a freezer safe airtight container in the freezer so they keep longer - they're amazing right out of the freezer and have the best texture when frozen. Alternatively, you can store them using the same method, but in the refrigerator instead. They will keep in the refrigerator for up to a week and in the freezer for up to 3 months.
These healthy chocolate peanut butter truffles are such a fun treat! Make up a batch of these homemade truffles anytime you’d like to have a delicious treat on hand. Just store them in the freezer and enjoy them any day of the week for a sweet snack or dessert. They’re also perfect for festive holidays like Halloween, Christmas and Easter!
IF YOU LIKE THIS EASY NO BAKE CHOCOLATE PEANUT BUTTER TRUFFLES RECIPE, YOU MAY ALSO LIKE THESE DELICIOUS RECIPES FROM RECIPES TO NOURISH:
- 4-Ingredient Sugar Free Chocolate Caramel Truffles
- 4-Ingredient Paleo Chocolate Caramels {See's Candies Copycat!}
- Easy Raspberry Chocolate Freezer Fudge
- Easy Nourishing Chocolate Sunflower Freezer Fudge
- Nourishing Honey Sweetened Hot Chocolate
- Healthy Sweet Beet Hot Chocolate
- Easy Instant Pot Spiced Apple Cider
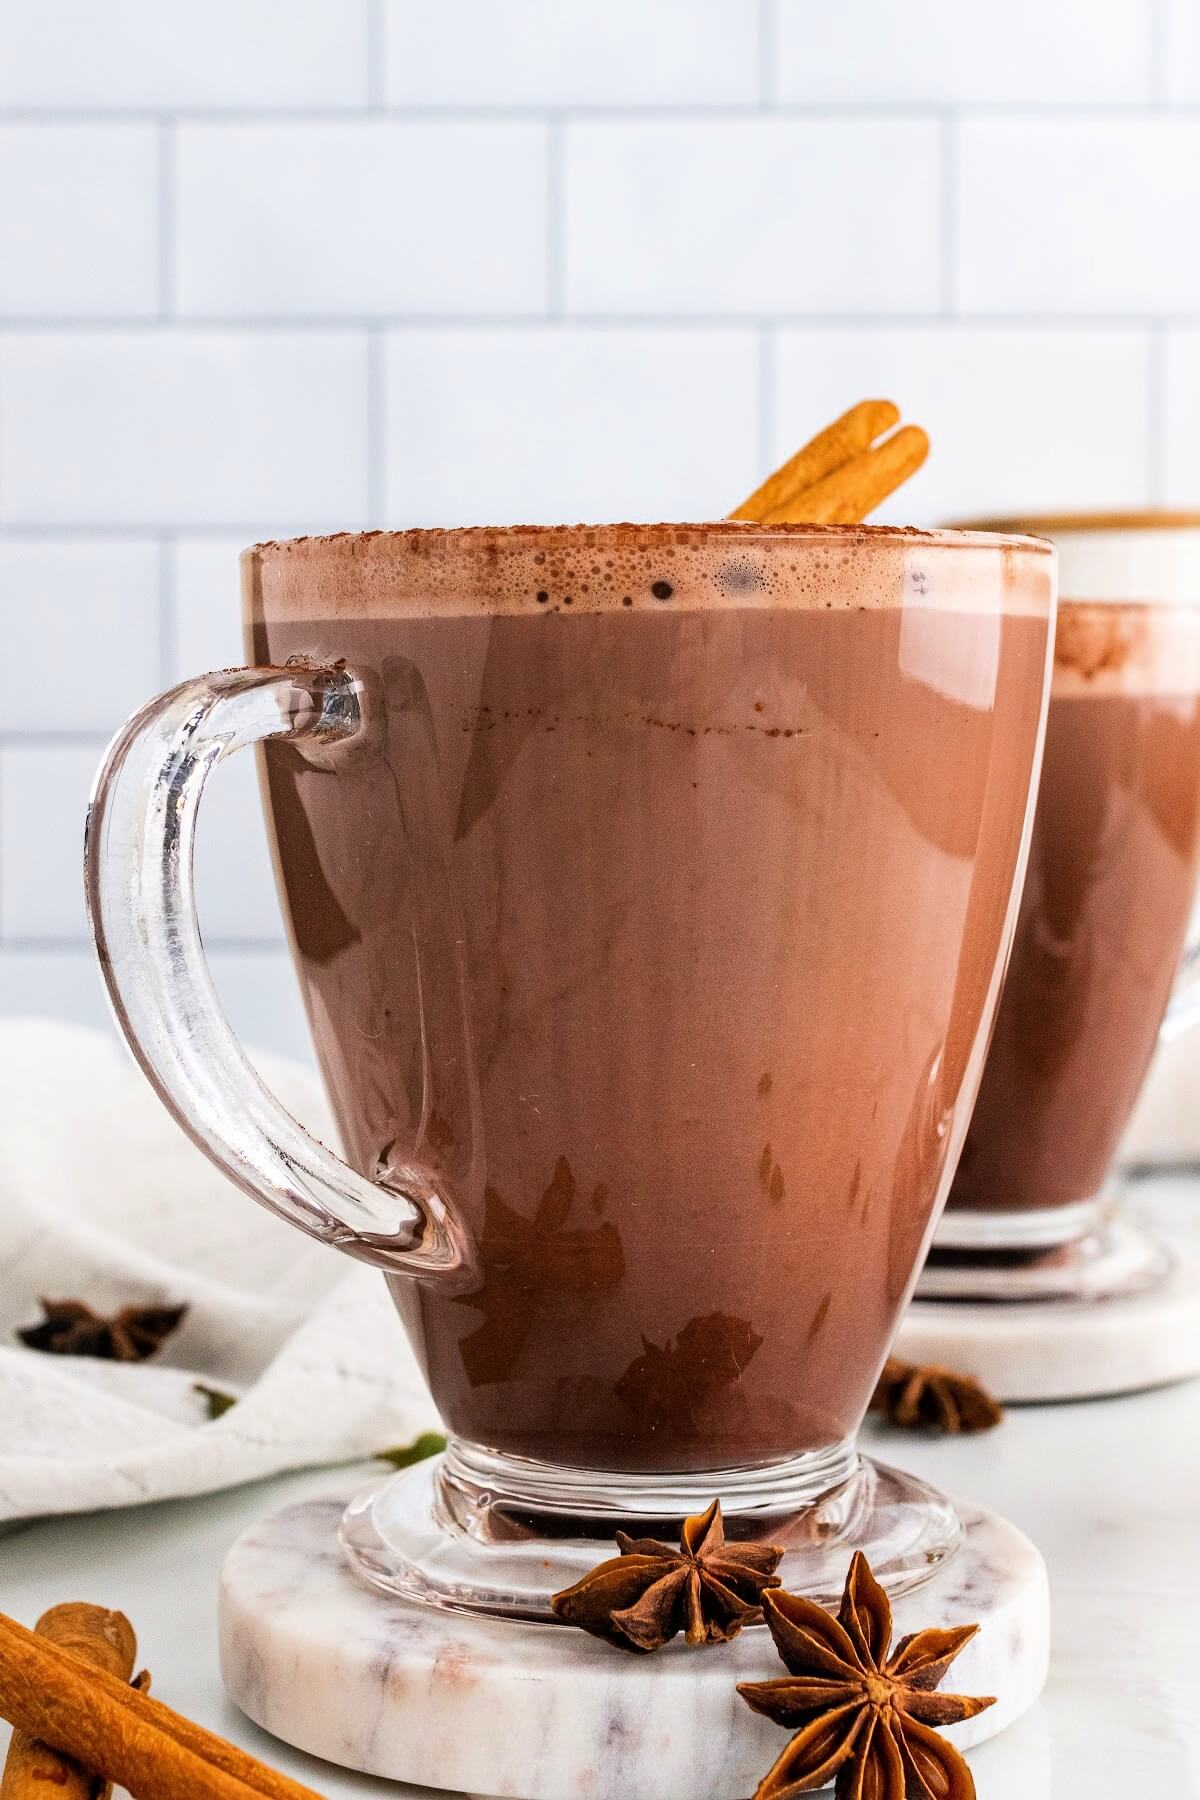
- Honey Sweetened Chai Hot Chocolate
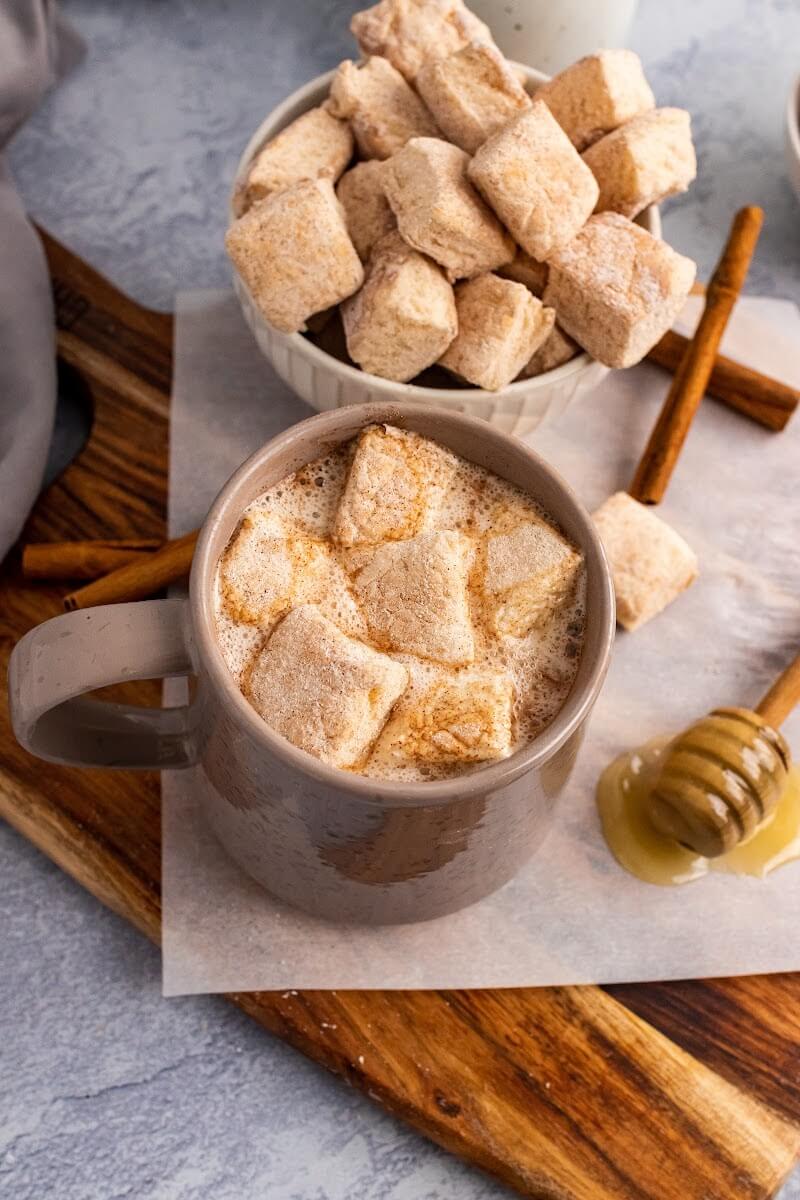
- Honey Sweetened Cinnamon Marshmallows
- Healthy Chocolate Peppermint Marshmallows
- Instant Pot Grain Free Peppermint Cheesecake
- Flourless Peanut Butter Chocolate Sandwich Cookies
- Grain Free Ginger Molasses Cookies
- Grain Free Chocolate Crinkles
- Paleo Sweet Beet Chocolate Crinkles
- Gluten Free Honey Gingerbread Cookies
Healthy Chocolate Peanut Butter Truffles
Healthy Chocolate Peanut Butter Truffles
Healthy Chocolate Peanut Butter Truffles are a fun, protein-packed, festive treat for the holidays! This delicious, no bake version is so easy to make, has the best texture and much healthier ingredients than traditional Buckeyes or peanut butter balls.
Ingredients
FOR THE PEANUT BUTTER BALLS:
- 1 cup organic creamy peanut butter
- ¼ cup grass-fed butter, softened
- ½ cup maple sugar (see notes)
- ½ cup arrowroot flour
- 2 scoops hydrolyzed grass-fed collagen (see notes)
- 1 teaspoon vanilla extract
- ½ teaspoon mineral-rich sea salt (this is my favorite salt)
FOR A CHOCOLATE COATING - WITH CHOCOLATE CHIPS:
- 8 oz. chocolate chips or chopped chocolate bar (see notes)
- 1 tablespoon grass-fed butter or ghee
- ⅛ teaspoon mineral-rich sea salt
FOR A HOMEMADE CHOCOLATE COATING - WITHOUT CHOCOLATE CHIPS:
- ½ cup food grade cacao butter
- ¼ cup cacao powder, sifted
- 2 tablespoon mild, light colored honey
- ⅛ teaspoon mineral-rich sea salt
Instructions
To Make the Peanut Butter Truffles:
- In a large freezer-safe mixing bowl, add the peanut butter, softened butter, maple sugar, arrowroot powder, collagen, vanilla extract and the mineral-rich sea salt. Use a handheld mixer to combine the ingredients until it’s creamy and fully incorporated.
- Place the mixing bowl with the peanut butter truffles mixture in the freezer and allow to chill for at least 30 minutes. Do not skip this step because the peanut butter mixture needs to firm up.
- Next, prep a freezer-safe large baking sheet by lining it with unbleached parchment paper, then set aside.
- After the peanut butter truffles mixture has fully chilled, use a medium cookie scoop or a spoon to scoop out tablespoonfuls - then using clean hands, roll into balls and place individual peanut butter balls on a lined baking sheet. Your hands are going to get messy - just take care not to roll the mixture in the palms of your hands too much or the heat from your hands will cause the peanut butter truffles mixture to melt too much.
- When you’re done rolling all of them out, place the peanut butter balls lined baking sheet in the freezer for about 30 minutes for them to get firm again.
- While the peanut butter truffles set up and chill in the freezer, get ready to make the chocolate coating. There are two options for making the chocolate coating below.
Option 1 - Chocolate Coating WITH Chocolate Chips:
- Make a DIY version of a double boiler - get a small saucepan and add water (tap water is fine) to the pan, making sure to fill the pan up a little less than halfway up with water - using at least ½ cup of water. You want to have enough water in the pan so all of it doesn’t evaporate.
- Place a heat-safe glass mixing bowl over the top of the saucepan (the mixing bowl should be slightly larger than the circumference of the saucepan and should sit above the water, never touching the water).
- Place the DIY double boiler saucepan on the stovetop and heat over medium heat, until the water starts to come to a boil - about 1-3 minutes, then turn off the heat.
- Add the chocolate chips, butter and sea salt to the DIY double boiler glass mixing bowl. Using a dry spoon or mixing spoon, stir continuously until the chocolate is almost melted, then remove from the heat - the residual heat will smooth the mixture out. Don’t step away from this process because you want to remove the almost melted chocolate from the heat - if you don’t do this, you risk overcooking the chocolate. [NOTE: Chocolate that is heated too long can start to harden or turn grainy and then you can’t use it for dipping. Also, take care to not get any water into the chocolate - this is so important! If any moisture gets into the melted chocolate, even a droplet, it will cause the chocolate to seize, which means it will be unworkable and you won’t be able to use it for dipping. If you want to use a candy thermometer, the chocolate should remain below 110 degrees fahrenheit and stay above 70 degrees fahrenheit. To keep the chocolate properly melted for dipping, you want the chocolate to remain at 88 to 90 degrees fahrenheit. If needed, you can keep the bowl of melted chocolate sitting on top of a bowl of warm water - this will help keep it warm enough.]
Option 2 - Homemade Chocolate Coating WITHOUT Chocolate Chips:
- Follow the same instructions above for the DIY double boiler. Instead of adding chocolate chips, add the cacao butter, keeping the double boiler over low heat, stirring constantly until the cacao butter has melted - this takes about 2 minutes. Once it has melted, remove the DIY double boiler from the heat and add the cacao powder, honey and sea salt, whisking constantly until fully incorporated and it forms a chocolate syrup. [NOTE: This chocolate will not be as thick as the melted chocolate chips option.]
To Coat the Peanut Butter Balls:
- Remove the chilled peanut butter balls from the freezer. Working quickly, insert a toothpick into a peanut butter ball and dip it into the melted chocolate, gently moving it around until fully coated. If you don’t have a toothpick, use the tines of a fork instead, then use a spoon to help coat the truffles. If you think the peanut butter balls have any moisture on them - do not dip them into the chocolate, instead hold them above the melted chocolate and use a spoon to help coat them.
- Allow the chocolate coated peanut butter balls to slightly drip off the excess melted chocolate, then use another toothpick or the tines of a fork to gently remove the chocolate truffles onto the same chilled lined baking sheet.
- Repeat this process until all of the peanut butter truffles are coated with chocolate.
- Place the chocolate coated truffles back into the freezer for at least 5-10 minutes or until the chocolate coating has fully set.
- Once the chocolate has set, these truffles are ready to serve - or you can add an extra chocolate drizzle!
To Make the Optional Chocolate Drizzle:
- Once the chocolate coating has set, after 5-10 minutes of chilling in the freezer, remove the baking sheet from the freezer. Using the tines of a fork, dip the fork into the remaining melted chocolate and quickly move the fork back and forth in the air above the truffles to make chocolate drizzles over the tops.
Serving the Truffles
For the best fudge texture, make sure to serve the truffles when they are fully chilled or frozen. They are absolutely delicious served frozen out of the freezer! Enjoy!
Notes
YOU WILL NEED: Freezer Safe Baking Sheet, Unbleached Parchment Paper, Large Mixing Bowl, Handheld Mixer, Medium Cookie Scoop or Spoon, Small Saucepan, Heat-safe Glass Mixing Bowl, Spoon or Mixing Spoon, Toothpicks or Fork
Sweetener Options: If you don’t have maple sugar on hand, you can use the traditional powdered sugar instead - I would recommend using organic powdered sugar. If you like using monk fruit erythritol sweeteners, you can use a powdered sugar free sweetener instead. You can also use coconut sugar or sucanat, but you would need to blitz them in a food processor to grind them into a fine powder (prior to adding to the peanut butter balls mixture).
Chocolate Chips: If you’re looking for a naturally sweetened chocolate, Hu brand makes coconut sugar sweetened chocolate chips as well as delicious milk chocolate bars and dark chocolate bars. If you’re looking for sugar free chocolate chips, I love these fair trade 100% sugar free chocolate chips. If you don’t mind stevia and erythritol, Lily’s brand makes quality chocolate chips and chocolate bars.
Grass-fed Collagen: I only recommend this non-GMO grass-fed collagen that is certified free of pesticides, hormones, chemicals and contaminants. This collagen is the world’s only and first collagen (and gelatin) to earn the glyphosate residue-free certification from the Detox Project (see the above notes on grass-fed gelatin in my post for more information). I have a 10% off discount for my readers - use NOURISH10 at checkout.
Storage: I store the homemade truffles in a freezer safe airtight container in the freezer so they keep longer - they're amazing right out of the freezer and have the best texture when frozen. Alternatively, you can store them using the same method, but in the refrigerator instead. They will keep in the refrigerator for up to a week and in the freezer for up to 3 months.
Serving Suggestions: My preference for eating these is straight out of the freezer. They have the best texture when they’re frozen! The frozen consistency is like peanut butter fudge and it’s absolutely delectable. If you choose to refrigerate them instead, that’s fine too. Either way, these chocolate peanut butter truffles should be served cold. Leave them chilling until you are ready to serve them.
The photographs of this recipe, recipe and all content above are copyright protected. Please do not use my photos without prior written permission. If you choose to share this recipe, please feel free to share by using proper etiquette and providing a link back to my original recipe on my blog, not a screenshot, with proper disclosure [the original recipe - "title of recipe" by Recipes to Nourish]. Copying/pasting the full recipe text to websites or social media is prohibited. If you make significant changes to the recipe or adapt the recipe in any way, please rewrite the recipe in your own unique words and provide a link back here with proper disclosure for credit. Thanks for understanding!
[Updated Recipe October 2022]
Recommended Products
Nutrition Information:
Yield: 22 Serving Size: 1Amount Per Serving: Calories: 296Total Fat: 19gSaturated Fat: 9gTrans Fat: 0gUnsaturated Fat: 9gCholesterol: 9mgSodium: 149mgCarbohydrates: 28gFiber: 3gSugar: 13gProtein: 6g
This nutritional information was auto-generated based on serving size, number of servings, and typical information for the ingredients listed. To obtain the most accurate representation of the nutritional information in a given recipe, please calculate the nutritional information with the actual ingredients and amounts used, using your preferred nutrition calculator. Under no circumstances shall the this website and the author be responsible for any loss or damage resulting for your reliance on the given nutritional information. You are solely responsible for ensuring that any nutritional information provided is accurate, complete, and useful.
Are you on Pinterest? I pin lots of yummy real food recipes + more there. I have a board just for Gluten Free Treats and one for Winter Favorites + Christmas too. Come follow along.
MORE RECIPES YOU MAY ENJOY
Honey Sweetened Chai Hot Chocolate
Honey Sweetened Cinnamon Marshmallows
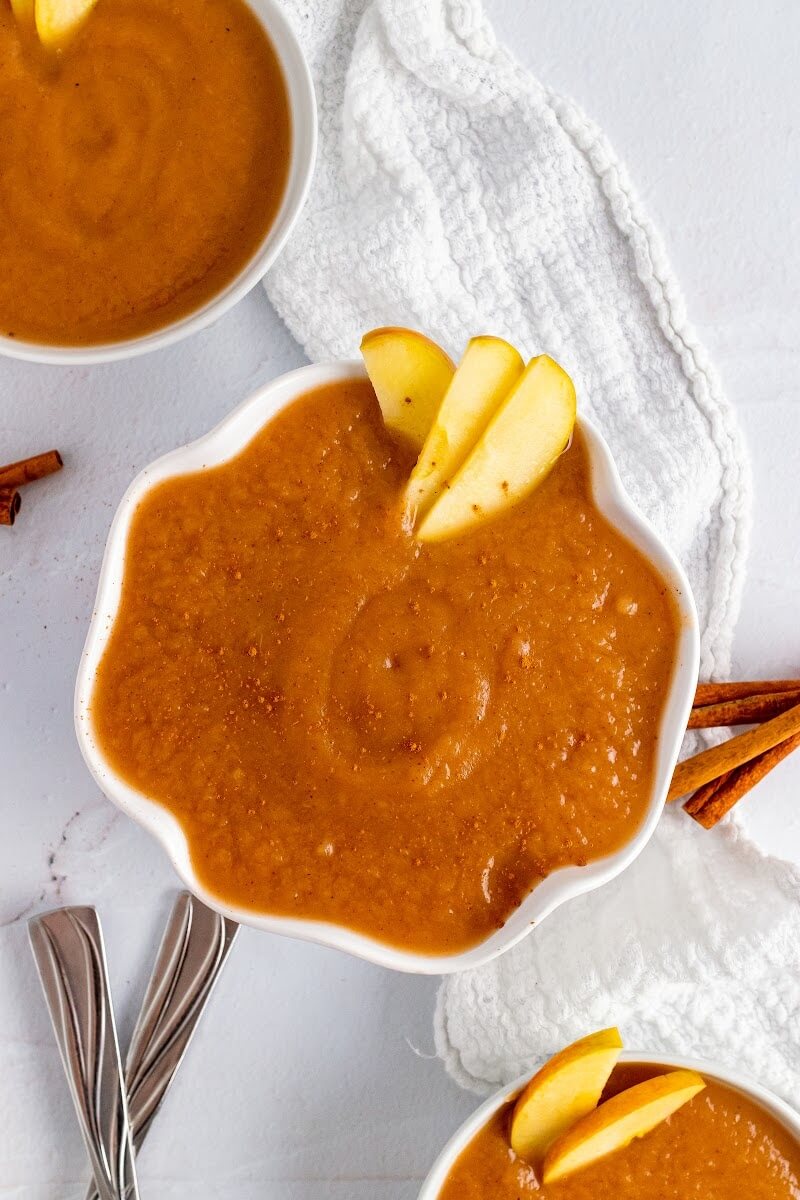
3 Minute Instant Pot Applesauce
Hydrolyzed Collagen, Desiccated Liver, Coconut Oil, Liver Detox Support, Ancient Minerals + more!





Megan Stevens
I so *love* this recipe and that you give a coating recipe alternative for those who can't have chocolate chips!! 🙂 I can't wait to make these for my kids and ME! xx
Emily Vidaurri
Thanks so much Megan! These are so much fun and a nice alternative to the traditional ones. I hope you get to make them for your family. Happy holidays! xo
Renee Kohley
My mouth is watering! These sound so good!
Emily Vidaurri
Thank you Renee! They're so delicious 🙂
linda spiker
Wow. These are gorgeous! All that drizzled chocolate! You should call them Amaze Balls!
Emily Vidaurri
LOL thanks Linda! xo
Raia
Definitely going on my menu... 😉
Emily Vidaurri
I hope you get to make some! 🙂
Andrea Fabry
I've never tried truffles before! I can't wait. We use almond butter but that should work perfectly as well. Thank you!
Emily Vidaurri
I'm sure any nut butter would be delicious. 🙂 I don't do so well with peanut butter, but my husband and daughter love it. So I make these for them.
karen
These sound amazing! One question. Can you eat raw flour?
Emily Vidaurri
Thanks! Arrowroot powder is fine for this recipe. Most people gently toast or bake raw flour if they're making edible cookie dough.
GiGi Eats
I COULD NEVER EVER EVER HAVE THESE IN MY HOUSE - LOL! I wouldn't be able to STOP eating them!
Emily Vidaurri
LOL they are pretty addictive 🙂 Luckily they're much healthier + they've got some gut supporting protein in them 😉
Tash
Ohh these look amazing! I love the chocolate shell and drizzle. It makes them look so professional like they belong in a fancy shop!
Emily Vidaurri
Aww thanks Tash! Such kinds words 🙂
Sarah
I remember last year wanting to make peanut butter truffles like this and then realizing that you have to use a ton of powdered sugar. I figured I'd make them anyways and just share because it was a special occasion, but they ended up being waaaaay too sweet for me because I wasn't used to having so much sugar anymore. That being said - I can't wait to try there - I just need to find some maple sugar and I'm all over it!
Emily Vidaurri
The powered sugar ones are yummy too, just a bit more sugar than I'm wanting 🙂 I LOVE the maple sugar and it adds such a nice flavor. I hope you get to make some!
Miz Helen
What a special treat, we will just love your Peanut Butter Truffles. Thanks so much for sharing with us at Full Plate Thursday and hope you are having a great holiday season!
Come Back Soon,
Miz Helen
Emily Vidaurri
Thank you Miz Helen! Hope you're enjoying the holiday season too.
Shari
Emily, Can you please give measurements for the collagen? Mine doesn't have a scoop. Thanks! Can't wait to make these.
Emily Vidaurri
Hi Shari, it will end up being about 1/4 cup. Enjoy them! 🙂
Raye
Any chance these could be made dairy free? Not sure if coconut oil is too soft... maybe palm shortening?
Emily Vidaurri
Coconut oil could possibly work, but will change the flavor a bit. I would assume palm shortening could work better, but I haven't tried it. My body doesn't do well with coconut oil so I haven't tried it that way. I hope you get to make them. 🙂