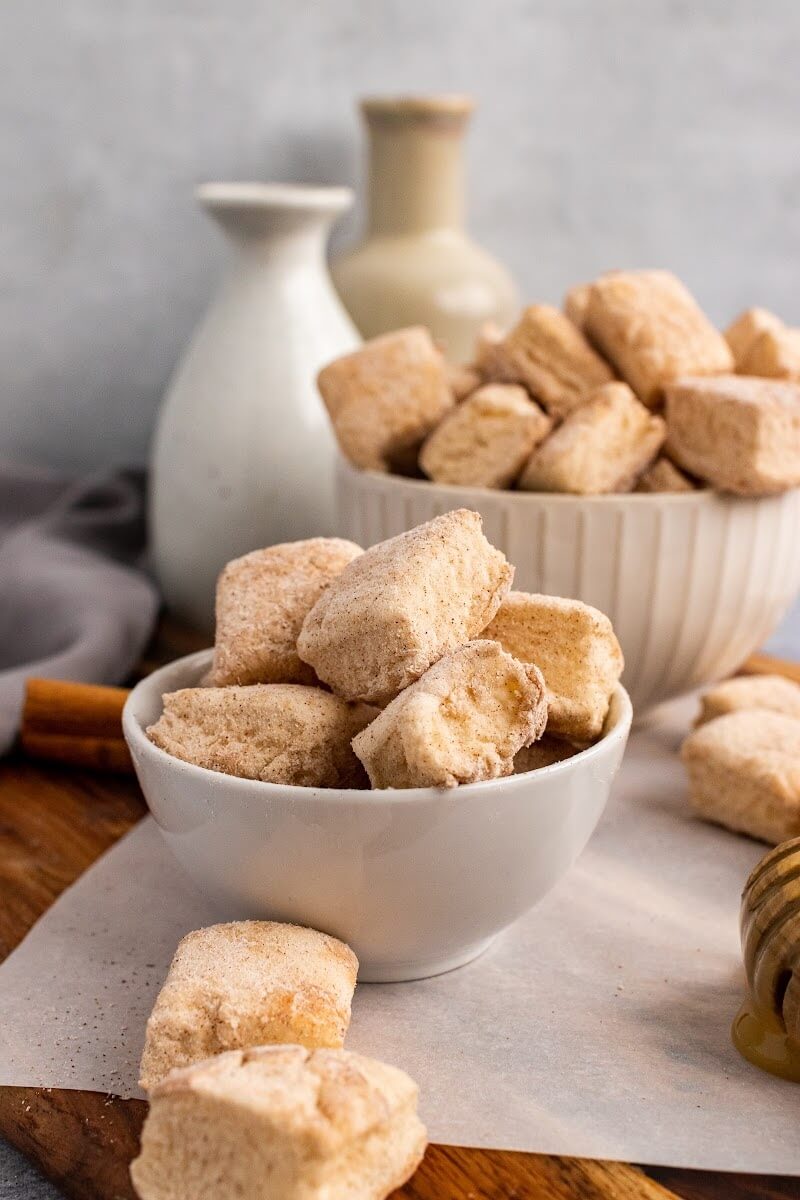
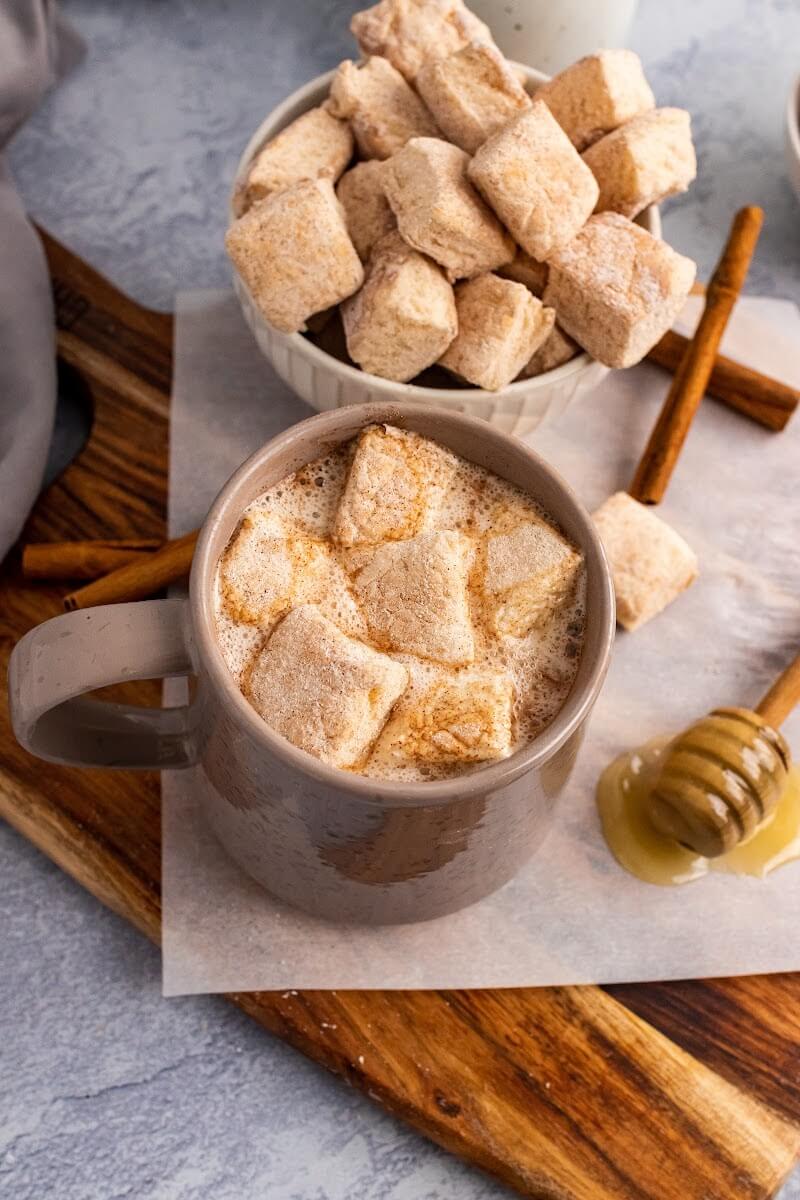
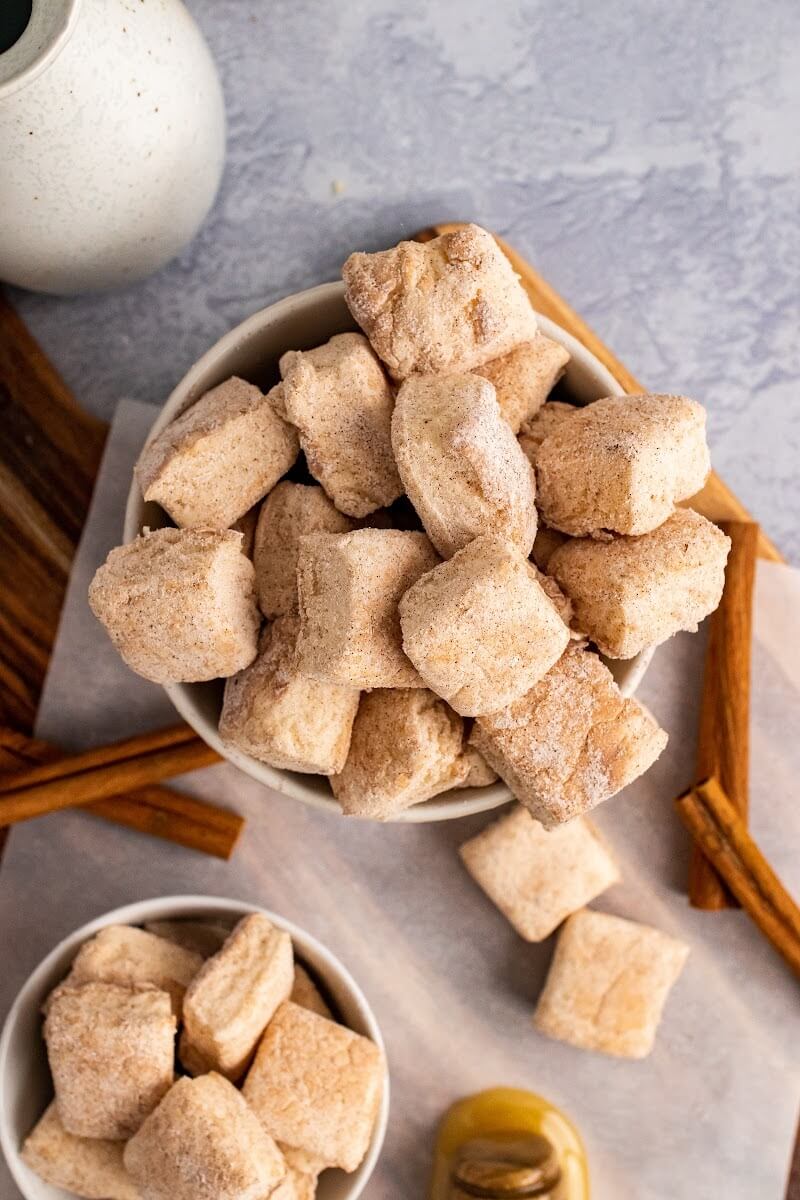
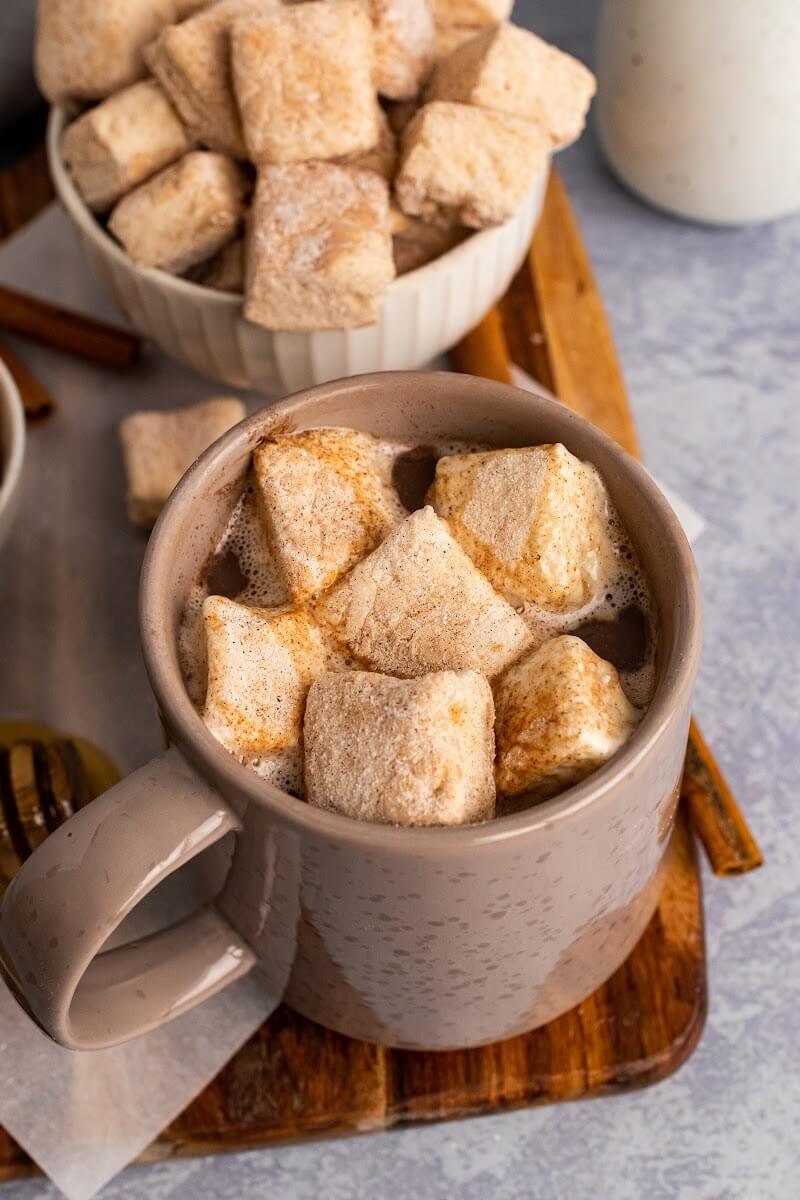
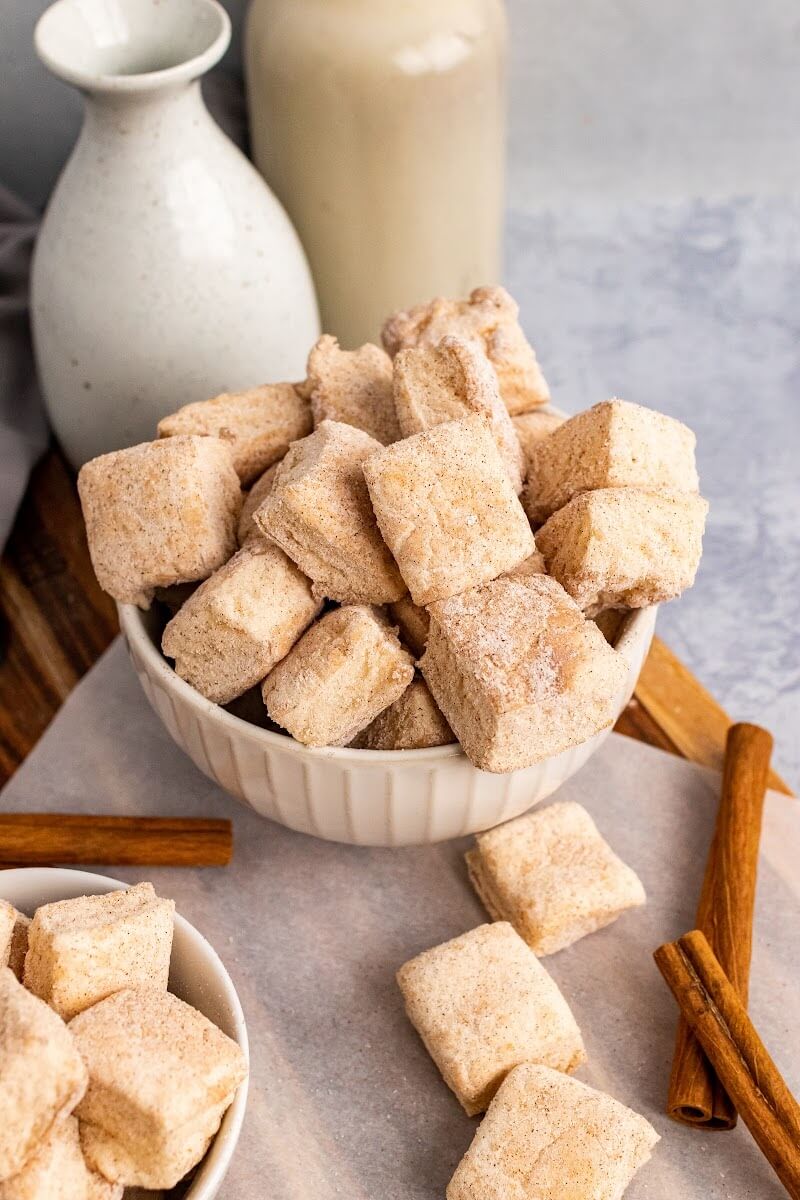
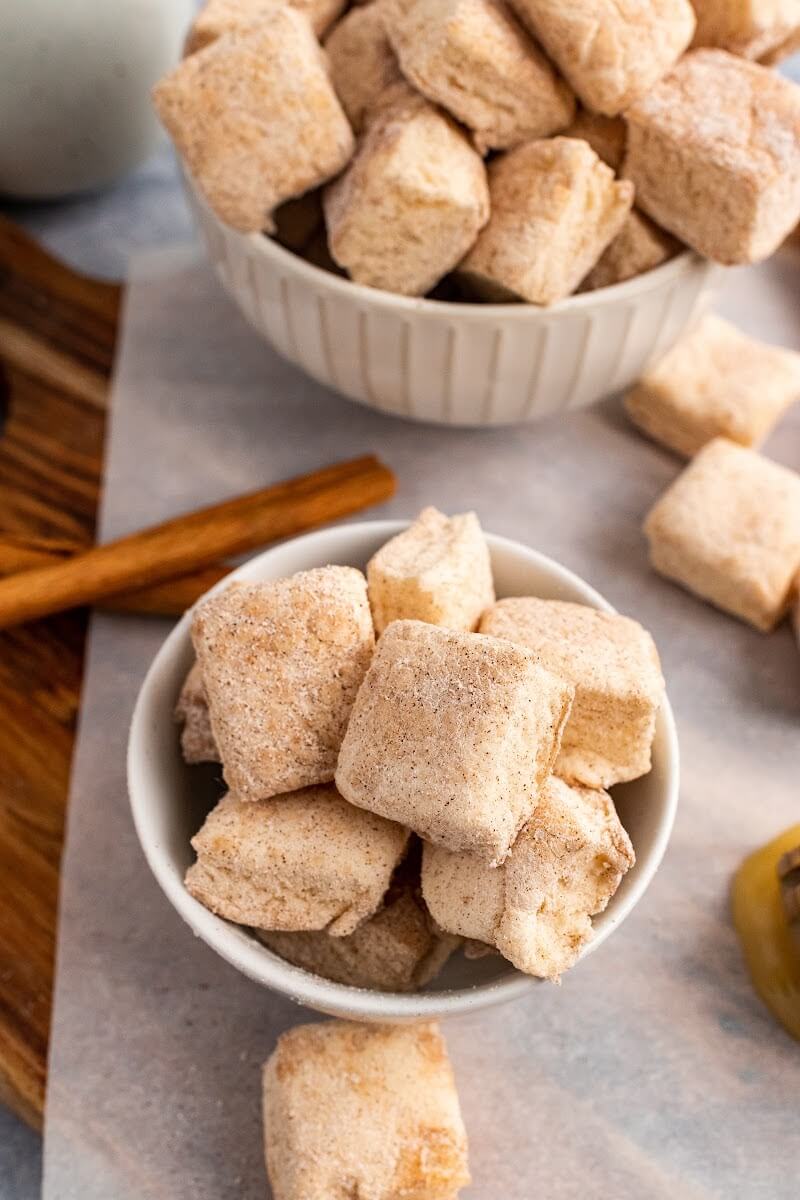
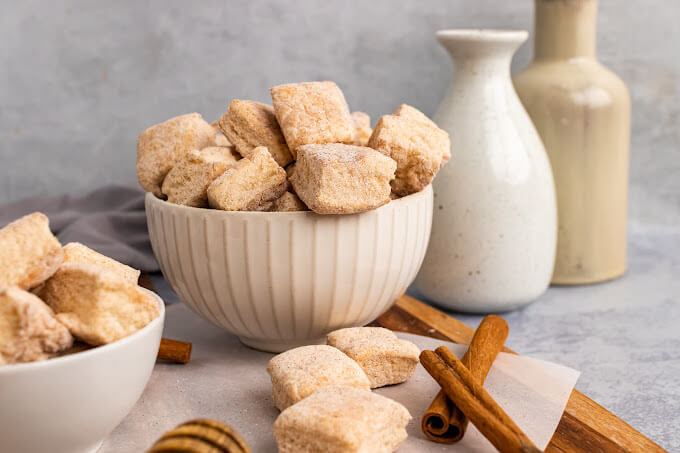
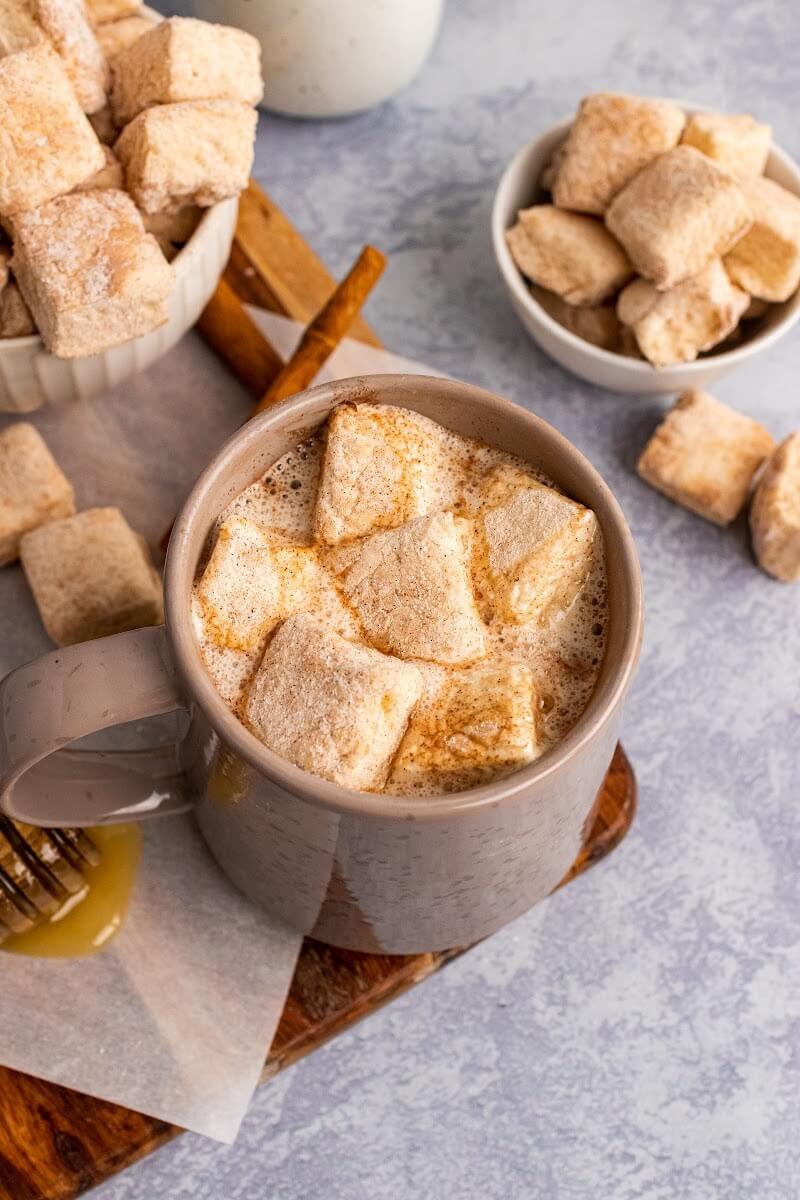
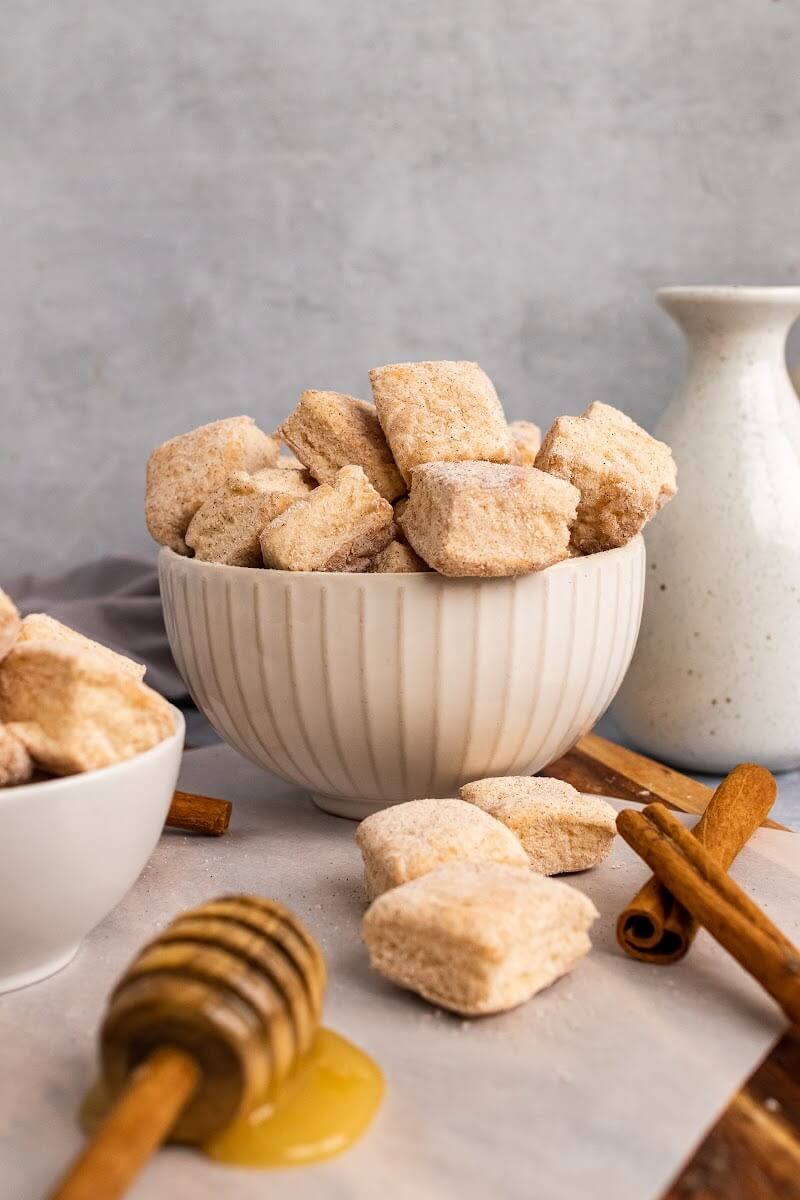
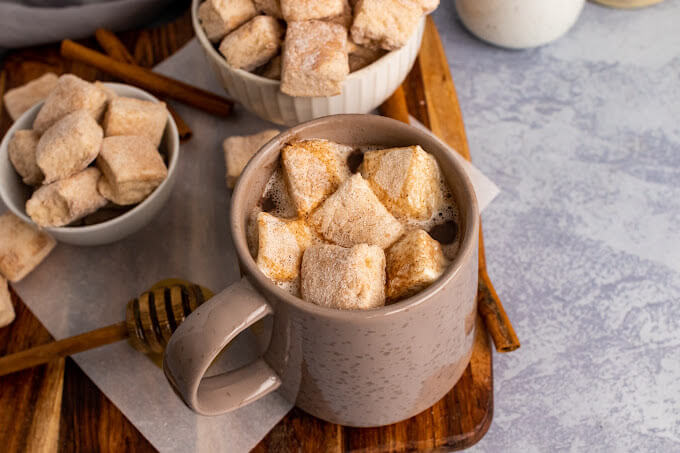
Homemade Honey Sweetened Cinnamon Marshmallows are delicious and so easy to make! Don’t be intimidated, these honey sweetened marshmallows are simple and only take about 30 minutes to prep. Eat them as is or top them on hot chocolate!
THIS HEALTHY MARSHMALLOW RECIPE IS SO SIMPLE AND EASY, PLUS IT’S SO MUCH HEALTHIER THAN STORE-BOUGHT MARSHMALLOWS.
When I was a little girl, my beautiful, southern grandma would make me hot chocolate with marshmallows every morning when I was visiting her. It was such a special treat!
My love for marshmallows started at a young age - and every time I have them now, it brings me back to those fond childhood memories.
When the cooler months set in and the holiday season starts, I really look forward to making marshmallows with my children.
We make all kinds of homemade flavored marshmallows year-round (like chocolate marshmallows, herbal marshmallows , peppermint marshmallows, strawberry marshmallows and more!), but we have a special tradition of making honey sweetened cinnamon marshmallows for the holidays.
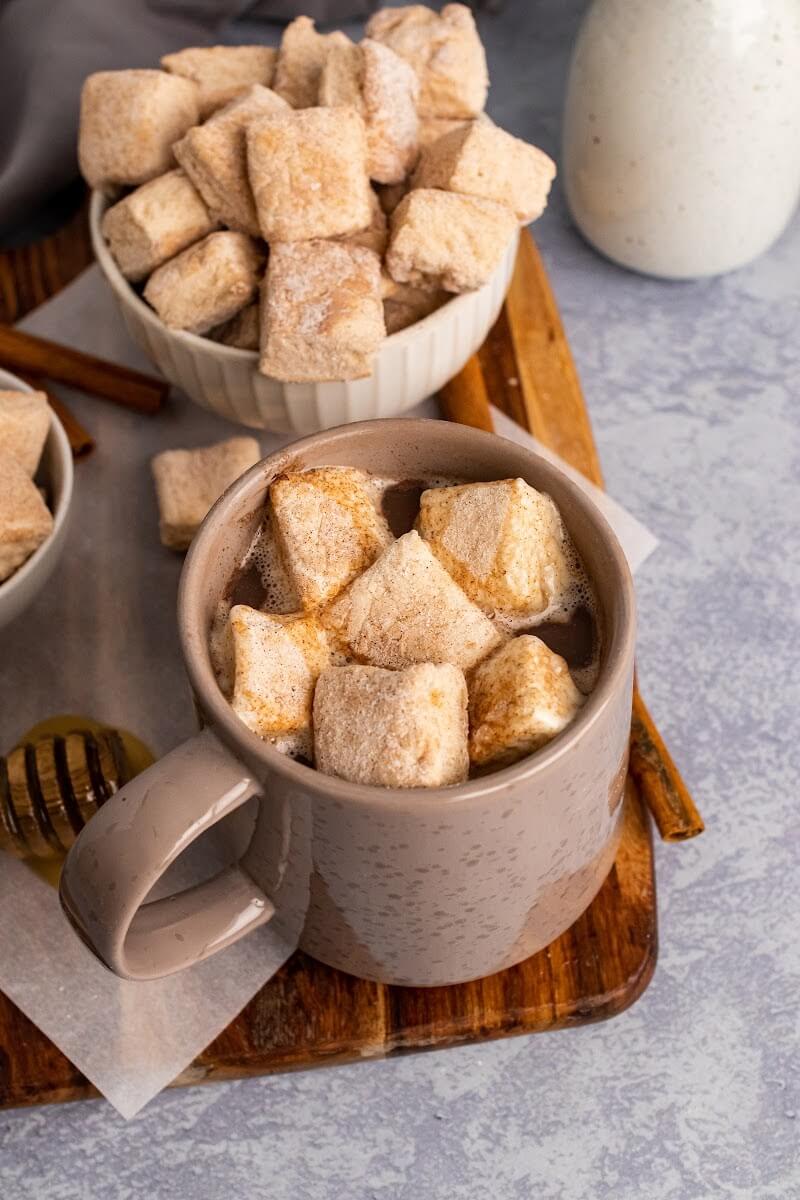
We love to top them on sweet potato casserole, float them in hot chocolate, eat them by the handful and set them out on Christmas Eve for Santa Claus as a treat!
UNIQUE MARSHMALLOWS MAKE GREAT GIFTS
Homemade marshmallows are so special and unique - they make people smile and everyone loves them!
This gourmet marshmallow recipe has a festive touch with the dusting of the cinnamon, adding a wonderful flavor.
These honey marshmallows are definitely made to be shared with loved ones or people in your community.
Make a big batch of these easy homemade marshmallows for you and yours, then share some of the honey cinnamon marshmallows as gifts!
One festive and rustic way to share these cinnamon marshmallows is wrapped up in crinkled up unbleached parchment paper. Just rip off a sheet of parchment paper, crumple it up in your hands, then open it up, flatten it, add the honey marshmallows, wrap them up and tie a pretty ribbon or some twine around it like a little gift. You can even add a little label or card if your heart desires.
Everyone always seems excited when they get a little package full of homemade marshmallows!
HOMEMADE MARSHMALLOWS WITHOUT CORN SYRUP
Marshmallows are a nostalgic food and I love that about them. However, the common brand that I grew up with in the ‘80s does not fit the ingredient standard of REAL FOOD.
Do you know what the common ingredients are in mainstream brand marshmallows?
CORN SYRUP, SUGAR, MODIFIED CORNSTARCH, DEXTROSE, WATER, CONTAINS LESS THAN 2% OF GELATIN, TETRASODIUM PYROPHOSPHATE (WHIPPING AID), NATURAL AND ARTIFICIAL FLAVOR, BLUE 1
Our bodies don’t know what to do with most of those ingredients. Because of those ingredients, these mainstream marshmallows get a very low rating on the EWG’s Food Scores.
Homemade marshmallows to the rescue!
HOW TO MAKE HEALTHY MARSHMALLOWS
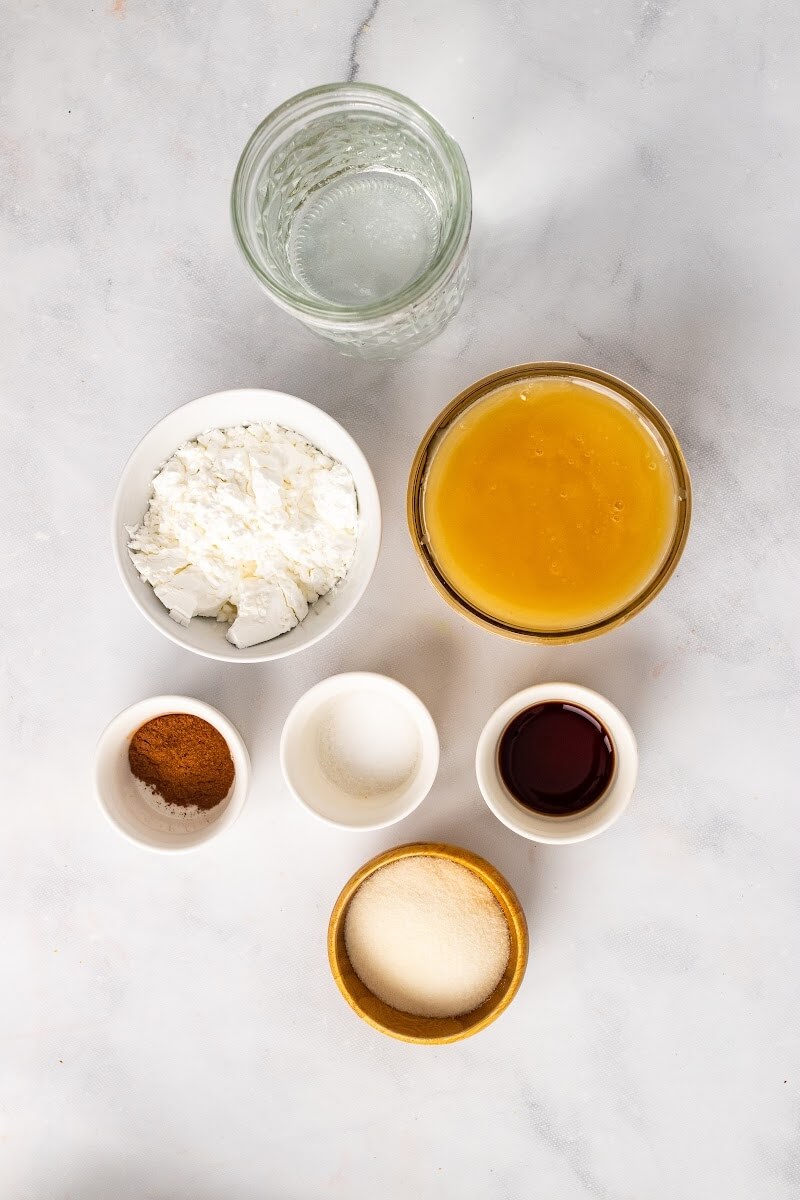
These Paleo marshmallows are so easy to make! All you need to make these simple, honey sweetened cinnamon marshmallows are REAL FOOD ingredients - water, grass-fed gelatin, honey, real vanilla extract and a pinch of sea salt. For an extra special touch, only arrowroot powder and ground cinnamon is needed for dusting these homemade honey vanilla marshmallows.
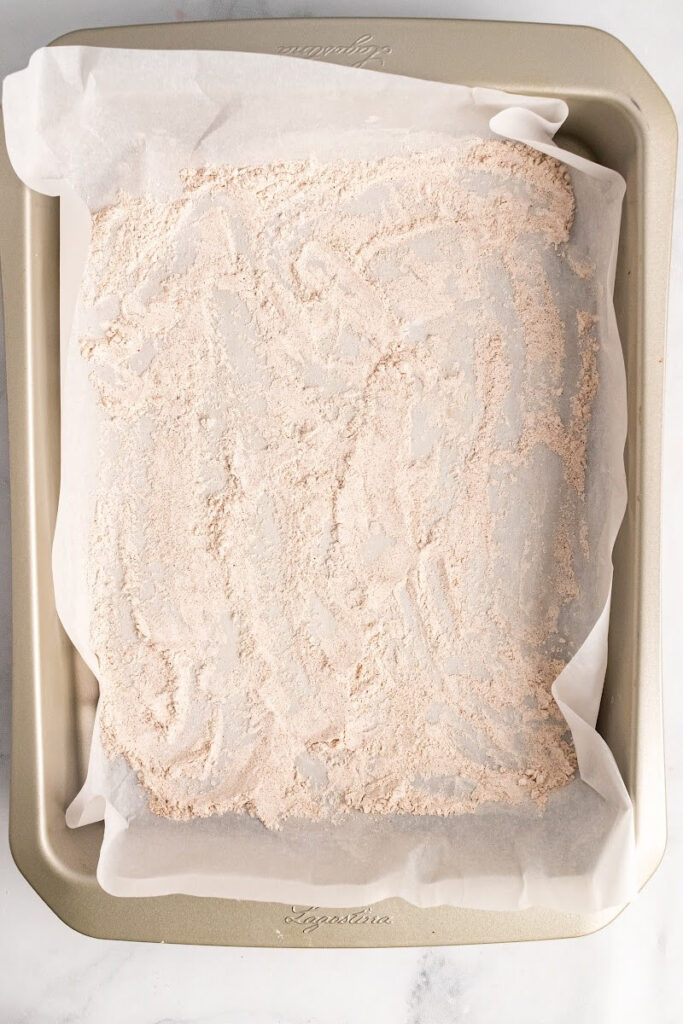
Start by getting your “storage” pan ready - you can either use an 8x8 square baking pan (for taller marshmallows, makes about 25 squares) or a 9x13 rectangle baking pan (for slightly smaller marshmallows, makes about 50 squares). Then line the pan with unbleached parchment paper (cut to fit in both directions if you’re using a square 8x8 dish), so you can easily lift up the marshmallows when they are set.
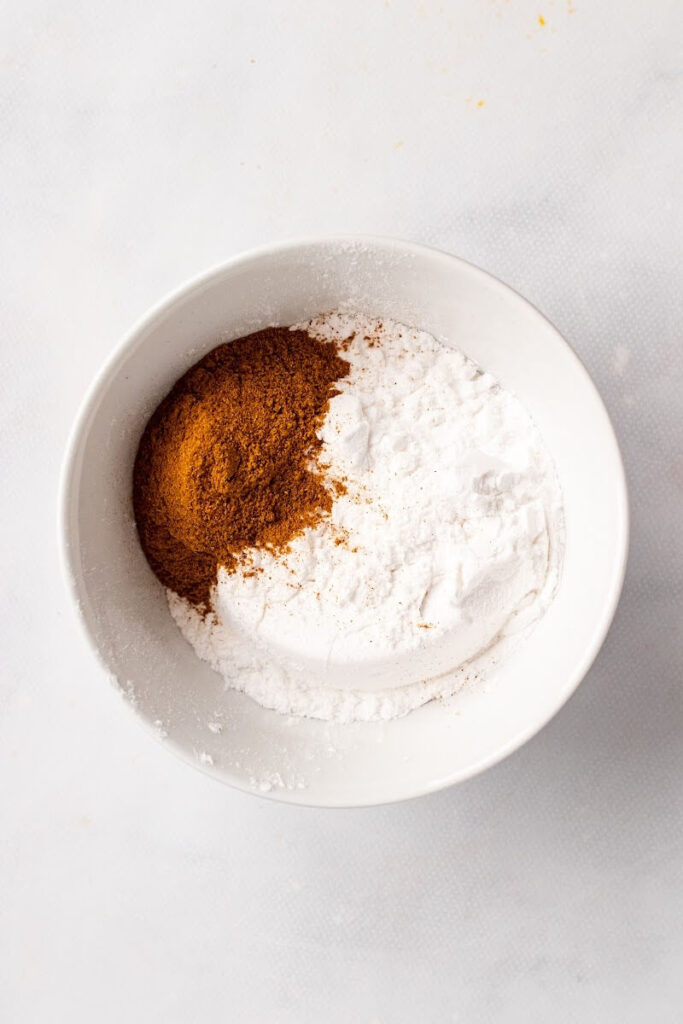
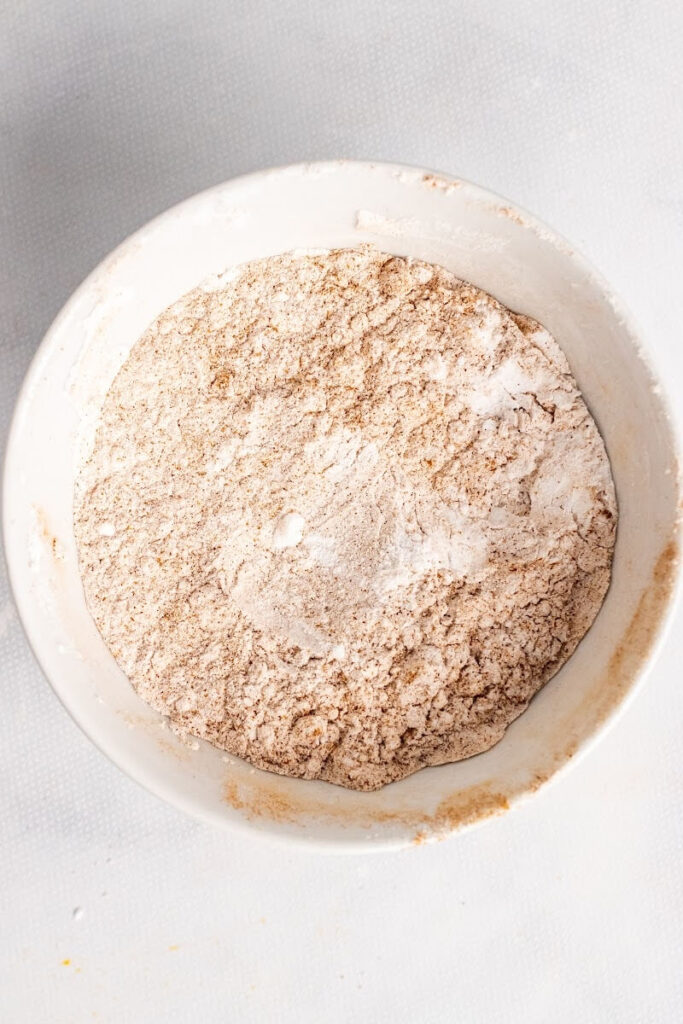
In a small bowl, combine the ground cinnamon and arrowroot starch, then stir to combine. Use half of the mixture to evenly distribute over the bottom of the lined pan, then set aside the rest of the cinnamon-arrowroot mixture for later.
USE QUALITY GRASS-FED GELATIN
I only recommend using a quality pesticide-free grass-fed gelatin for homemade marshmallows because quality does matter. This is the only grass-fed gelatin that I use because of their sourcing, their contaminant free, no glyphosate guarantee and their proof of purity.
The gelatin also adds a nutrient-dense boost of protein as well. For 10% OFF, enter NOURISH10 at checkout.
BLOOM THE GELATIN
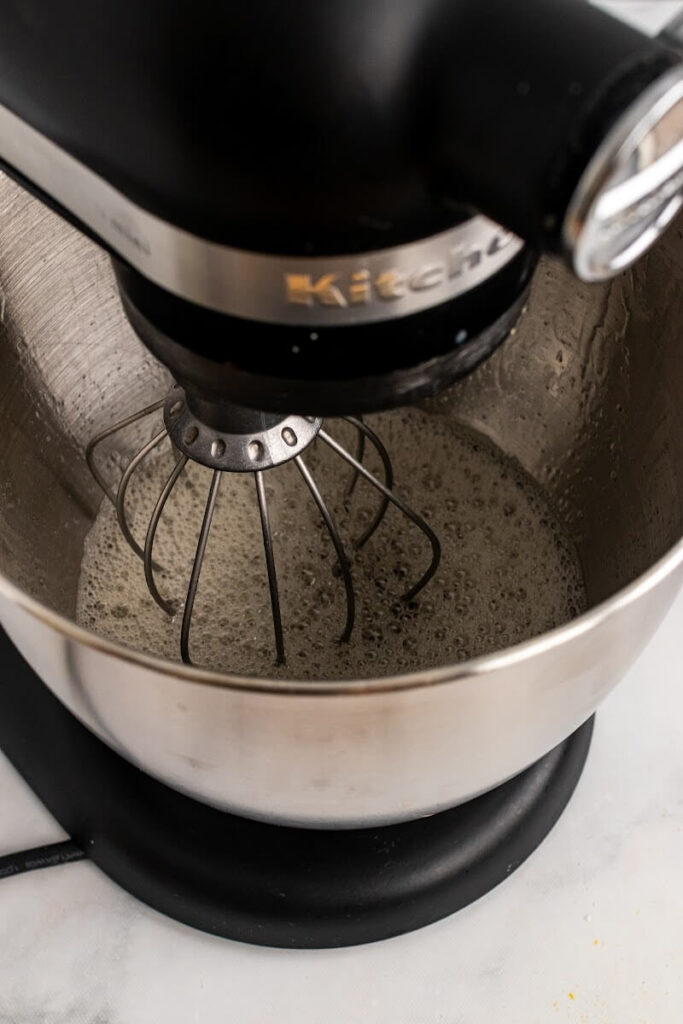
Assemble your standing mixer with the mixing bowl and whisk attachment. If you don’t have a standing mixer, that’s okay, just use a high-edge, large mixing bowl and a handheld mixer.
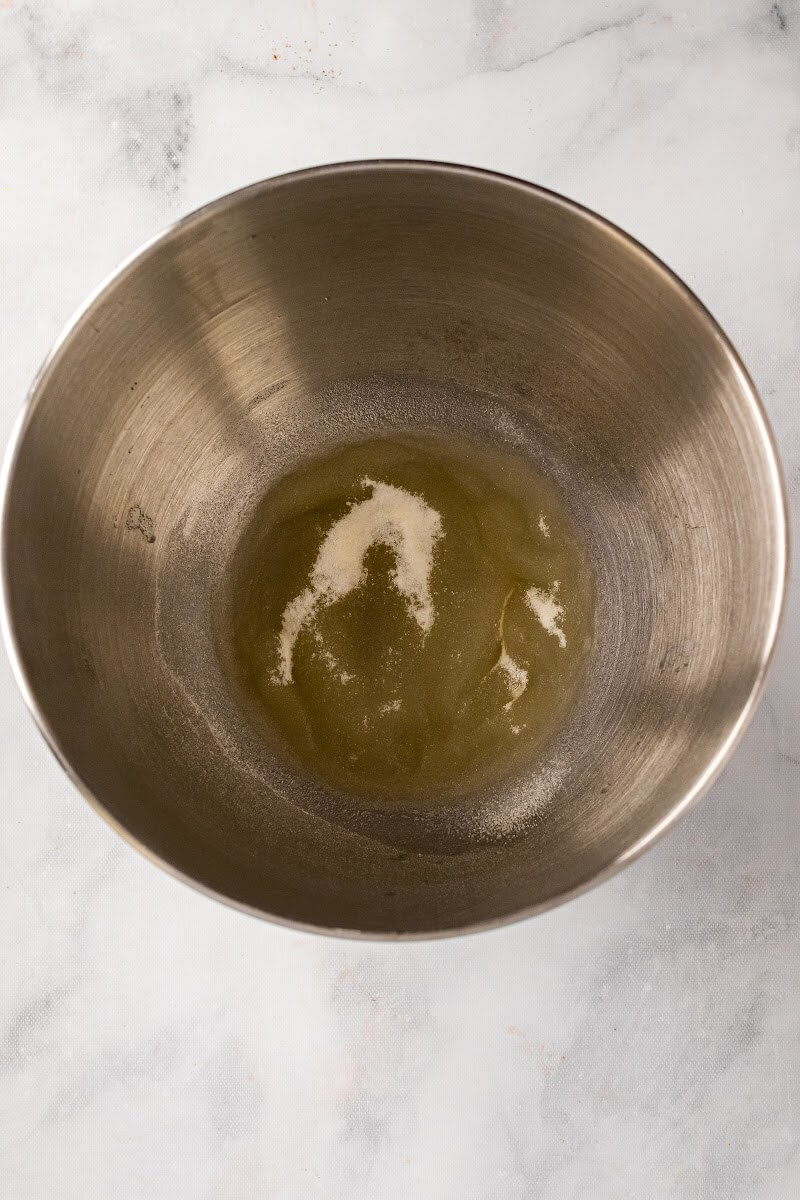
Next add ½ cup of filtered water to the mixing bowl, then sprinkle the gelatin over the water. Let this sit as you make the honey mixture. This resting time is known as “blooming” the gelatin.
COOK THE HONEY WATER MIXTURE
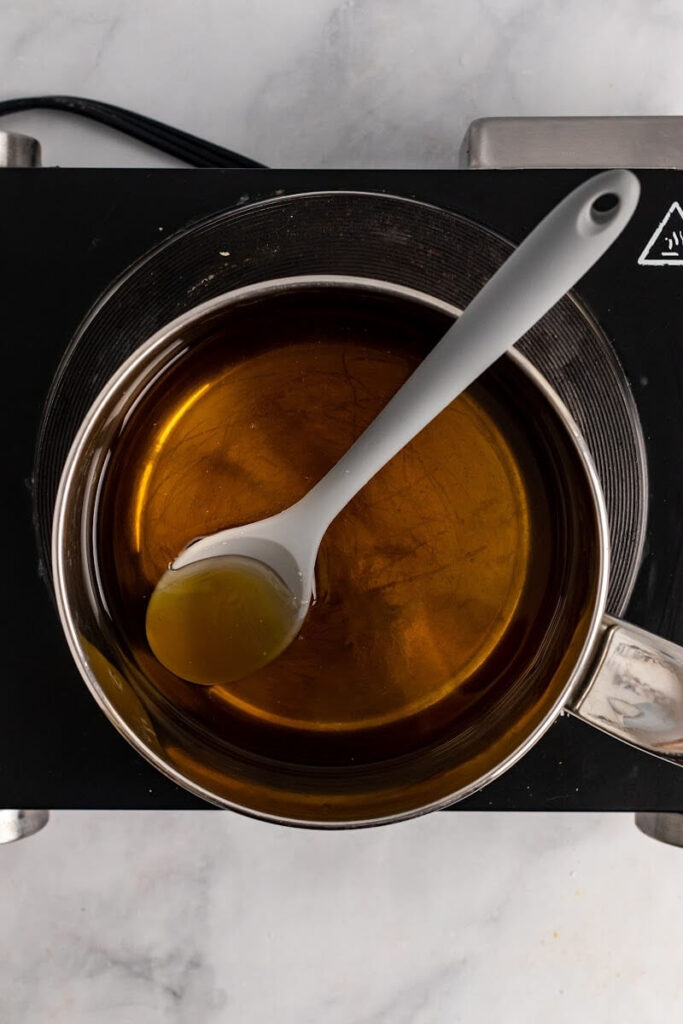
In a medium-size saucepan with high edges, add a ½ cup of filtered water, the honey, vanilla extract and sea salt. If you’re using a candy thermometer, place it in the honey mixture. If you’re not using a candy thermometer, make sure to set a timer for 8 minutes once the mixture starts to boil.
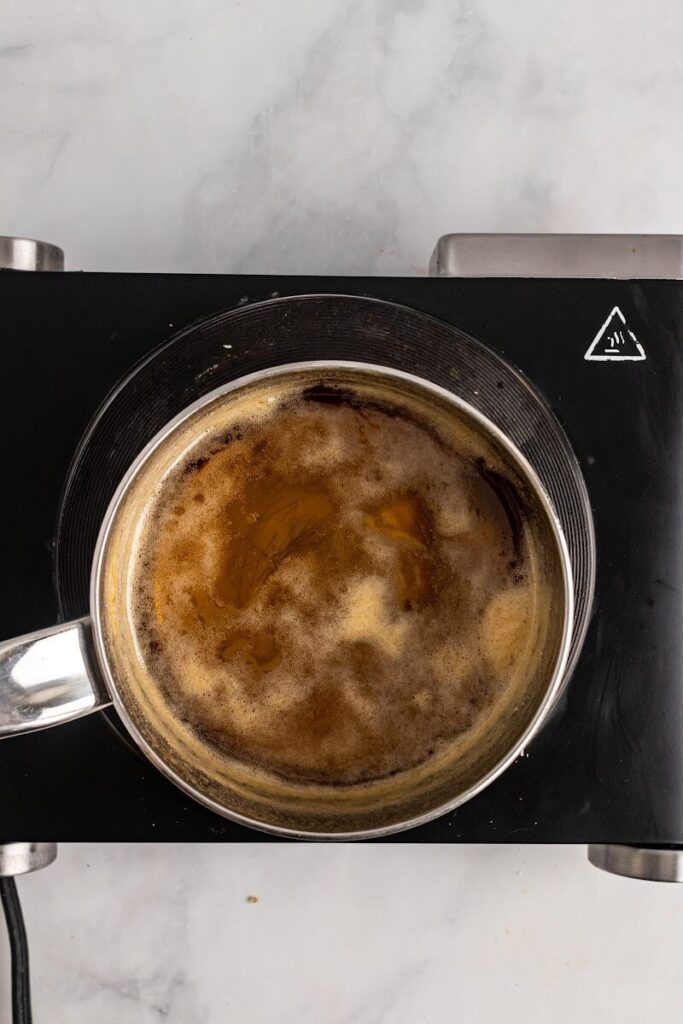
Over medium-high heat, bring the mixture to a boil, then reduce to medium heat to keep it simmering (it needs to stay simmering the entire time).
Stir constantly as the mixture will start to bubble and get foamy the hotter it gets (stirring keeps it from overflowing). Allow the mixture to simmer until it reaches 240 degrees F (this will take about 8 minutes if you’re not using a candy thermometer), then immediately remove from the heat.
MAKE THE MARSHMALLOW FLUFF
If using a standing mixer, turn the mixer on low speed, then slowly and very carefully drizzle the hot honey mixture in a thin continuous stream down the side of the bowl. This should take about 2 minutes - that gives you an idea of how slow you need to pour it. Please remember that the honey mixture is extremely hot, so use caution while doing this.
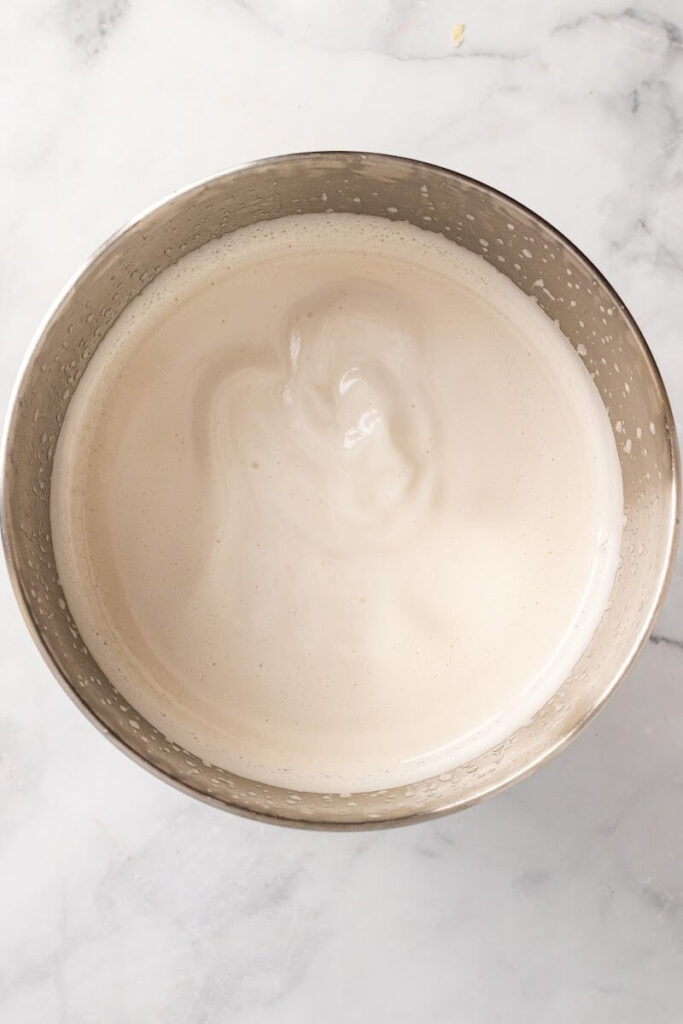
Next, turn the mixer to high and continue whisking until the mixture becomes thick, glossy and has increased in volume - about 15 minutes.
If you’re not using a stand mixer, follow the same directions above except start with your handheld mixer on low speed. Once you have added the honey mixture, increase your mixer to high speed. Your arm might get tired, so if you have a helper in the house, by all means, take turns mixing - it’s not necessary though.
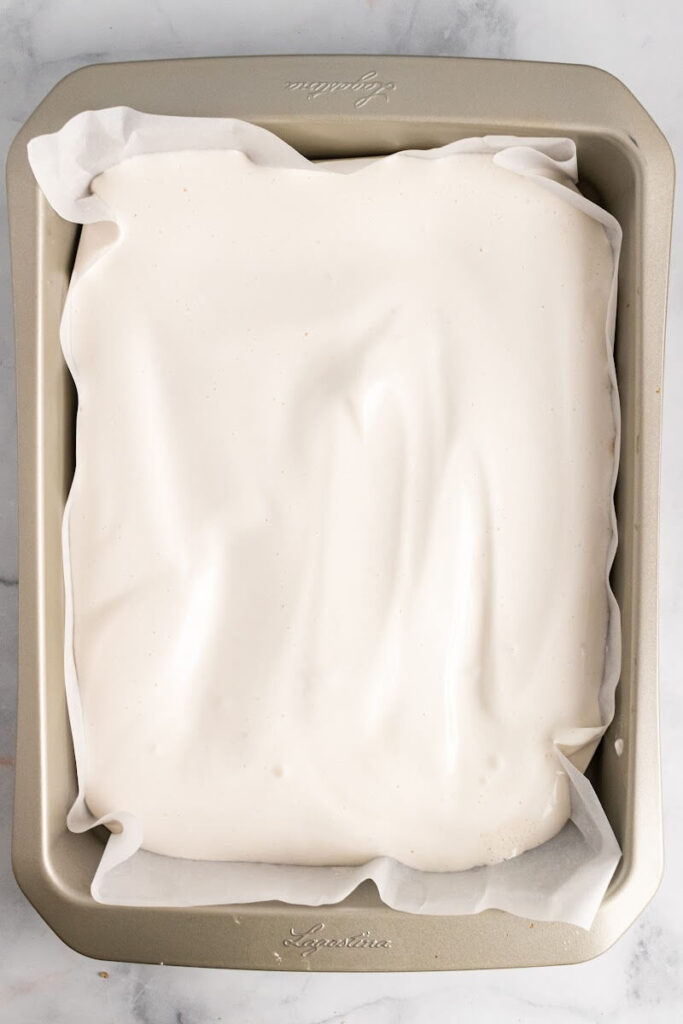
Once the mixture has turned into marshmallow fluff, turn the mixer off and transfer the marshmallow fluff to the lined pan. Use a spatula to evenly distribute and smooth the top. When you’re done, make sure to lick the spatula!
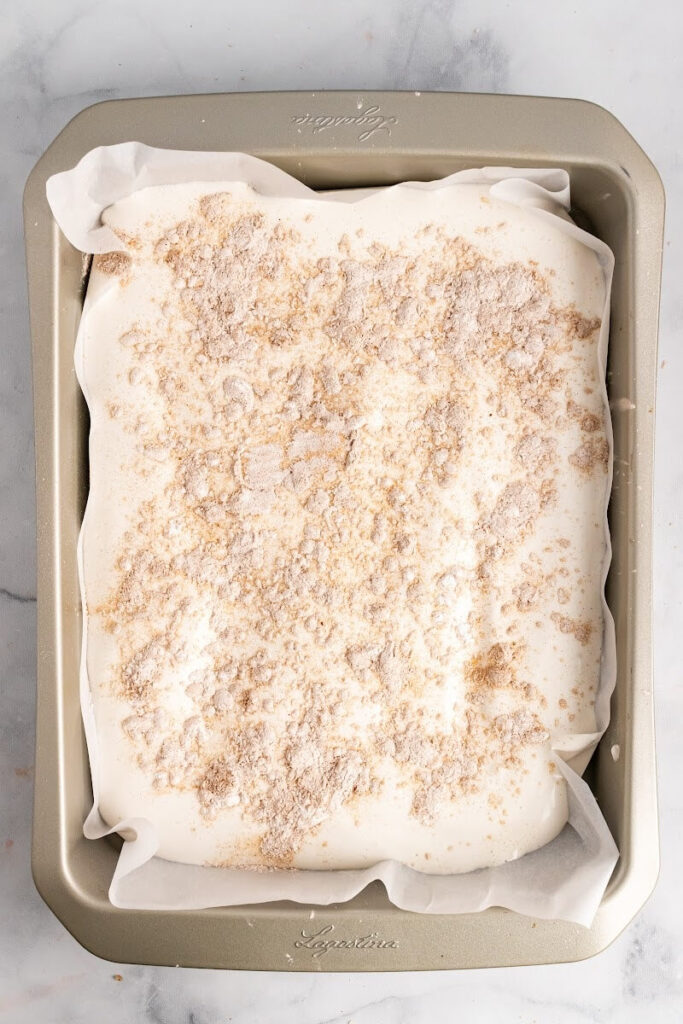
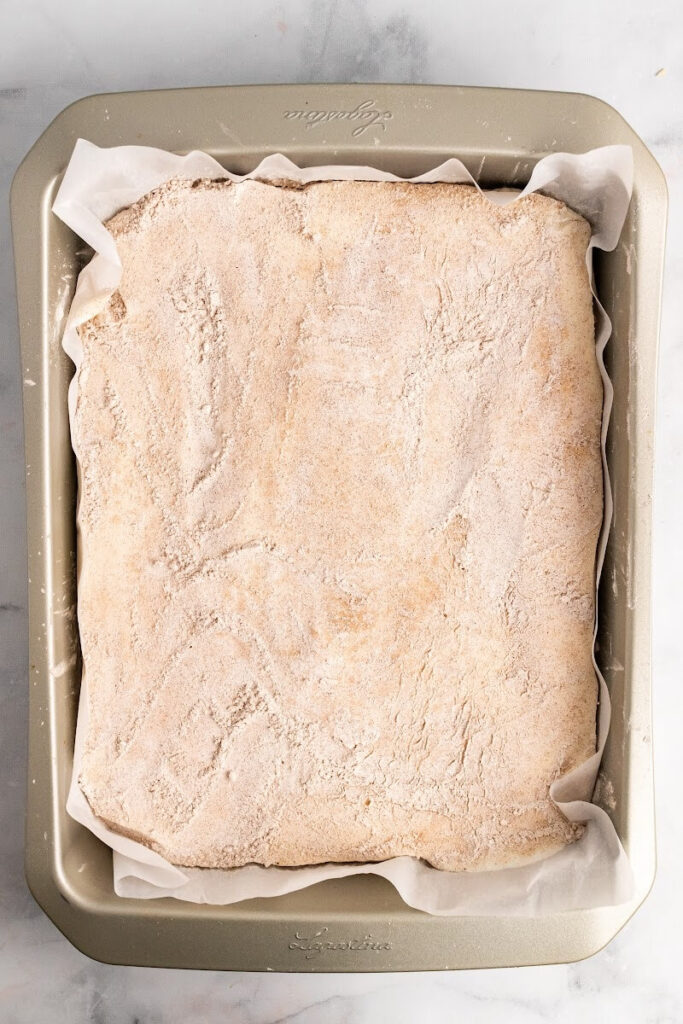
After the marshmallow fluff is distributed in the pan, evenly sprinkle the top of the marshmallow fluff with the remaining cinnamon-arrowroot mixture.
LET THE MARSHMALLOWS REST
Now the marshmallows need to sit and rest at room temperature for at least 8 hours, or best overnight.
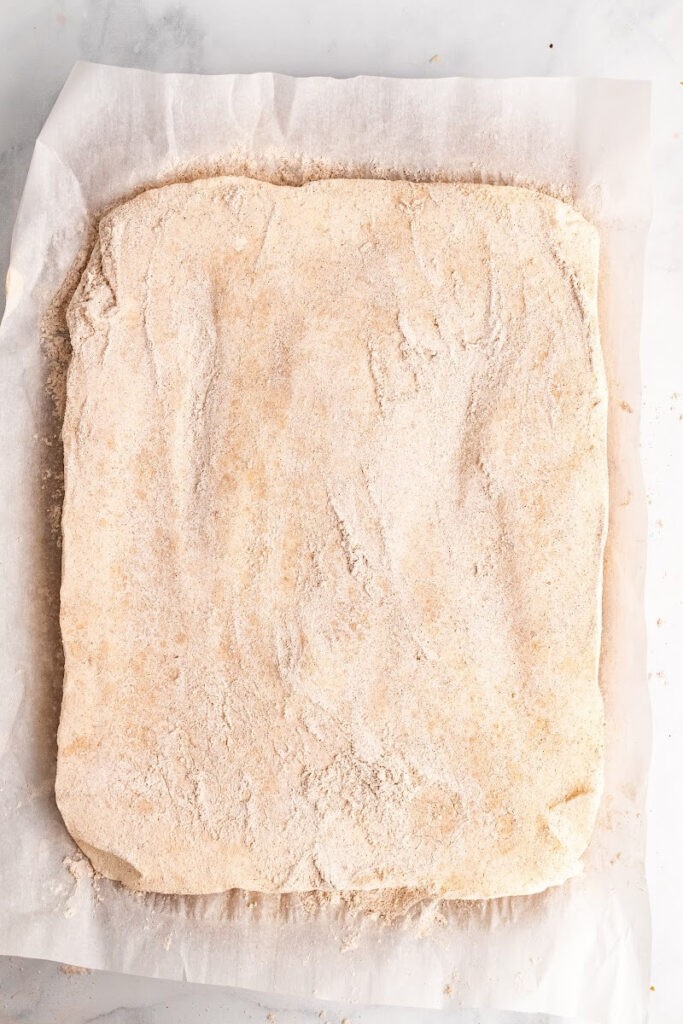
When the marshmallows are set, remove them by lifting the parchment paper flaps, then set them on a flat surface or large cutting board (the marshmallows should still be on the parchment paper).
Carefully and slowly peel away and remove the parchment paper from the sides of the marshmallows.
HOW TO CUT MARSHMALLOWS
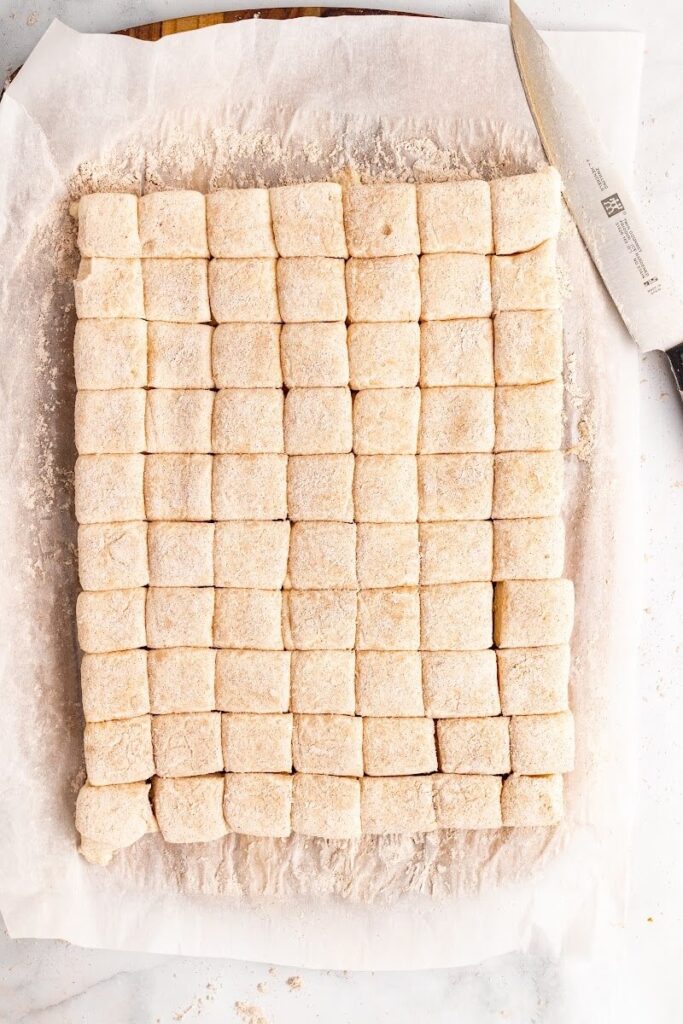
Use a large chef's knife to cut the marshmallows into desired size. If you’d like, you can cut off the more “rustic” edges first and cut those thinner strips into mini marshmallows. This usually makes about 30-40 mini marshmallows. Then grab a large mixing bowl and set aside.
Once the marshmallows are cut, take the remaining cinnamon-arrowroot powder mixture that’s left on the parchment paper and dump it in the mixing bowl that you set aside.
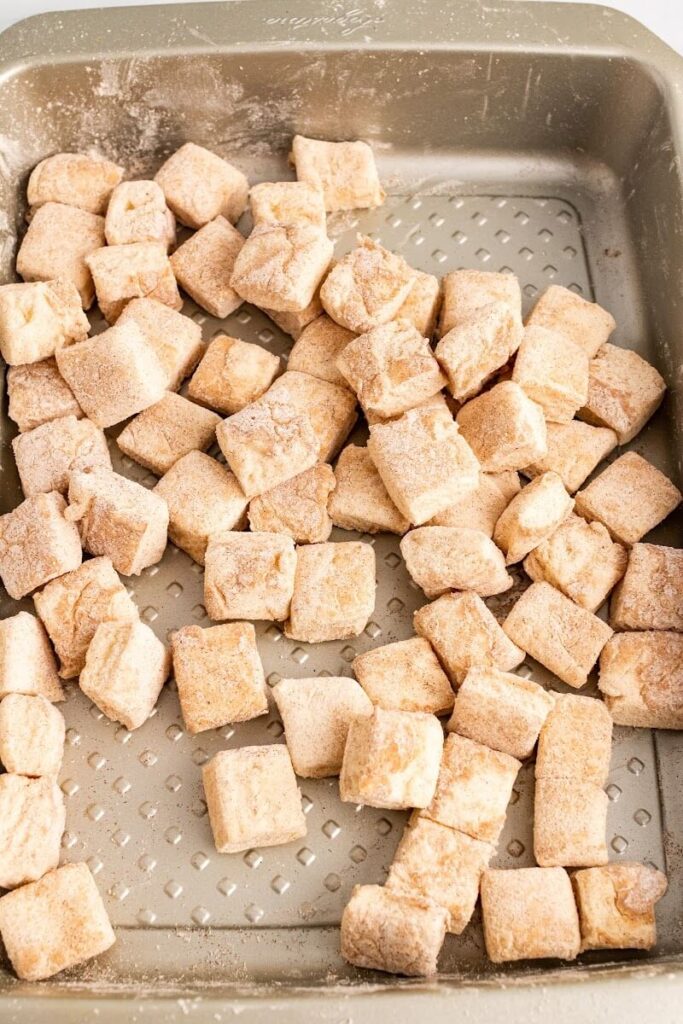
Using clean hands, add some cut marshmallows to the mixing bowl, grabbing only a handful at a time, then toss them around to dust them with the cinnamon-arrowroot powder mixture.
This helps keep all of the marshmallow edges less sticky and more "dusty" like the typical packaged marshmallows.
HOW TO TOAST HOMEMADE MARSHMALLOWS FOR S’MORES
If you want to enjoy an extra special treat, try toasting homemade marshmallows!
Place individual homemade marshmallows on a parchment paper lined baking sheet, leaving about 2 inches between each marshmallow. Then turn the broiler on low in your oven.
Put the baking sheet with marshmallows under the broiler on a middle oven rack or oven rack that is not closest to the top. With the oven door cracked, toast the marshmallows until the tops are lightly golden brown and toasted.
DO NOT WALK AWAY FROM THE MARSHMALLOWS while they are under the broiler or they will melt quickly and burn. Now you can enjoy them as is or make homemade s’mores by placing the toasted marshmallows on top of chocolate and graham crackers.
RECIPE FAQS: TIPS FOR HOMEMADE HONEY SWEETENED CINNAMON MARSHMALLOWS SUCCESS
- What is the best type of honey to use in this healthy marshmallow recipe? I only recommend using a mild, light-colored, quality honey for this recipe. Honey flavors like orange blossom honey, clover honey, thistle honey or alfalfa honey are known to be the most mild in flavor. This is my favorite raw honey - I love their orange blossom and “original” honey. I also love using this raw honey, it’s easy to find online as well as at grocery stores like Sprouts Farmers Market.
- How many marshmallows will this recipe make? The finished marshmallow yield is going to vary. If you cut off the uneven, rustic edges first and cut those thinner edge strips into mini marshmallows, those strips will make about 30-40 mini marshmallows. If you use an 8x8 square baking pan, it will make about 25 squares and if you use a 9x13 rectangle baking pan, it will make about 50 squares.
- What is the best way to store homemade marshmallows? Keep the cinnamon-arrowroot covered marshmallows in an airtight container dusted and coated with a little extra arrowroot powder or powdered sugar (the extra powder is especially important if you plan on storing them for weeks). If kept in a dry place at room temperature, homemade marshmallows usually keep for about 3 weeks. For the best flavor and texture, enjoy the marshmallows within 1 week.
IF YOU LIKE THIS HOMEMADE HONEY SWEETENED CINNAMON MARSHMALLOWS RECIPE, YOU MAY ALSO LIKE THESE GLUTEN-FREE WINTER-INSPIRED RECIPES FROM RECIPES TO NOURISH:
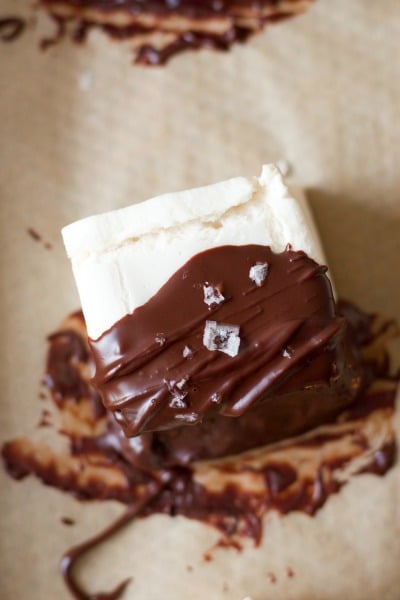
- Healthy Chocolate Peppermint Marshmallows
- Instant Pot Grain Free Peppermint Cheesecake
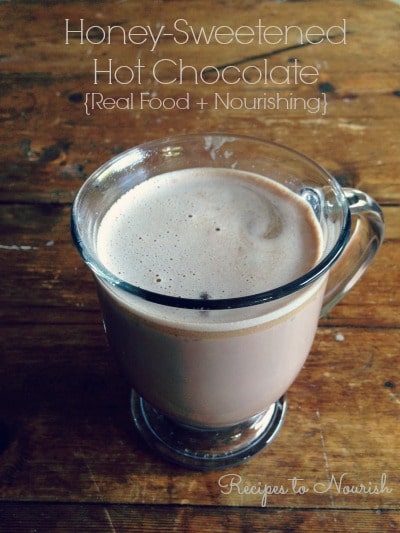
- Nourishing Honey Sweetened Hot Chocolate
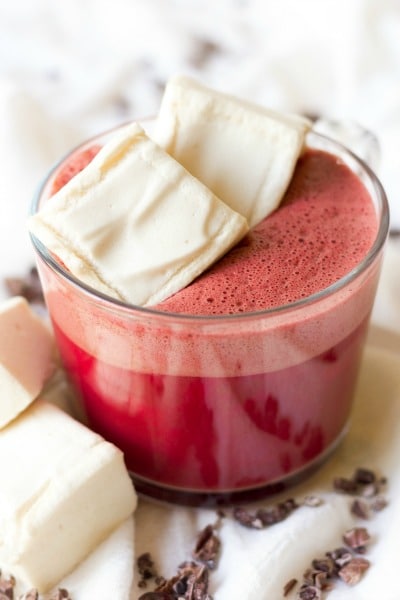
- Healthy Sweet Beet Hot Chocolate
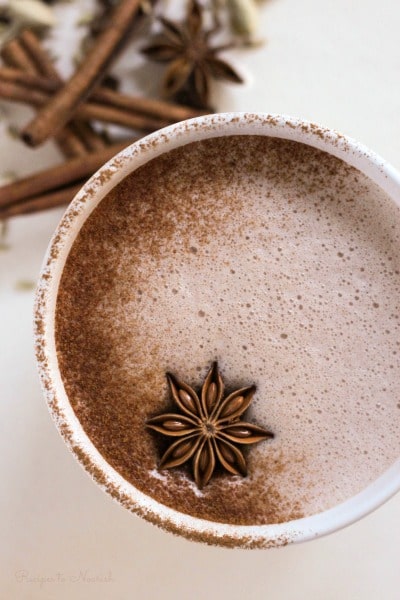
- Real Food Chai Hot Chocolate {Nourishing}
- Grain Free Chocolate Crinkles
- Flourless Peanut Butter Chocolate Sandwich Cookies
- Grain Free Ginger Molasses Cookies
- Healthy Real Food Chocolate Peanut Butter Truffles
- Naturally Sweetened Spiced Pumpkin Chai Tea
- Grain Free Triple Chocolate Pumpkin Cupcakes
- Real Food Chocolate Dipped Mandarin Oranges
- Chocolate Dipped Pomegranate Stuffed Dates
- Homemade Honey Butter Glazed Cornbread {Gluten Free}
- Homemade Gluten Free Apple-Cranberry-Herb Cornbread Stuffing
- Bacon Green Bean Scalloped Potato Casserole
- Roasted Maple Apple Brussels Sprouts
- Roasted Maple Citrus Herb Olives
- Bacon Wrapped Cheese Stuffed Dates
- Paleo Tea Infused Bacon Herb Stuffed Mushrooms
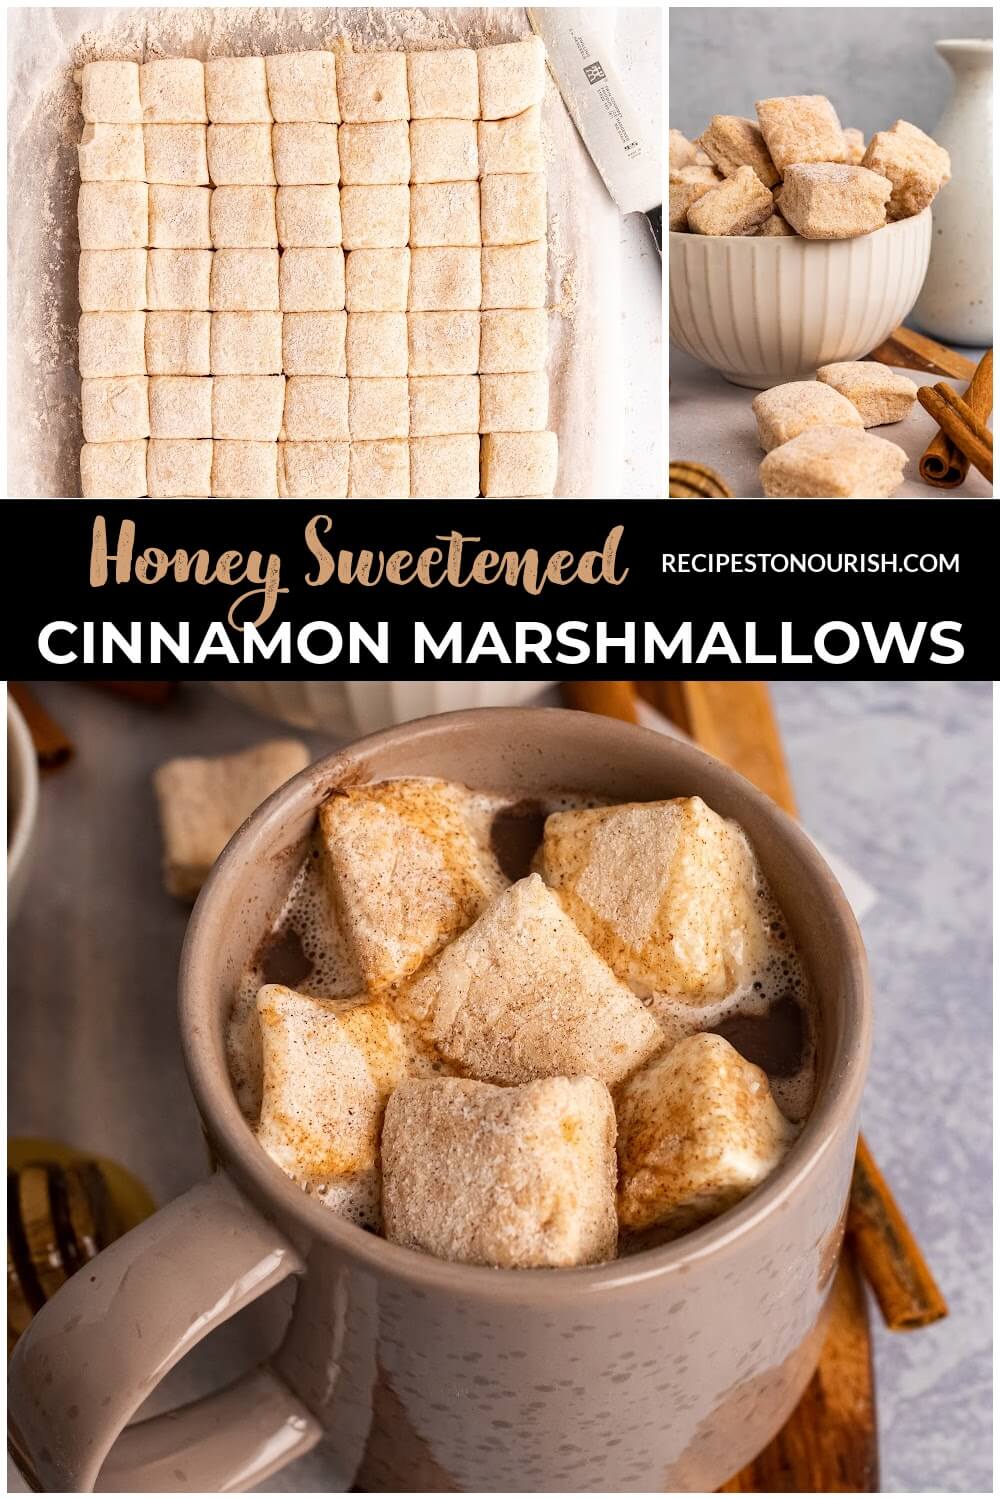
Honey Sweetened Cinnamon Marshmallows
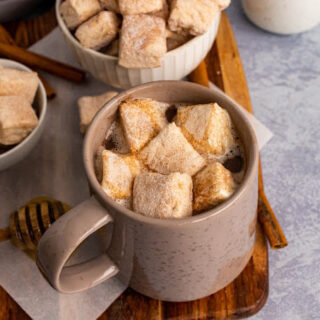
Honey Sweetened Cinnamon Marshmallows
Homemade Honey Sweetened Cinnamon Marshmallows are delicious and so easy to make! Don’t be intimidated, these honey sweetened marshmallows are simple and only take about 30 minutes to prep. Eat them as is or top them on hot chocolate!
Ingredients
- 1 cup filtered water, divided
- 3 tablespoon grass-fed gelatin (<< this is the only gelatin I use and recommend)
- 1 cup light colored honey
- 2 teaspoon vanilla extract
- ¼ teaspoon sea salt (<< this is my favorite sea salt)
- 1 teaspoon ground cinnamon
- ¼ cup arrowroot starch or organic powdered sugar
Instructions
- Get your “storage” pan ready - you can either use an 8x8 square baking pan or a 9x13 rectangle baking pan. Then line the pan with unbleached parchment paper (cut to fit in both directions if you’re using a square 8x8 dish), so you can easily lift up the marshmallows when they are set.
- In a small bowl, combine the ground cinnamon and arrowroot starch, then stir to combine. Use half of the mixture to evenly distribute over the bottom of the lined pan, then set aside the rest of the cinnamon-arrowroot mixture for later.
- Assemble your standing mixer with the mixing bowl and whisk attachment. If you don’t have a standing mixer, that’s okay, just use a high-edge, large mixing bowl and a handheld mixer.
- Next add ½ cup of filtered water to the mixing bowl, then sprinkle the gelatin over the water. Let this sit as you make the honey mixture. This resting time is known as “blooming” the gelatin.
- In a medium-size saucepan with high edges, add a ½ cup of filtered water, the honey, vanilla extract and sea salt. If you’re using a candy thermometer, place it in the honey mixture. If you’re not using a candy thermometer, make sure to set a timer for 8 minutes once the mixture starts to boil.
- Over medium-high heat, bring the mixture to a boil, then reduce to medium heat to keep it simmering (it needs to stay simmering the entire time). Stir constantly as the mixture will start to bubble and get foamy the hotter it gets (stirring keeps it from overflowing). Allow the mixture to simmer until it reaches 240 degrees F (this will take about 8 minutes if you’re not using a candy thermometer), then immediately remove from the heat.
- If using a standing mixer, turn the mixer on low speed, then slowly and very carefully drizzle the hot honey mixture in a thin continuous stream down the side of the bowl. This should take about 2 minutes - that gives you an idea of how slow you need to pour it. Please remember that the honey mixture is extremely hot, so use caution while doing this.
- Next, turn the mixer to high and continue whisking until the mixture becomes thick, glossy and has increased in volume - about 15 minutes. If you’re not using a stand mixer, follow the same directions above except start with your handheld mixer on low speed. Once you have added the honey mixture, increase your mixer to high speed. Your arm might get tired, so if you have a helper in the house, by all means, take turns mixing - it’s not necessary though.
- Once the mixture has turned into marshmallow fluff, turn the mixer off and transfer the marshmallow fluff to the lined pan. Use a spatula to evenly distribute and smooth the top. When you’re done, make sure to lick the spatula!
- After the marshmallow fluff is distributed in the pan, evenly sprinkle the top of the marshmallow fluff with the remaining cinnamon-arrowroot mixture.
- Now the marshmallows need to sit and rest at room temperature for at least 8 hours, or best overnight.
- When the marshmallows are set, remove them by lifting the parchment paper flaps, then set them on a flat surface or large cutting board (the marshmallows should still be on the parchment paper). Carefully and slowly peel away and remove the parchment paper from the sides of the marshmallows.
- Use a large chef's knife to cut the marshmallows into desired size. If you’d like, you can cut off the more “rustic” edges first and cut those thinner strips into mini marshmallows. This usually makes about 30-40 mini marshmallows. Then grab a large mixing bowl and set aside.
- Once the marshmallows are cut, take the remaining cinnamon-arrowroot powder mixture that’s left on the parchment paper and dump it in the mixing bowl that you set aside. Using clean hands, add some cut marshmallows to the mixing bowl, grabbing only a handful at a time, then toss them around to dust them with the cinnamon-arrowroot powder mixture. This helps keep all of the marshmallow edges less sticky and more "dusty" like the typical packaged marshmallows.
- Enjoy the marshmallows as in or topped on hot chocolate!
Notes
YOU WILL NEED: 8x8 or 9x13 Pan, Unbleached Parchment Paper, Standing Mixer with Mixing Bowl and Whisk Attachment, Candy Thermometer (optional), Spatula, Quality Chef's Knife, Measuring Cups & Spoons
YIELD: If you use an 8x8 square baking pan, it will make about 25 squares and if you use a 9x13 rectangle baking pan, it will make about 50 squares. If you cut off the uneven, rustic edges first and cut those thinner edge strips into mini marshmallows, those strips will make about 30-40 mini marshmallows
GELATIN: I only use this pesticide-free grass-fed gelatin because of their sourcing, their contaminant free, no glyphosate guarantee and their proof of purity. It adds a nutrient-dense boost of protein as well. For 10% OFF, enter NOURISH10 at checkout.
STORAGE: Keep in a dry place at room temperature, stored in an airtight container dusted and coated with a little extra arrowroot powder or powdered sugar for up to 3 weeks.
See Recipe FAQS in the post for more tips.
The photographs of this recipe, recipe and all content above are copyright protected. Please do not use my photos without prior written permission. If you choose to share this recipe, please use proper etiquette and provide a link back to my original recipe on my blog with proper disclosure [the original recipe - "title of recipe" by Recipes to Nourish]. If you make significant changes to the recipe or adapt the recipe in any way, please rewrite the recipe in your own unique words and provide a link back here with proper disclosure for credit. Thanks for understanding!
Recommended Products
Nutrition Information:
Yield: 25 Serving Size: 1Amount Per Serving: Calories: 66Total Fat: 0gSaturated Fat: 0gTrans Fat: 0gUnsaturated Fat: 0gCholesterol: 0mgSodium: 27mgCarbohydrates: 16gFiber: 0gSugar: 16gProtein: 1g
This nutritional information was auto-generated based on serving size, number of servings, and typical information for the ingredients listed. To obtain the most accurate representation of the nutritional information in a given recipe, please calculate the nutritional information with the actual ingredients and amounts used, using your preferred nutrition calculator. Under no circumstances shall the this website and the author be responsible for any loss or damage resulting for your reliance on the given nutritional information. You are solely responsible for ensuring that any nutritional information provided is accurate, complete, and useful.
Are you on Pinterest? I pin lots of yummy real food recipes + more there. I have a board just for Gluten Free Treats and Beverages too! Come follow along.
MORE SWEET TREATS YOU MAY LIKE
Nourishing Honey Sweetened Hot Chocolate
Nourishing Chai Hot Chocolate {Paleo + Dairy Free Option}
Healthy Chocolate Peppermint Marshmallows
Healthy Sweet Beet Hot Chocolate





Renee Kohley
Oh! This is so fun! I have seen homemade marshmallows around but have never made them! I think I will this year!
Carol
I want to make these! If only I could figure out an affordable way to purchase the grass fed gelatine in Canada
At moment.. it's over the top.. with a $40-50 duty on top of the cost of the product
Would love to make these.. at some point!!
Emily Sunwell-Vidaurri
Wow, I wonder why it's priced so high. I hope you get to make them at some point.
Loriel @ Naturally Loriel
I LOVE the idea of adding cinnamon to them! Who wouldn't want a little gift bag of homemade cinnamon marshmallows for the holidays!?
Emily Sunwell-Vidaurri
I know, right? 🙂 The cinnamon addition is so yummy. Thanks!
Naomi
I've never managed to make marshmallows either, they always seem complicated, but this looks doable, I think I'll give it a go this holiday season.
Emily Sunwell-Vidaurri
I always thought they would be complicated too, but when I started making them years ago I realized that they really are pretty simple. I hope you get to make some. 🙂
The Food Hunter
this makes an awesome gift
Emily Sunwell-Vidaurri
🙂
andrea
These look wonderful! Almost too good to eat 🙂 my 4 year old LOVES marshmallows, but I seldom let her eat them, for obvious reasons. We will have to make these together. Thanks for the recipe!
Emily Sunwell-Vidaurri
Thank you! I hope she enjoys them as much as my family does.
Trish
Pretty and useful post love it!! Trish
Emily Sunwell-Vidaurri
Thanks!
Jacquelyn @ LittleOwlCrunchyMomma
Oh YUM! These are super exciting! Thanks for sharing.
Emily Sunwell-Vidaurri
Thanks so much!
linda spiker
These are so pretty I just can't get over it!
Emily Sunwell-Vidaurri
Thank you Linda! xo
Megan Stevens
Just lovely. What a wonderful gift.
Emily Sunwell-Vidaurri
Thank you Megan!
Anna
Do you know if these can be made without a KitchenAid? 🙂
I have a regular mixer (which I assume will burn out), a food processor and a Vitamix...
Thanks!
Emily Sunwell-Vidaurri
I have never made them without a standing mixer, but I'm pretty sure a food processor or a Vitamix would not work. It's possible a handheld mixer would work, but I've never tried it.
Jodi
A cheap handheld mixer does work. I am taking some camping this week. Do you know how they will do over the campfire?
Emily Sunwell-Vidaurri
Good to know. They won't hold up like commercial marshmallows. You can roast them gently, but they will loose their form quickly. They will be gooey deliciousness. I often put some under the broiler to toast them a bit and they're delicious!
bobbi dougherty
what a great (and easy) recipe. My grandson loves hot chocolate, but especially the marshmallows. These would make me feel a whole lot better. thanks for sharing.
Emily Sunwell-Vidaurri
Thanks so much! I'm so happy to hear that, I hope you get to make some for him 🙂
Tracey
Do you think I could use Tapioca starch instead if arrowroot starch?
Also I have Go Bio Gelatin. Have you ever used this?
Emily Sunwell-Vidaurri
I have never used that gelatin, but I would assume it should work. The arrowroot starch is more for dusting ... I don't know how the tapioca starch would taste on the outside since I have never used it. You could give it a try, or just use the cinnamon. Some people use powdered sugar for dusting too.
L.Snow
Very cute! One question... How long (and under what conditions) do they keep?
Thanks.
Emily Sunwell-Vidaurri
I have never had them more than a week since my family loves eating them. Storage - they should be stored in an air-tight container, and consumed within 3 weeks.
Christina
I would love to make these for a friend who is on the SCD, but Arrowroot is not allowed (and neither is powdered sugar). Is there something else I could substitute, or would they still taste ok if I left the arrowroot out and only dusted them with cinnamon?
Emily Sunwell-Vidaurri
They'll be fine without it, the dusting just helps with the sticking ... but the cinnamon powder should work.
Elle Weeks
These look delicious!! How long do the marshmallows keep?
Emily Sunwell-Vidaurri
Thanks! I'm not positive because we've never had them longer than a week ... my family tends to gobble them up really fast. 🙂
Rachel @ Delicious Balance
Why is there blue food coloring in white marshmallows?! Homemade marshmallows are so easy and definitely taste a lot better. I'm excited about this variation! Pinning it for later!
Emily Sunwell-Vidaurri
Who knows, I don't understand why food coloring is put into anything. That stuff is awful. Thanks for the pin 🙂
Easy Peasy Life Matters
These sound so cool and tasty too!! Thanks for sharing on Savoring Saturdays 🙂
Emily Sunwell-Vidaurri
🙂 they're so yummy + fun
Tina
For allergies with Honey, what could you use in place of? Thanks
Emily Sunwell-Vidaurri
Hi Tina, you can use maple syrup instead but it will change the color (they will be light brown in the end) and flavor (will be maple).
Jen
I made these last night. Dusted them with a mix of arrow root, cinnamon, and powdered sugar - yet they are still becoming a bit wet/damp on the outside... has this ever happened to you? Normal? Reasons why?
Thanks!!!!
Emily Sunwell-Vidaurri
Hmm that's strange. It could be the humidity in your home? I've never had that happen before and I've been making marshmallows for many years. I usually store mine at room temp in a closed cabinet (so my kids won't devour them) for up to 3 days and there's never moisture or anything damp. They should still be edible, I'm not sure what the cause is for the moisture though.
Veronica L @ Sharktank
The sweet freshness of the honey really made the flavor of these cinnamon marshmallows pop,delightful and really light great for for people with a sweet tooth.
Emily Sunwell-Vidaurri
So happy to hear that! 🙂
Kay Love
Hi. I came across this and wanted to try to make my own marshmallows. What if I don't have a stand mixer? Can I use a regular blender or an immersion blender stick? Also, just wondering if instead of honey, I could add in some overripe fruits or berries - will it not be sweet enough?
Thank you.
Emily Sunwell-Vidaurri
Hi Kay, I don't have a stand mixer anymore and make these all the time with a handheld mixer and it works great. I have never tried a blender - so I'm not sure, but know the liquid mixture is so hot so you would want to take extreme caution if you tried a blender, honestly I'm just not sure that would work. It's possible that you could give an immersion blender a try, but again, I'm not sure if that would work. I would not suggest substituting with fruit because it won't set up the same way. The honey is a substitute for sugar that gets boiled down into the candy form state - and I don't believe that fruit would work the same way. Hope that helps! 🙂